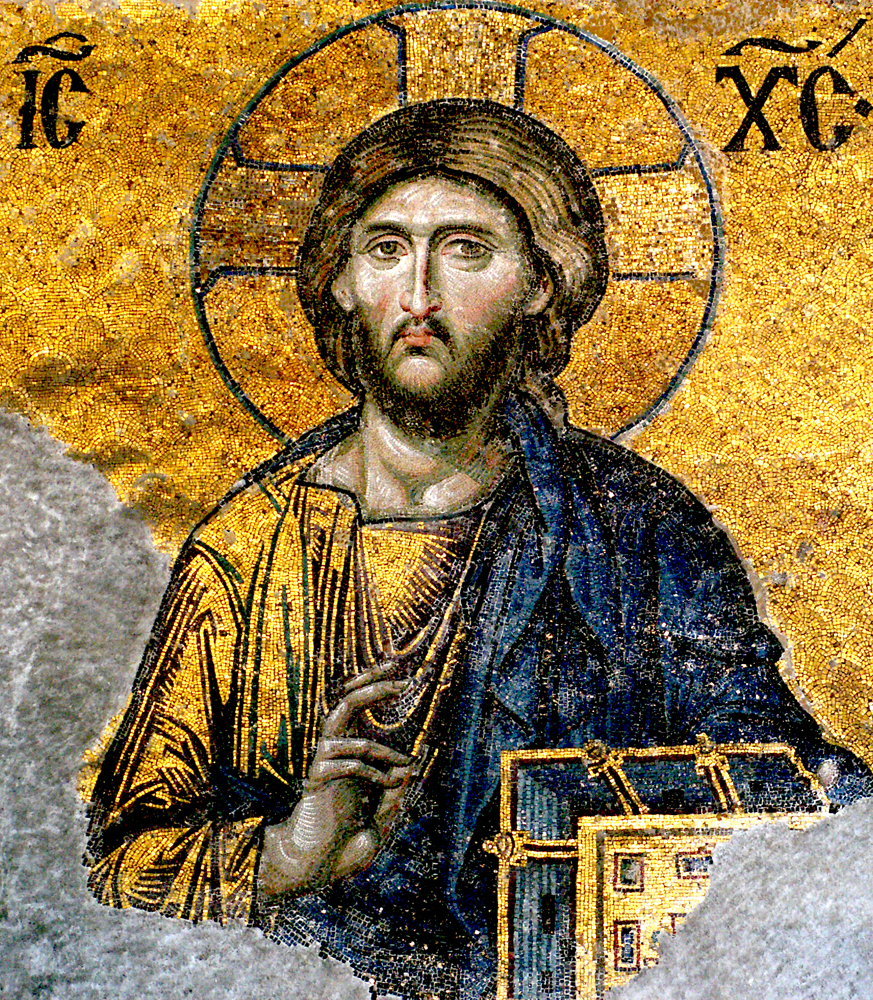
After the legalization of Christianity in the Roman Empire in 312 A.D. by Emperor Constantine, Christians moved from practicing their religion underground to publicly. This resulted in the building of many churches. These early churches were typically decorated by mosaics, an art form popular in the Roman Empire. Mosaics are images made of pieces of glass and stone set into a wall. In the Eastern Roman empire, which spanned to Constantinople (present day Istanubul), the traditional eastern Christian tradition of icons was adapted into mosaic form.
Source
Christ Pantocrator, Hagia Sofia, Istanbul
Introductory Slideshow Presentation
Optional: Make a slideshow presentation for art history introduction/ context.
Materials
-black foam board
-colored paper (note that construction paper is not very light-fast, you may want to go for a higher quality colored art paper such as this brand.
-gold metallic paper such as this.
-scissors
-glue
-white chalk/ white charcoal pencils
-black foam board
-colored paper (note that construction paper is not very light-fast, you may want to go for a higher quality colored art paper such as this brand.
-gold metallic paper such as this.
-scissors
-glue
-white chalk/ white charcoal pencils
Process:
Phase I: Practice/ Research/ Design
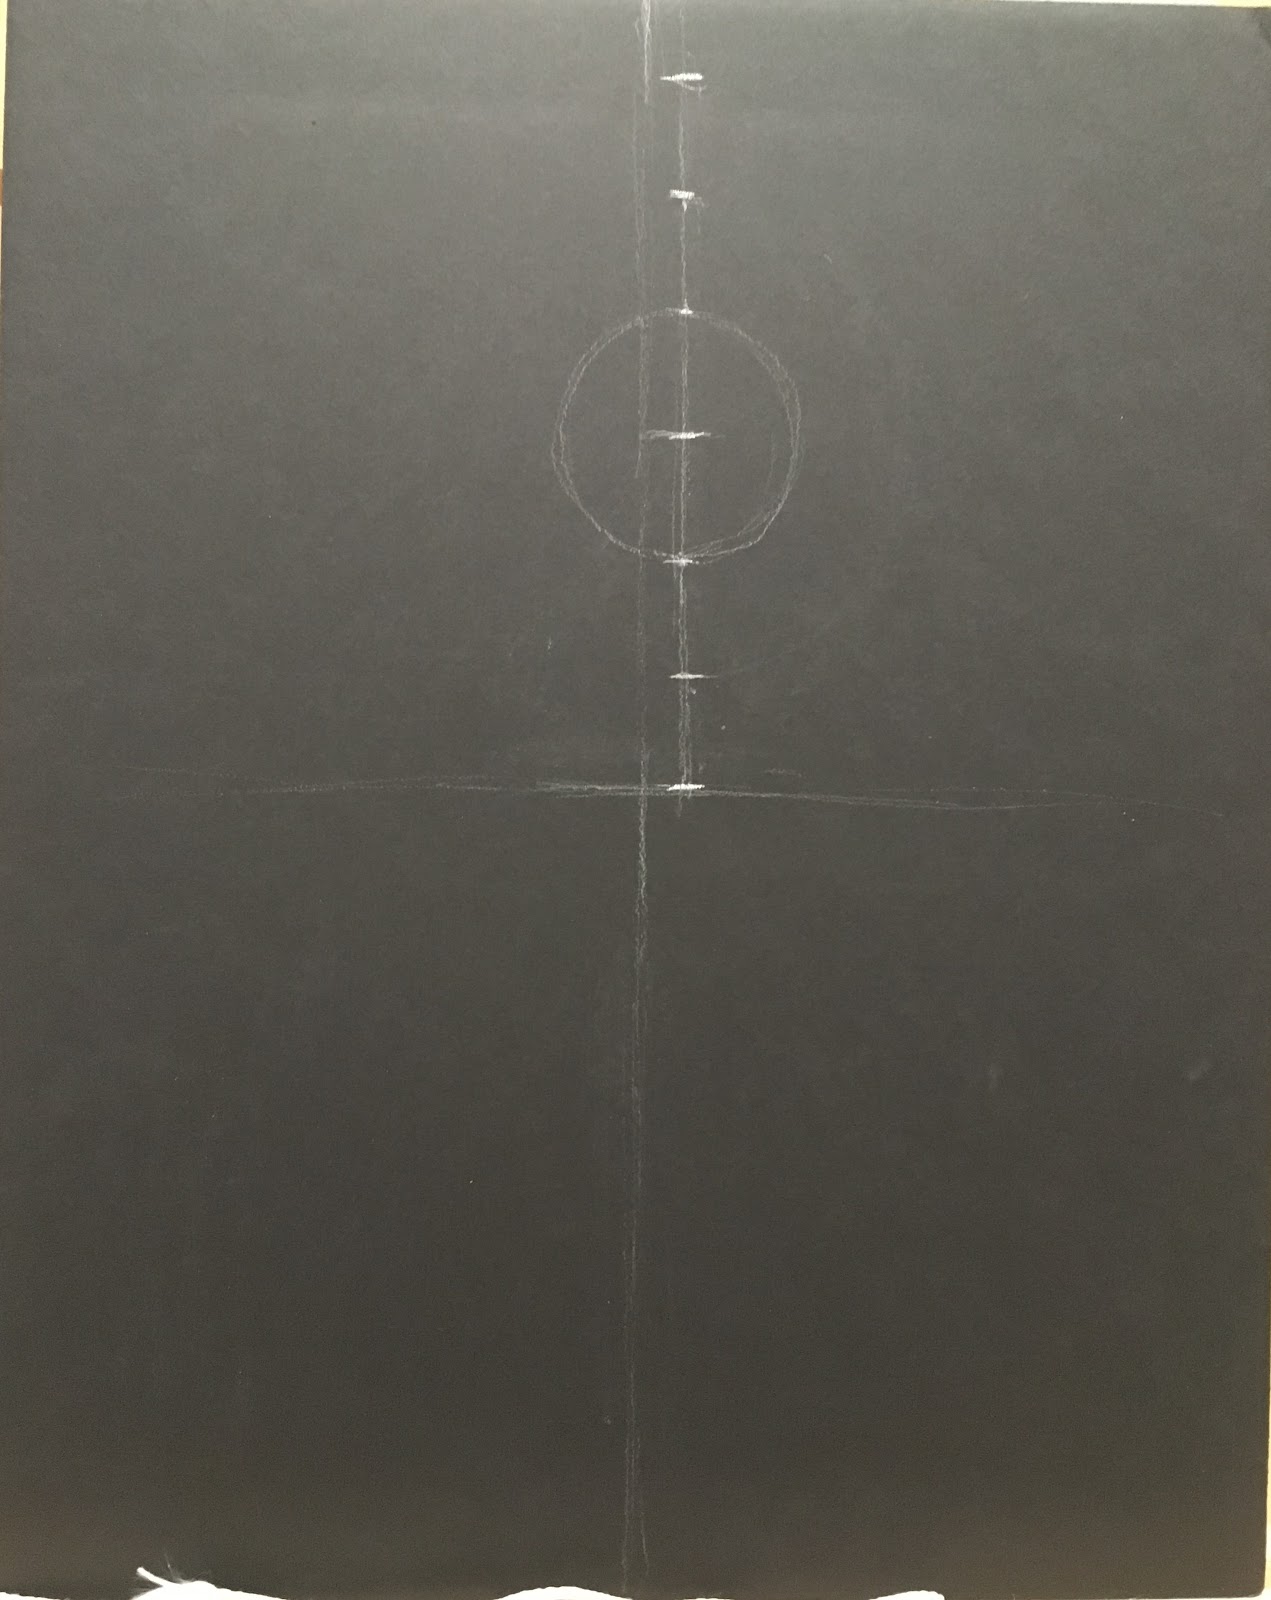
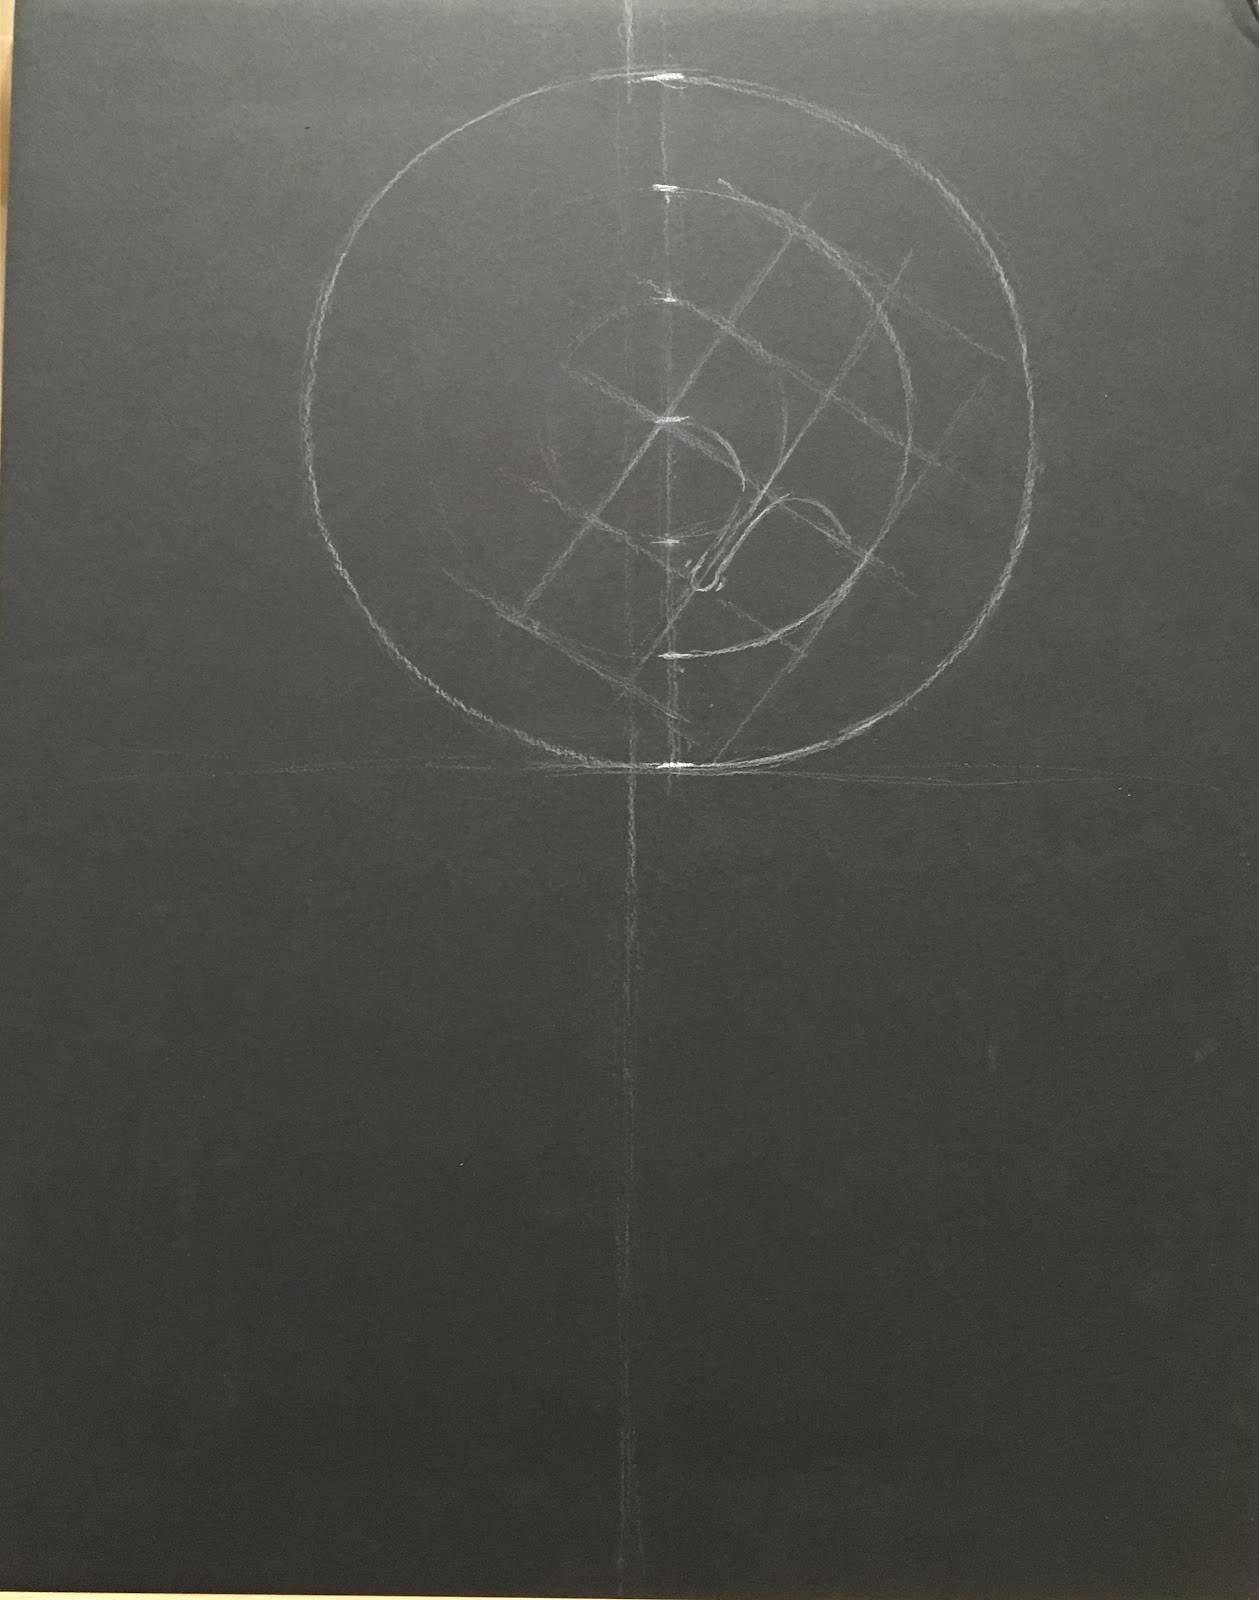
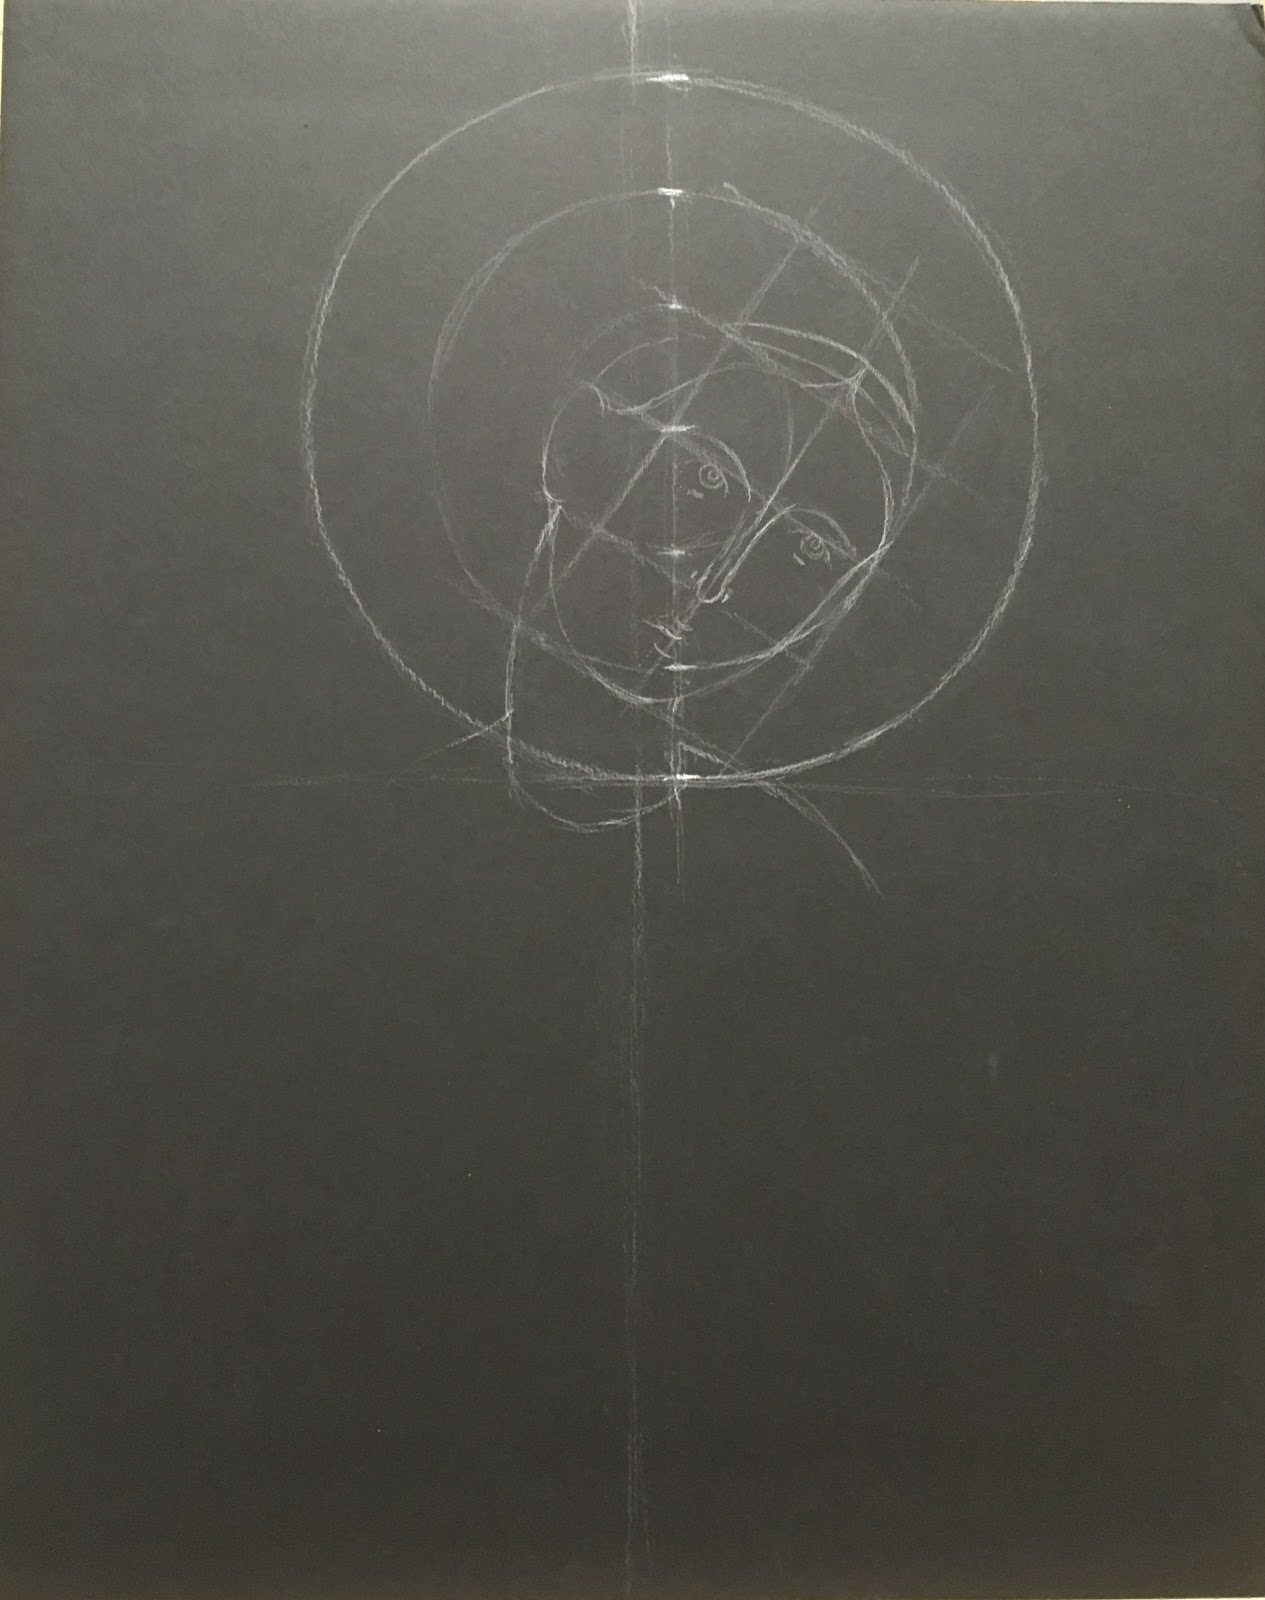
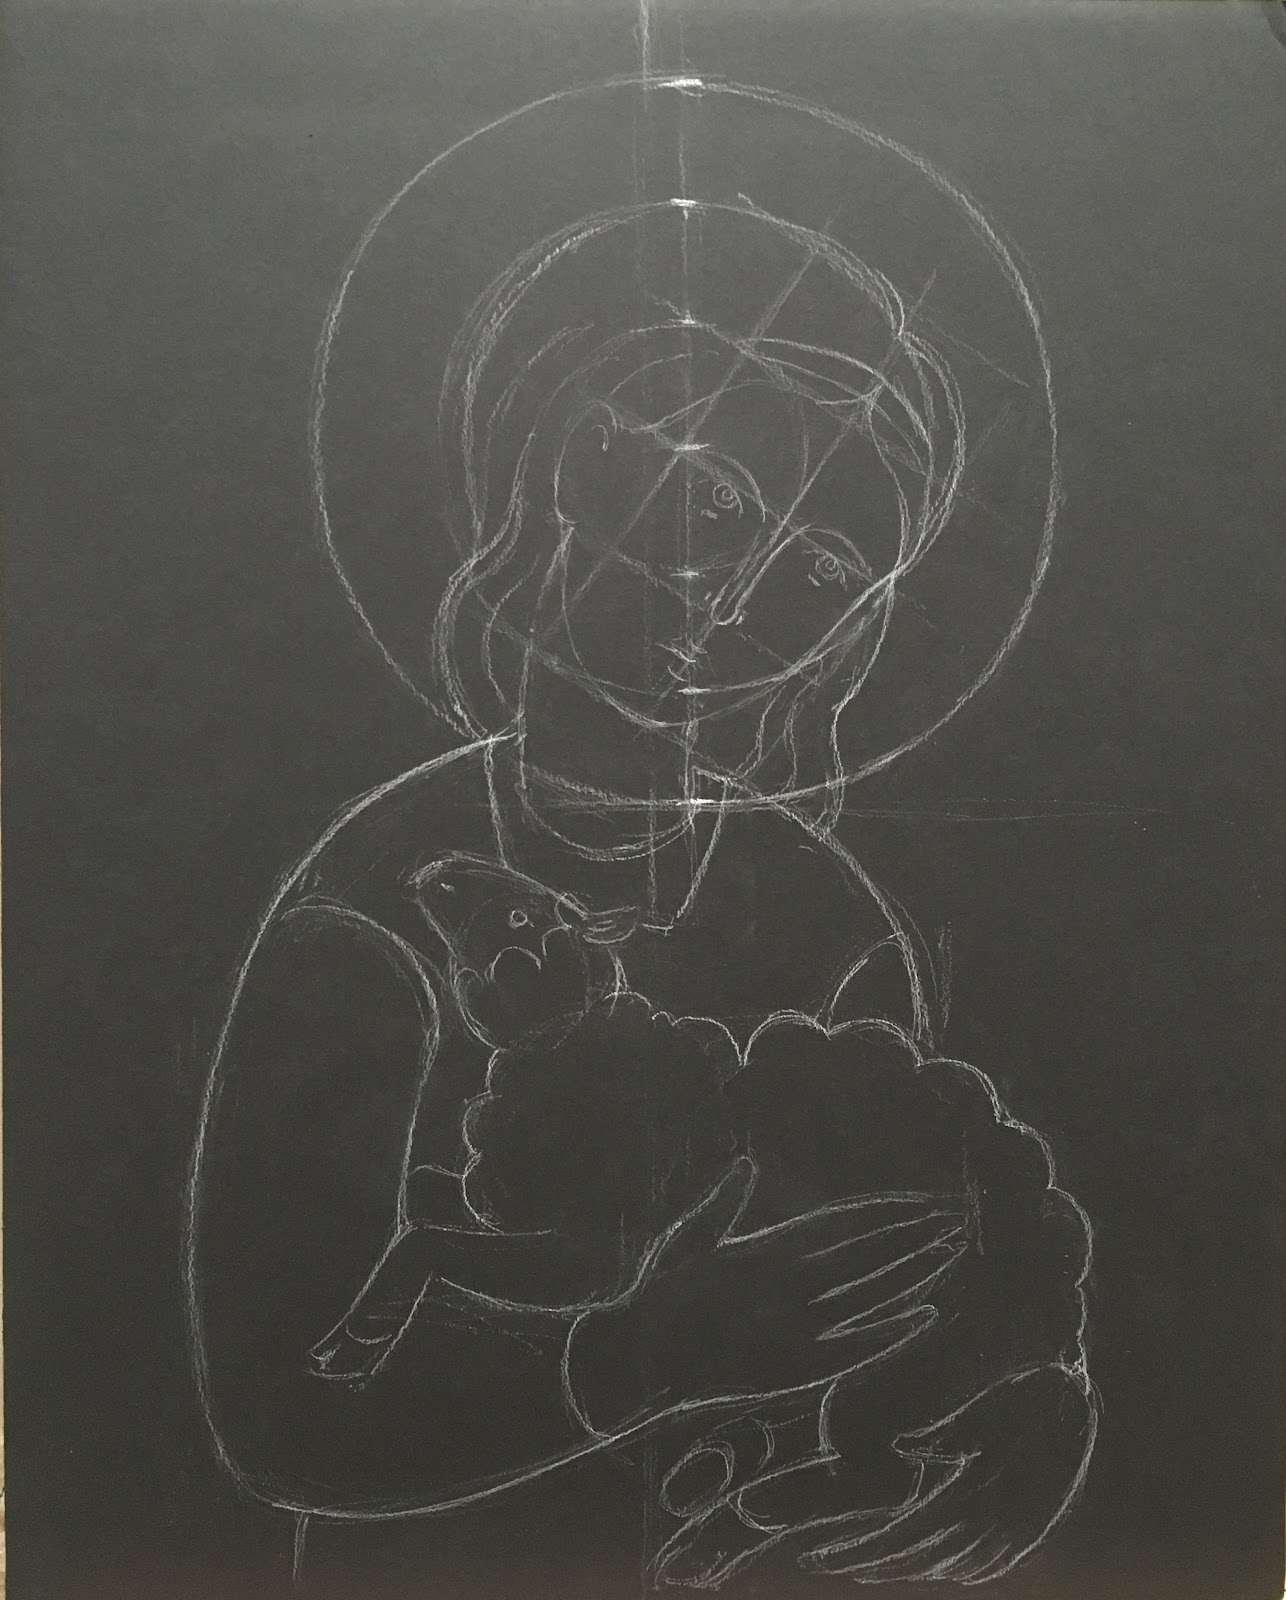
First practice how to draw icons:
How to Draw An Icon--Frontal View
How to Draw An Icon--3/4 View
Here is another approach to drawing a 3/4 view icon:
https://www.youtube.com/watch?v=ededGIt0Muc
For expanded version will all steps, refer to this slideshow:
Slideshow-- Mosaic Icons
For abbreviated version, keep reading.
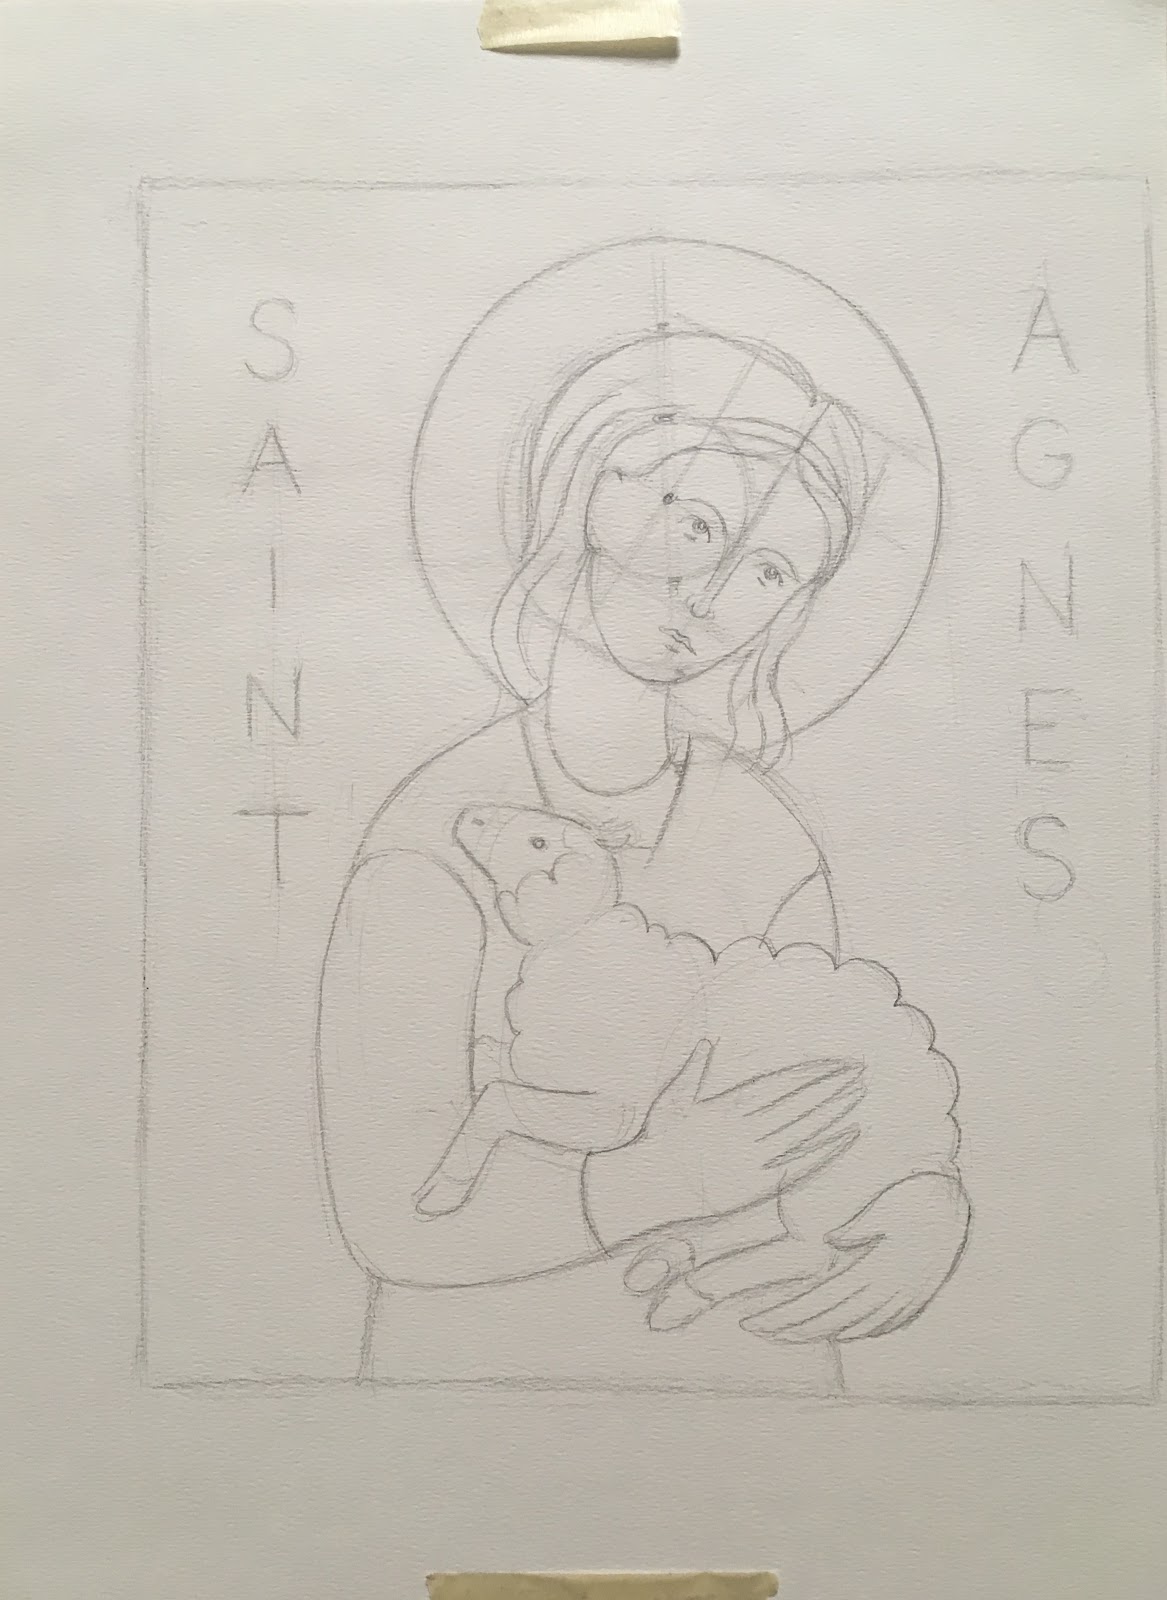
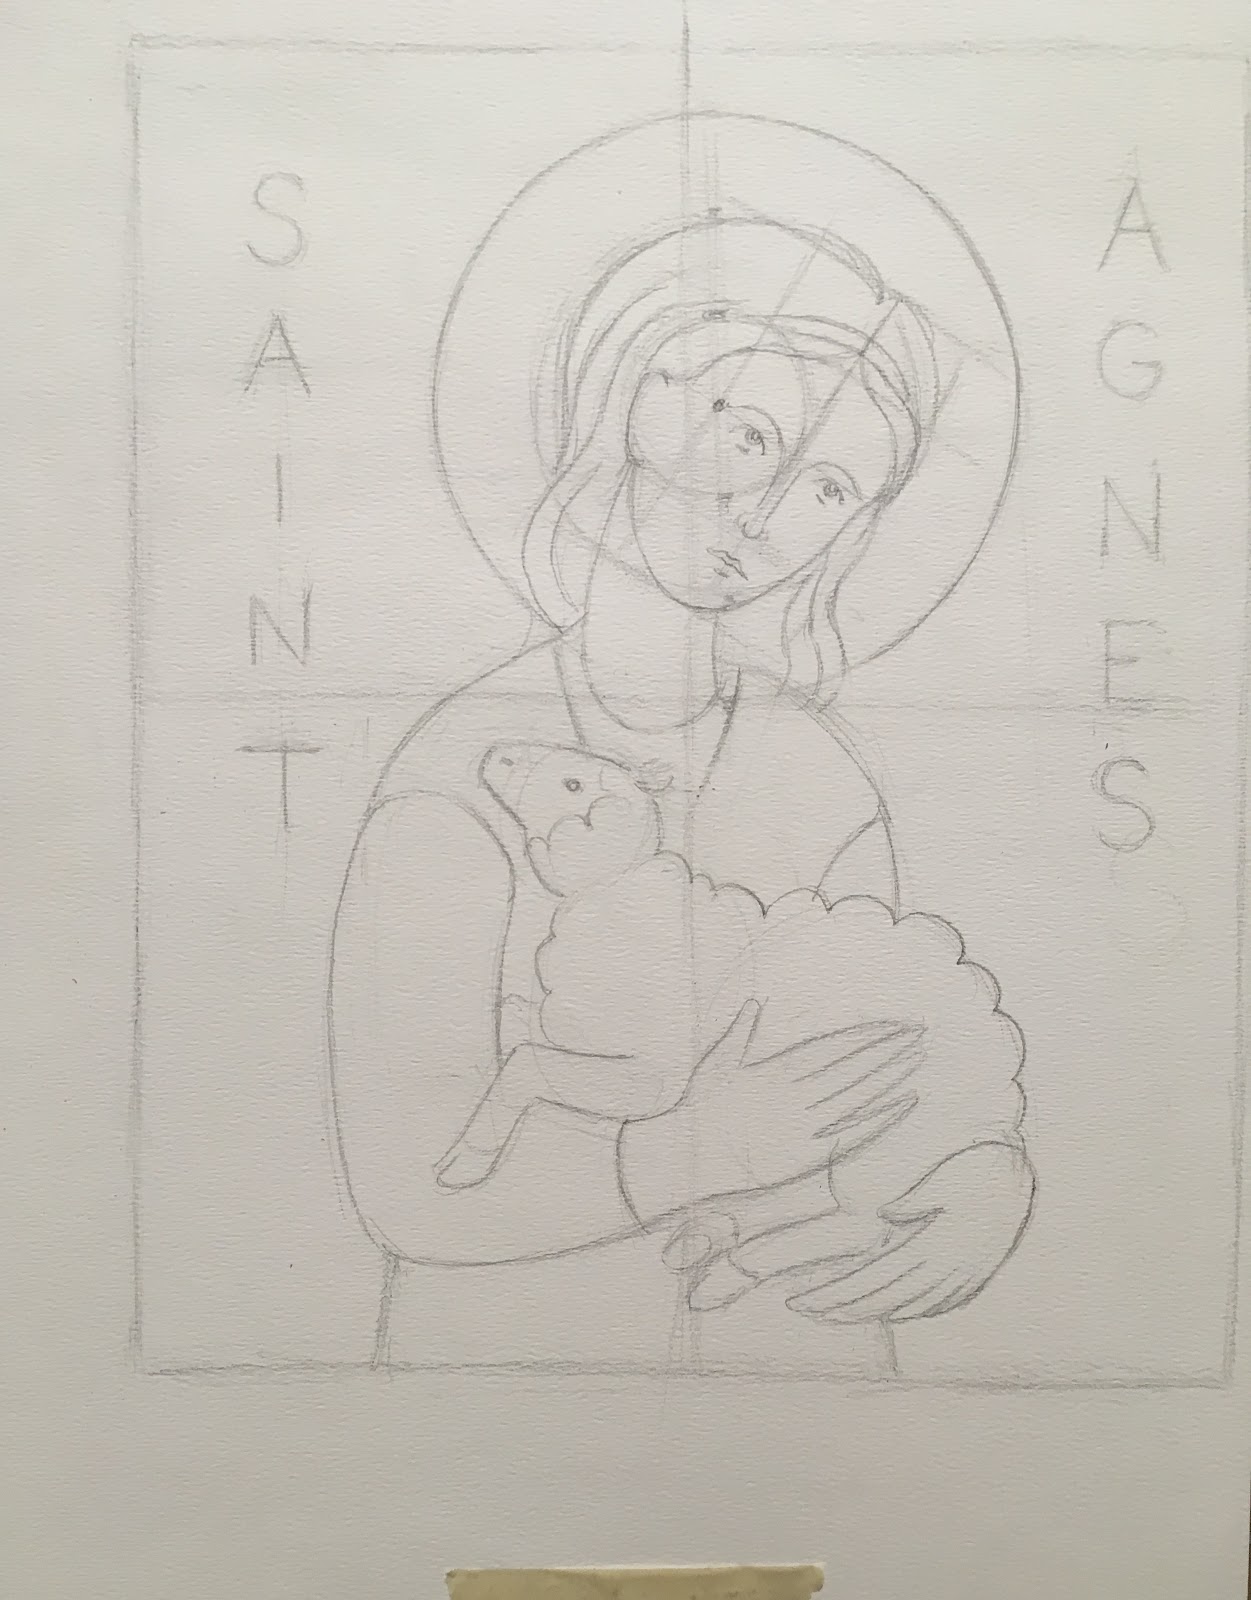
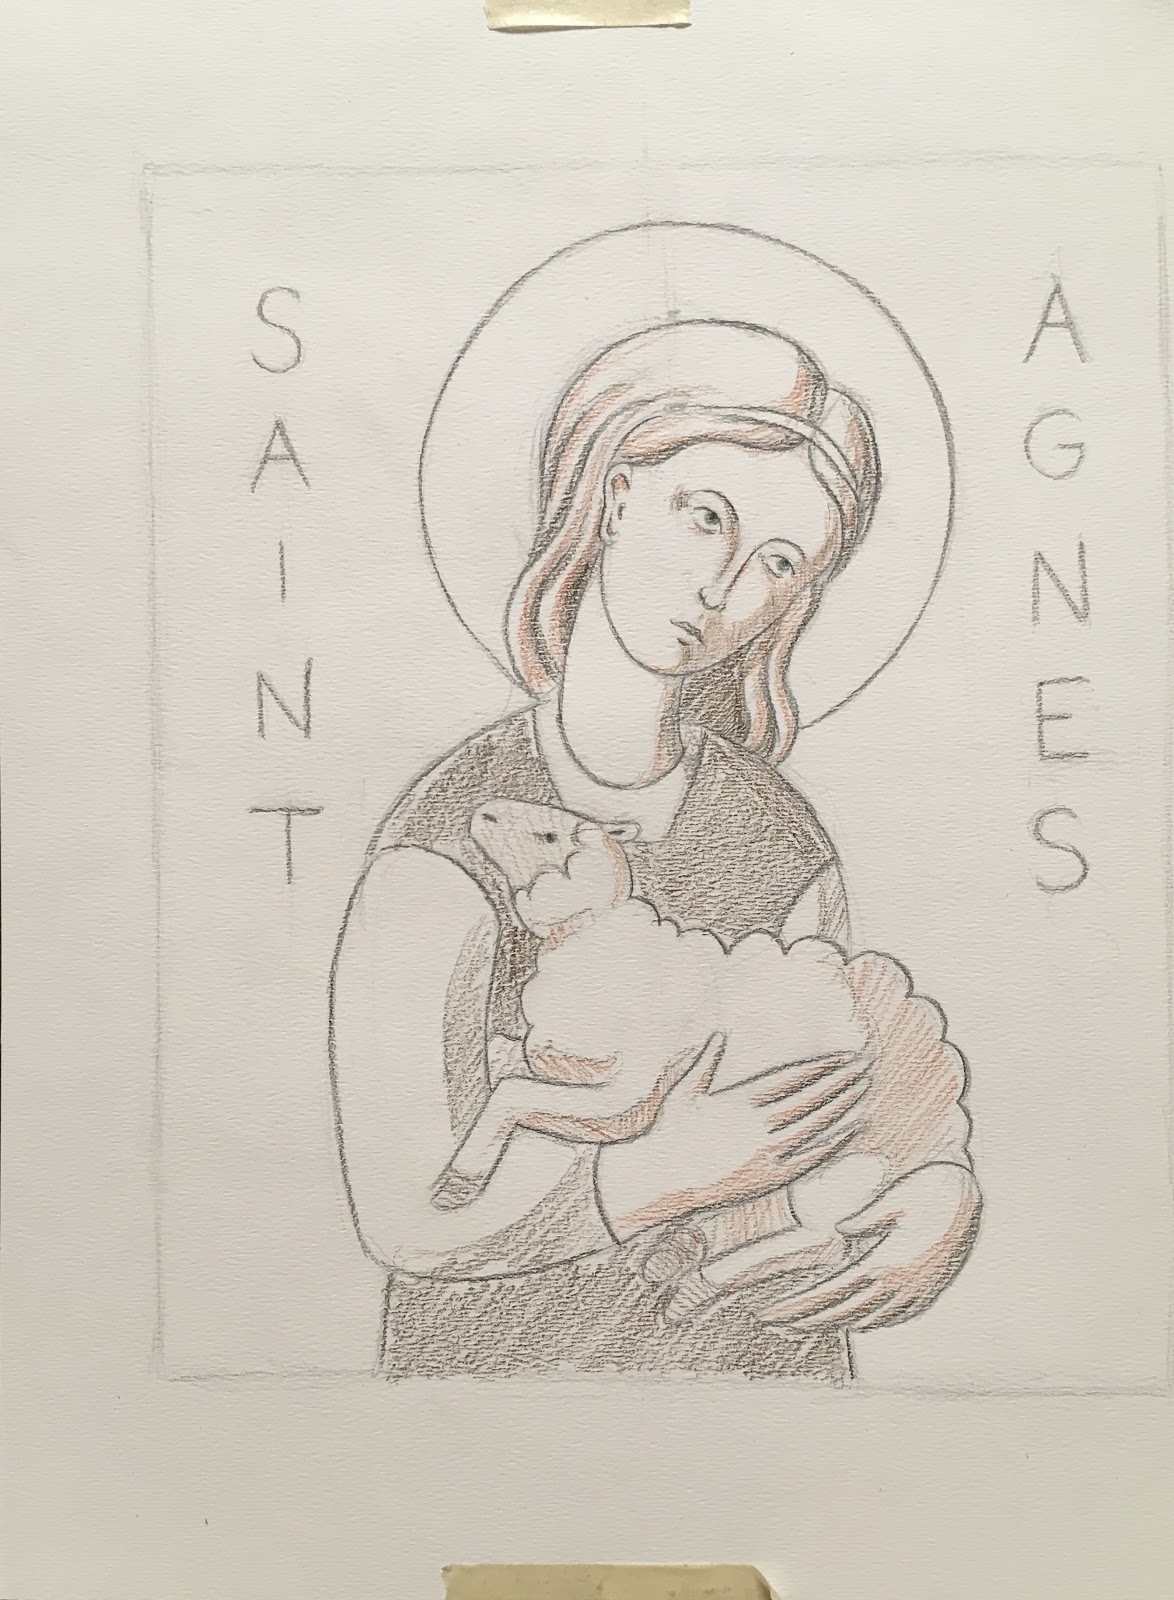
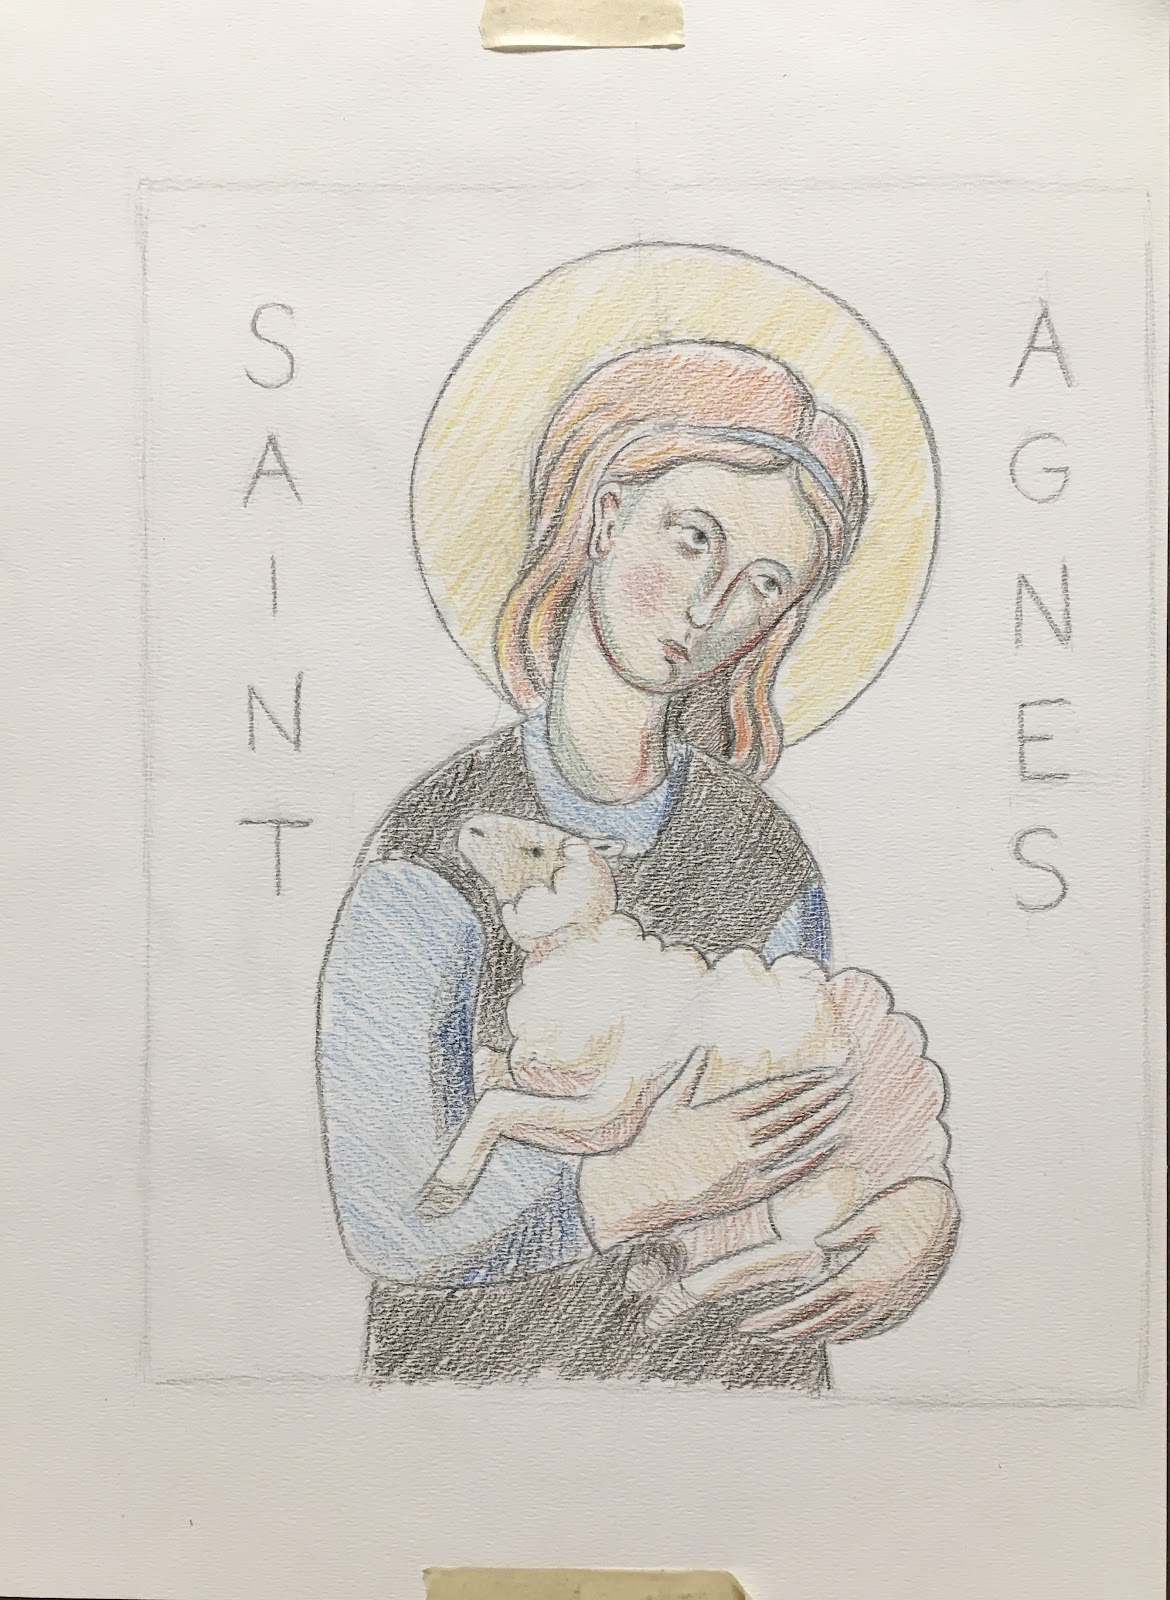
Second, research and work out your design:

Source: https://commons.wikimedia.org/wiki/File:Cano,_Alonso_%E2%80%94_Die_heilige_Agnes.jpg
Phase II: Execution
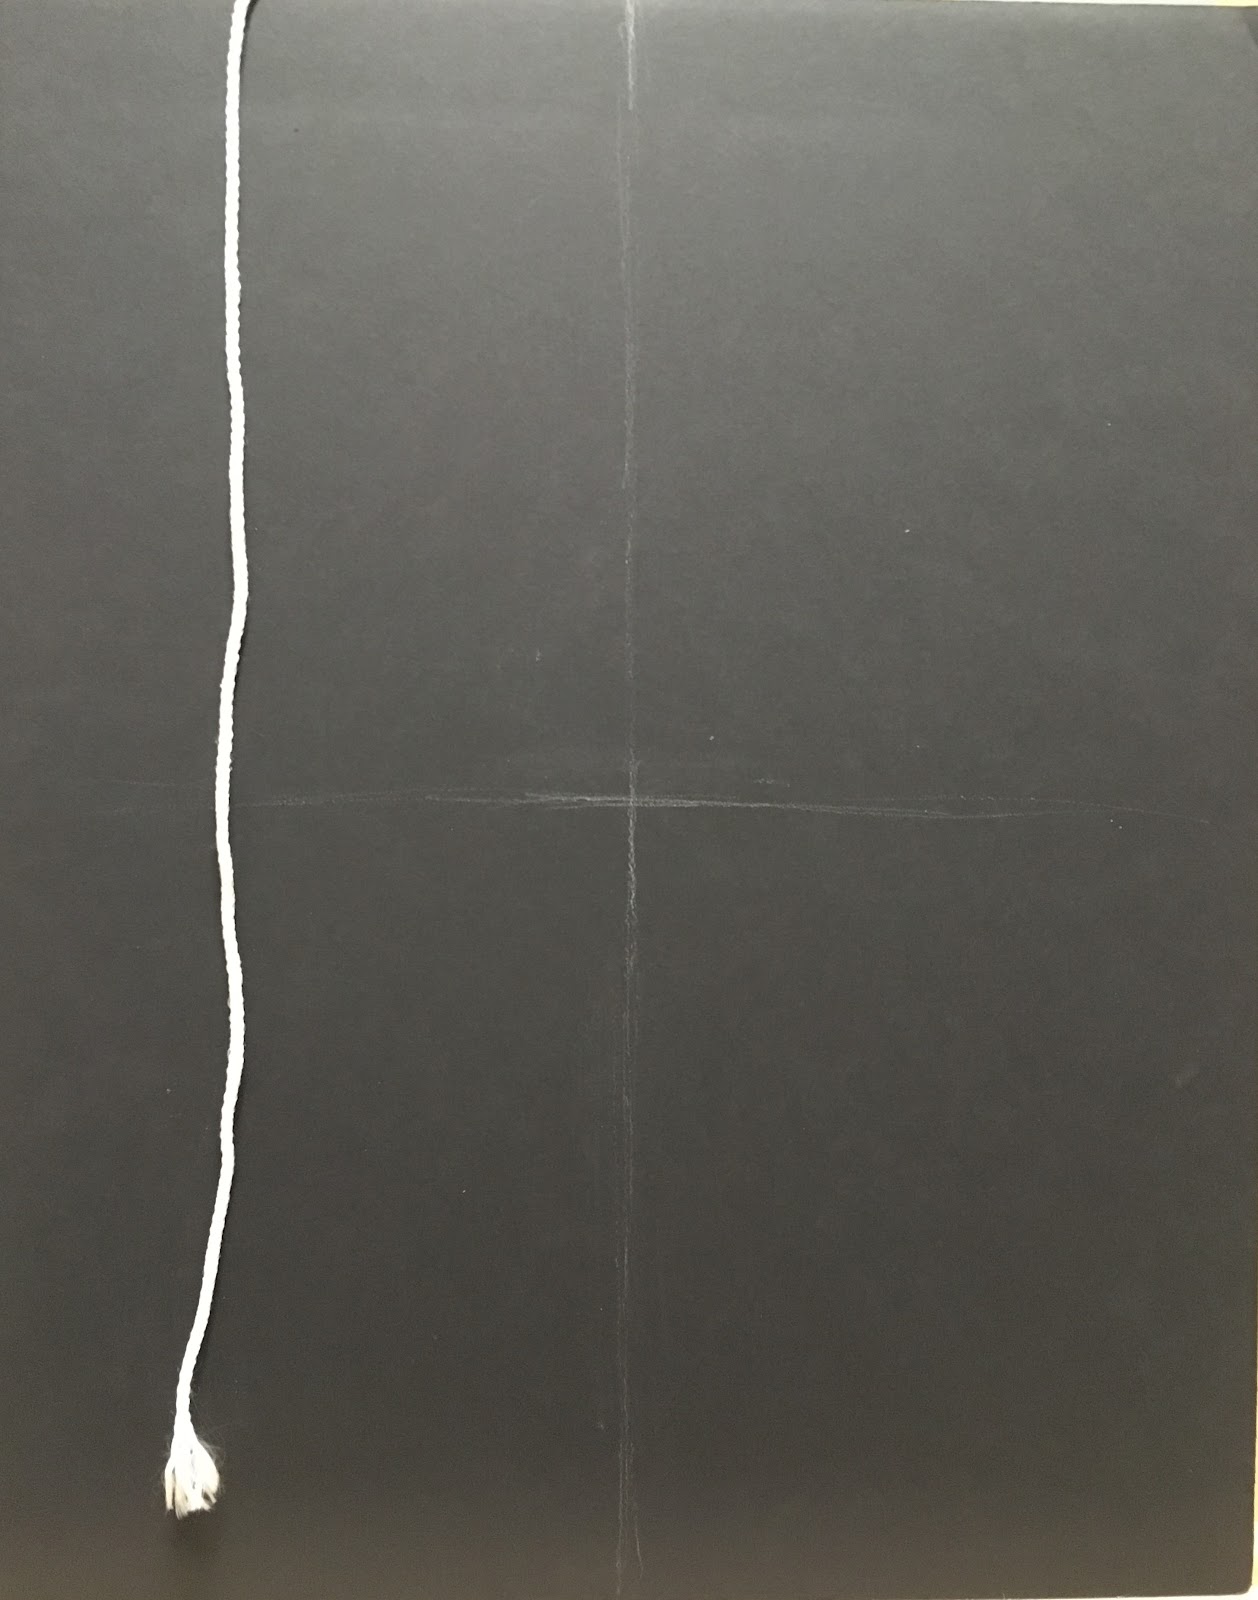
Transfer your design to your black foam board.

On your study, plan out your lights and darks and colors.
Glue cut up paper pieces to your project, following your color scheme mapped out on your study.


Continue to build up your image by adding more cut paper pieces. I am gluing on metallic gold-colored paper for the background.
Phase I: Practice/ Research/ Design
First practice how to draw icons:
How to Draw An Icon--Frontal View
How to Draw An Icon--3/4 View
Here is another approach to drawing a 3/4 view icon:
https://www.youtube.com/watch?v=ededGIt0Muc
For expanded version will all steps, refer to this slideshow:
Slideshow-- Mosaic Icons
For abbreviated version, keep reading.
Second, research and work out your design:
Source: https://commons.wikimedia.org/wiki/File:Cano,_Alonso_%E2%80%94_Die_heilige_Agnes.jpg
Phase II: Execution
Transfer your design to your black foam board.
On your study, plan out your lights and darks and colors.
Glue cut up paper pieces to your project, following your color scheme mapped out on your study.
Continue to build up your image by adding more cut paper pieces. I am gluing on metallic gold-colored paper for the background.
No comments:
Post a Comment