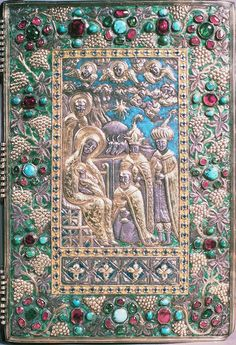
The onset of Gothic architecture began in the 1100's in France and spread throughout northern Europe. With its innovations such as flying buttresses, which allowed for taller, thinner walls and bigger windows, stained glass became a popular art form
Stained glass windows told stories of the faith, making these stories accessible to the largely illiterate public.
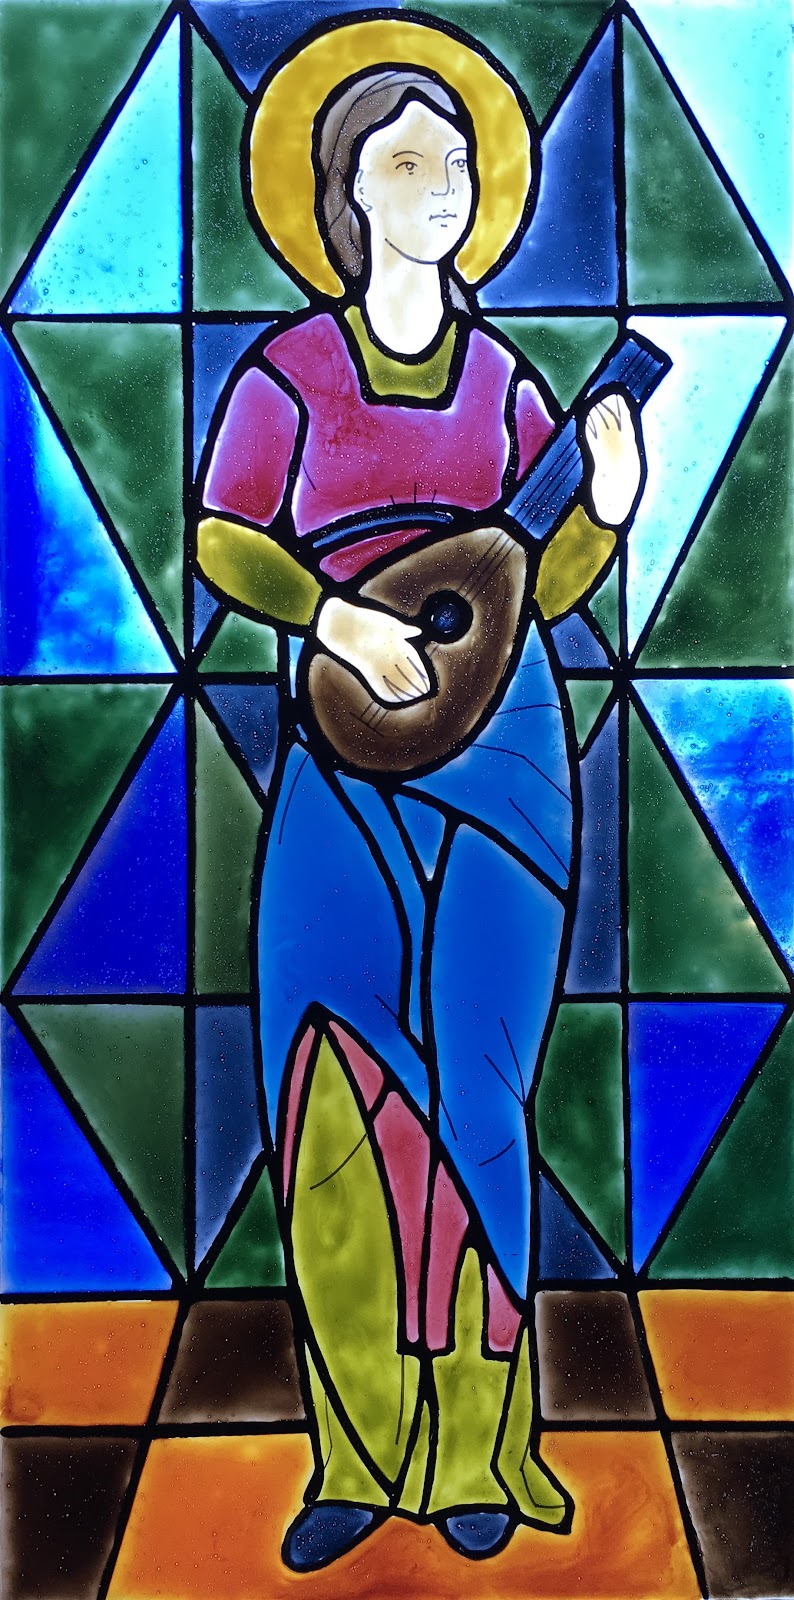
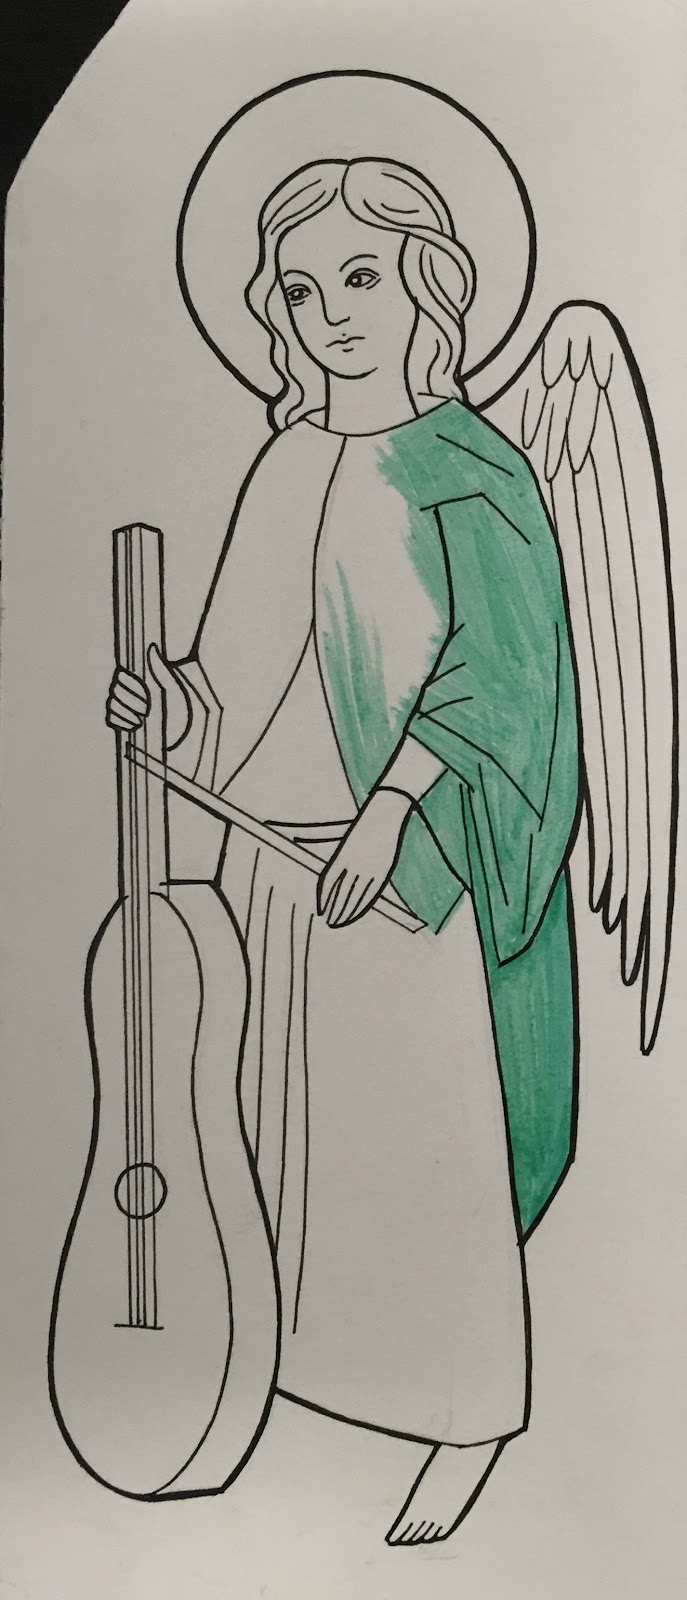
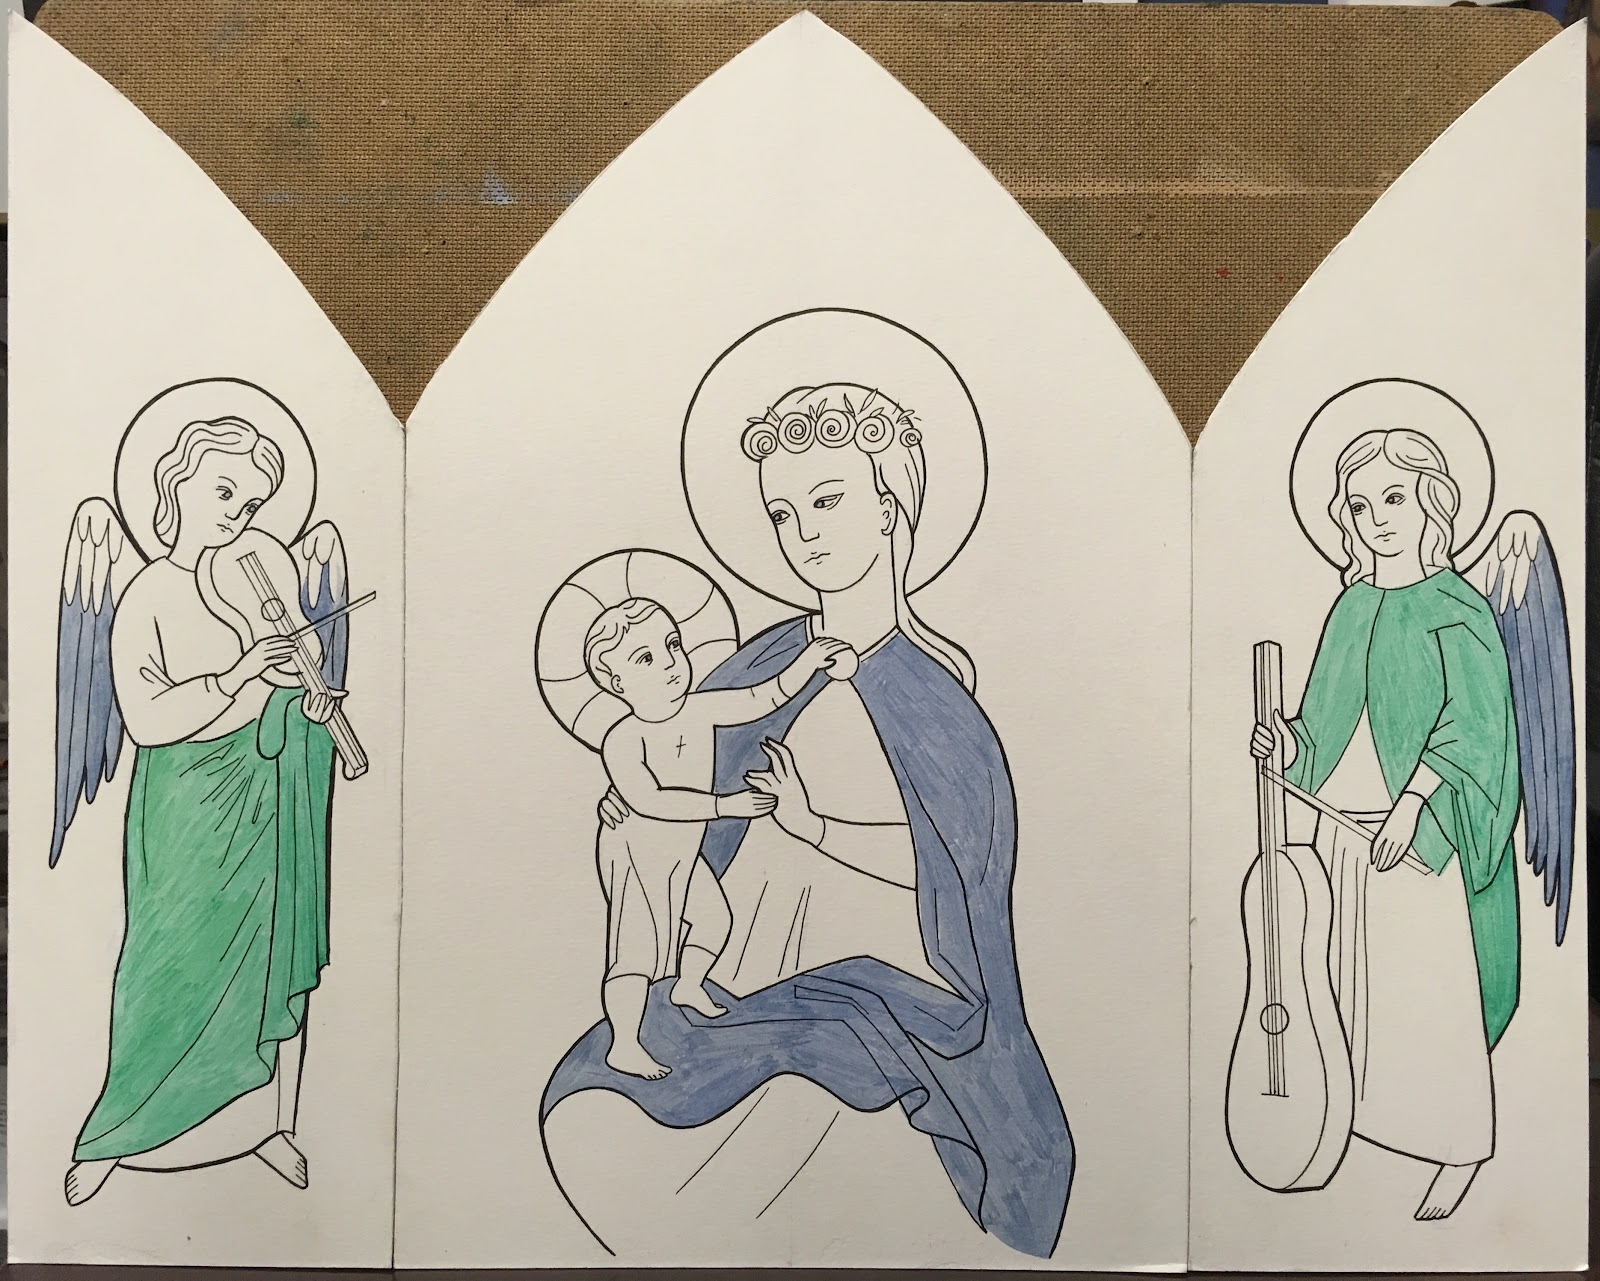
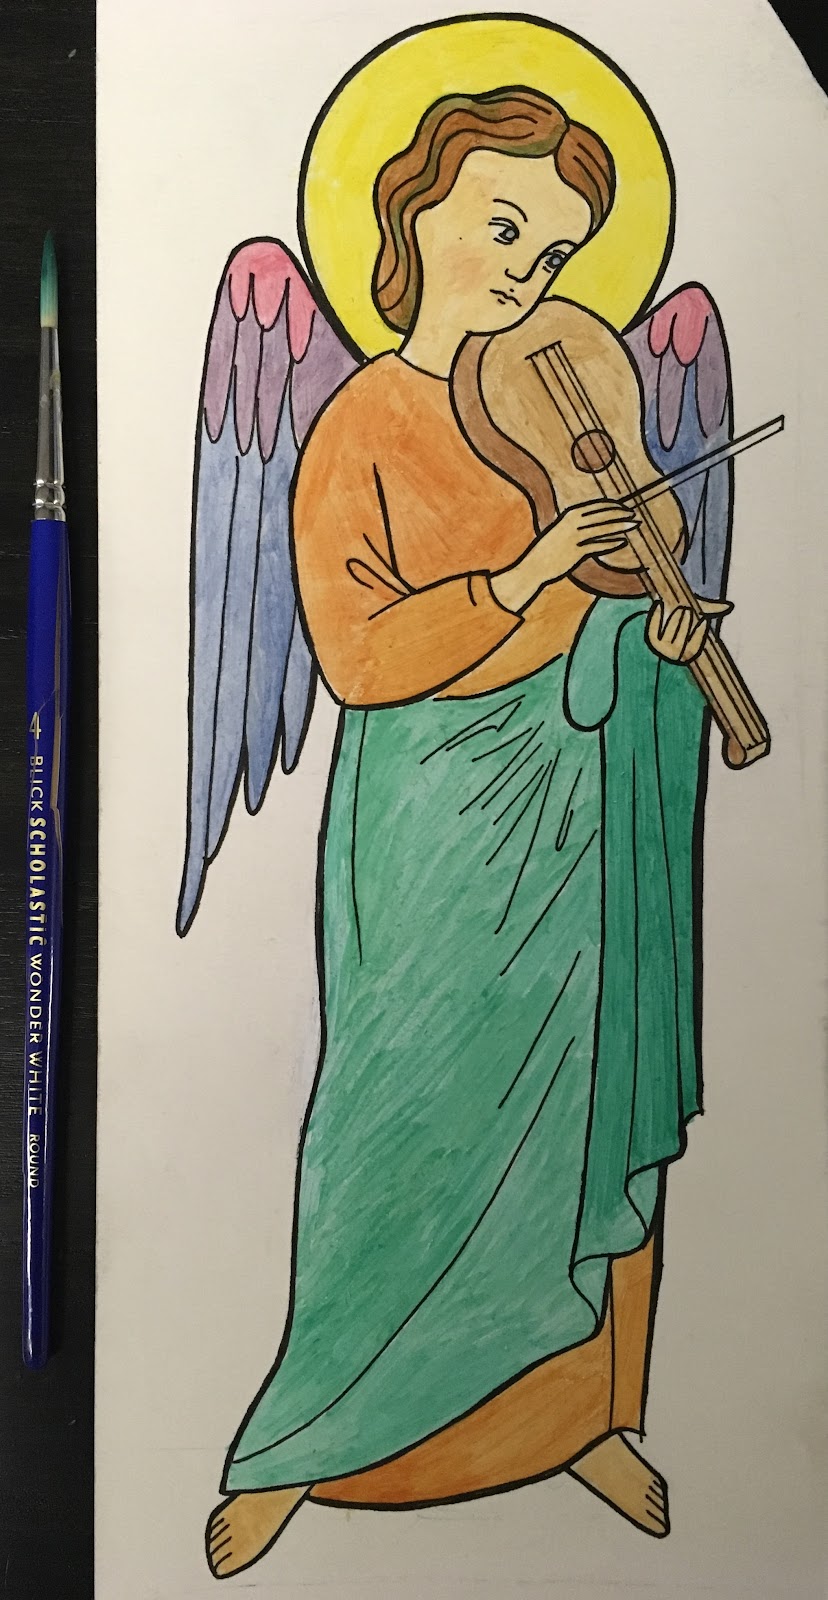
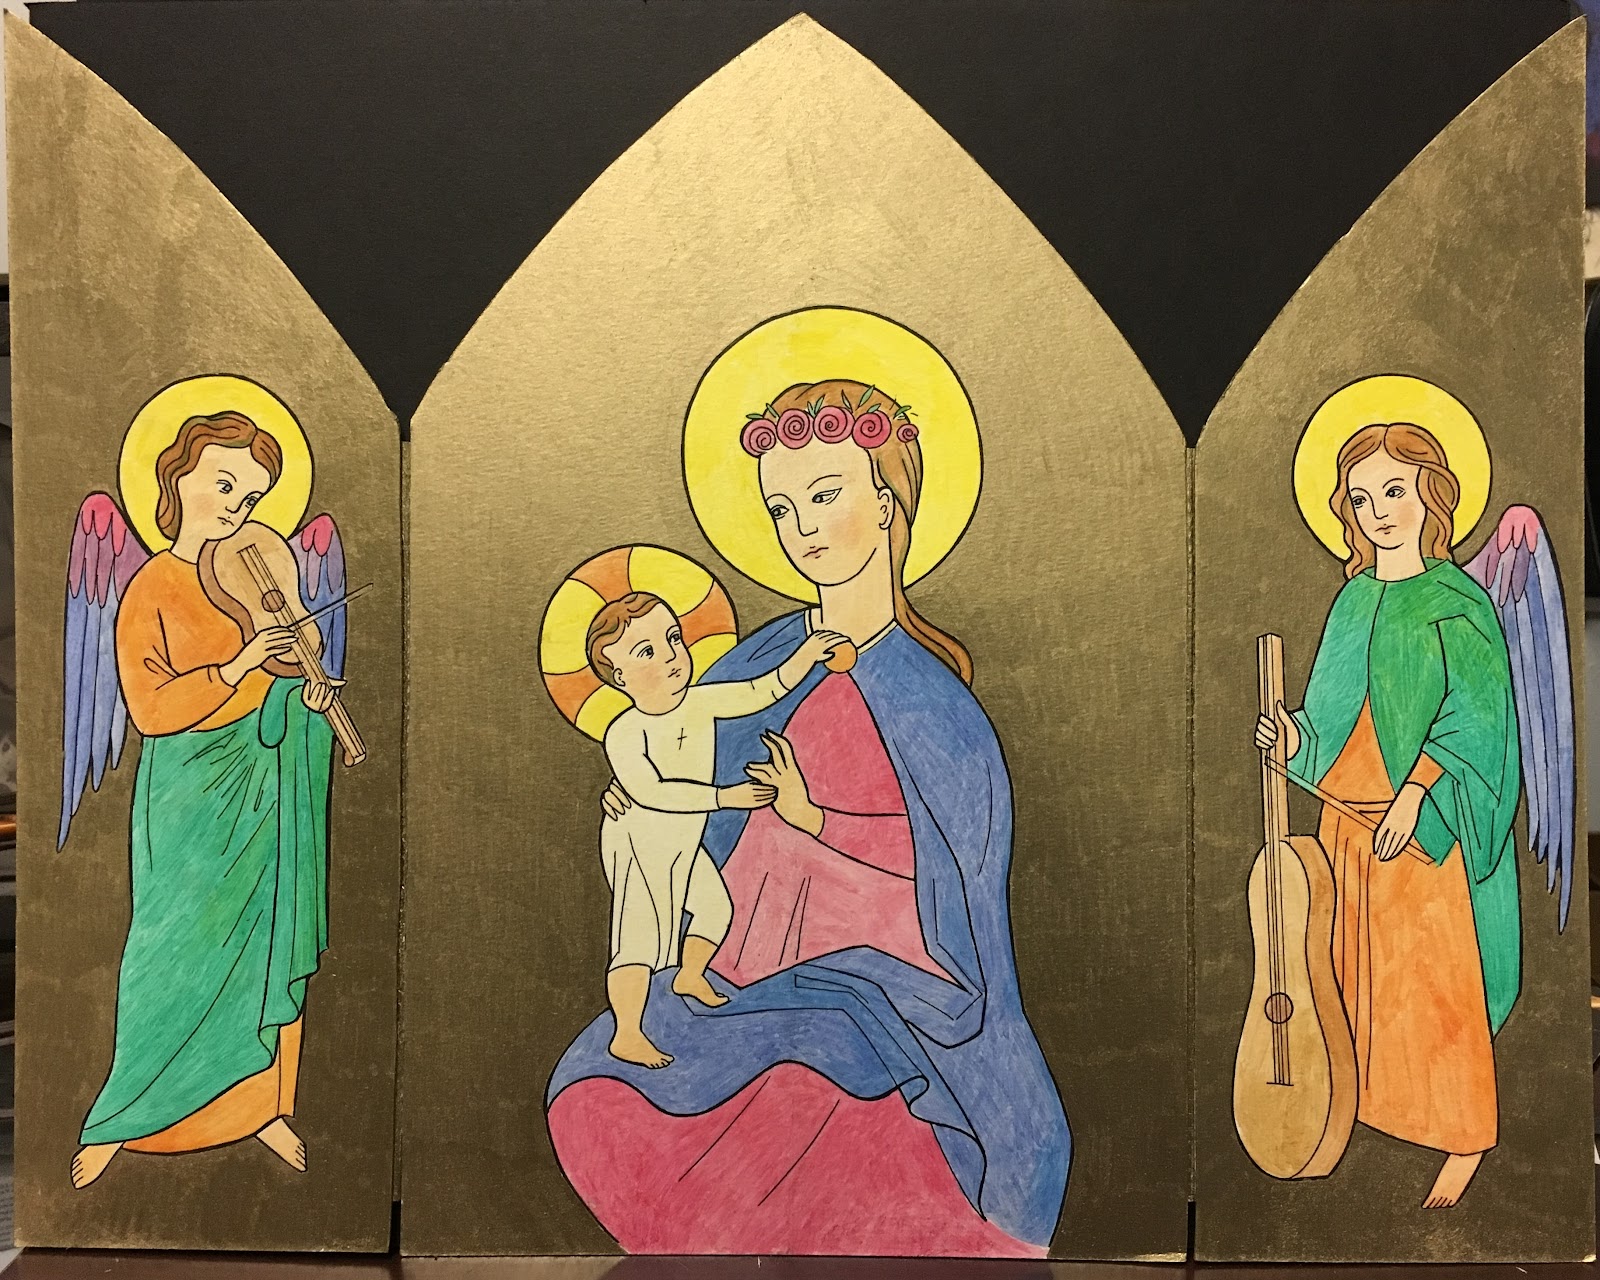
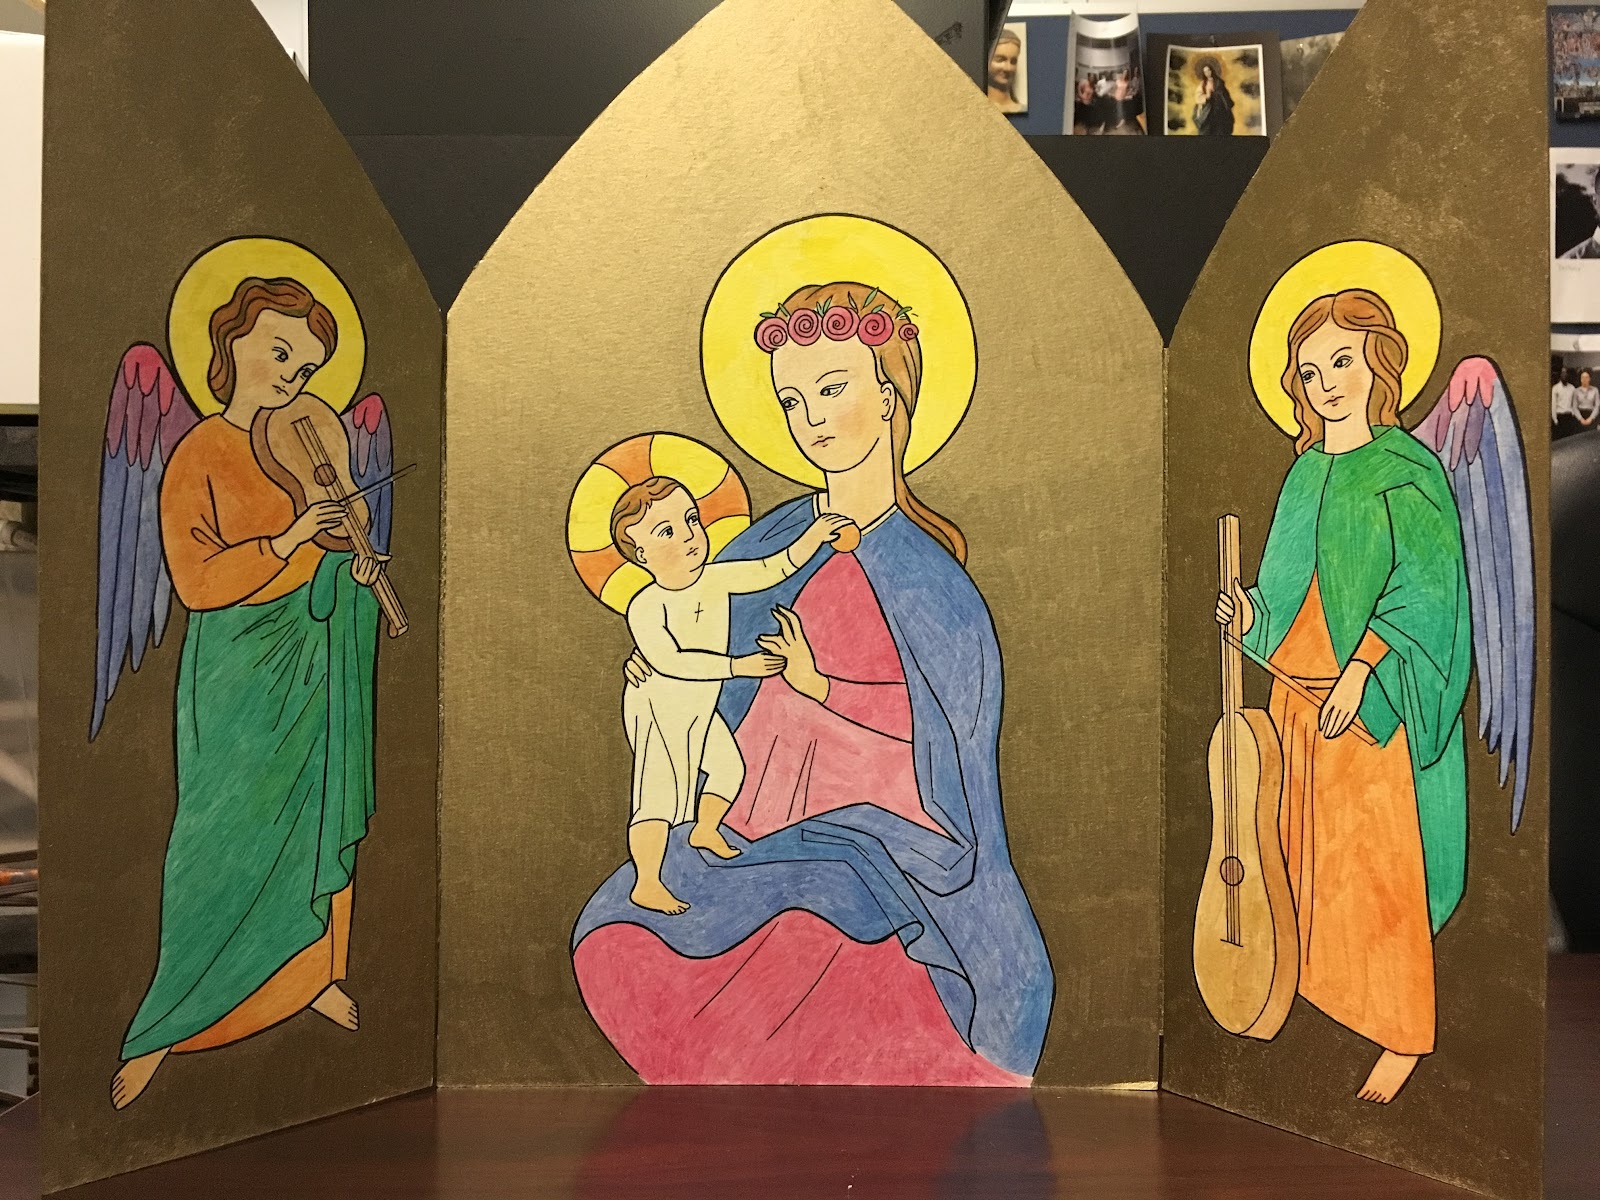
One popular subject was saints. Saints in art are identified by their attributes, which are objects or characteristics that are associated with the saint. For this project, students will, either individually or in small groups, research their chosen saint and make their own faux stained glass window depicting them.

St. Christopher
Source
Introductory Slideshow Presentation
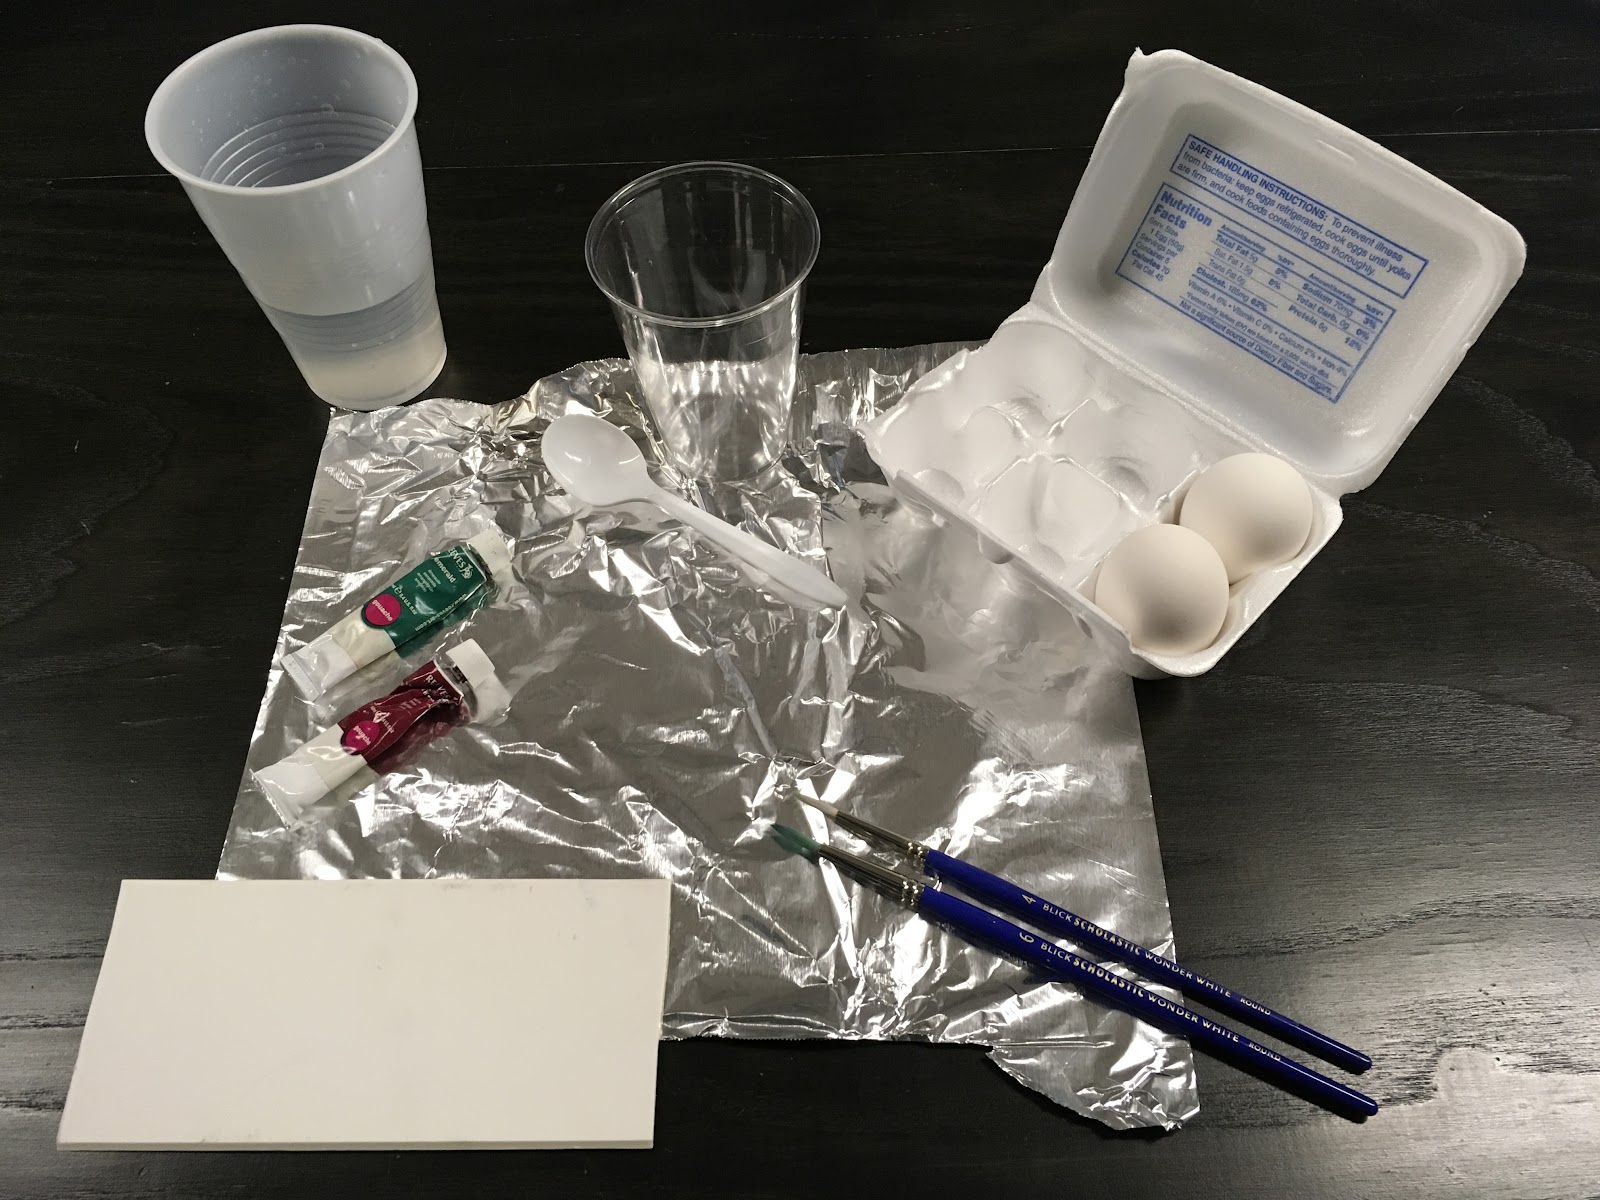
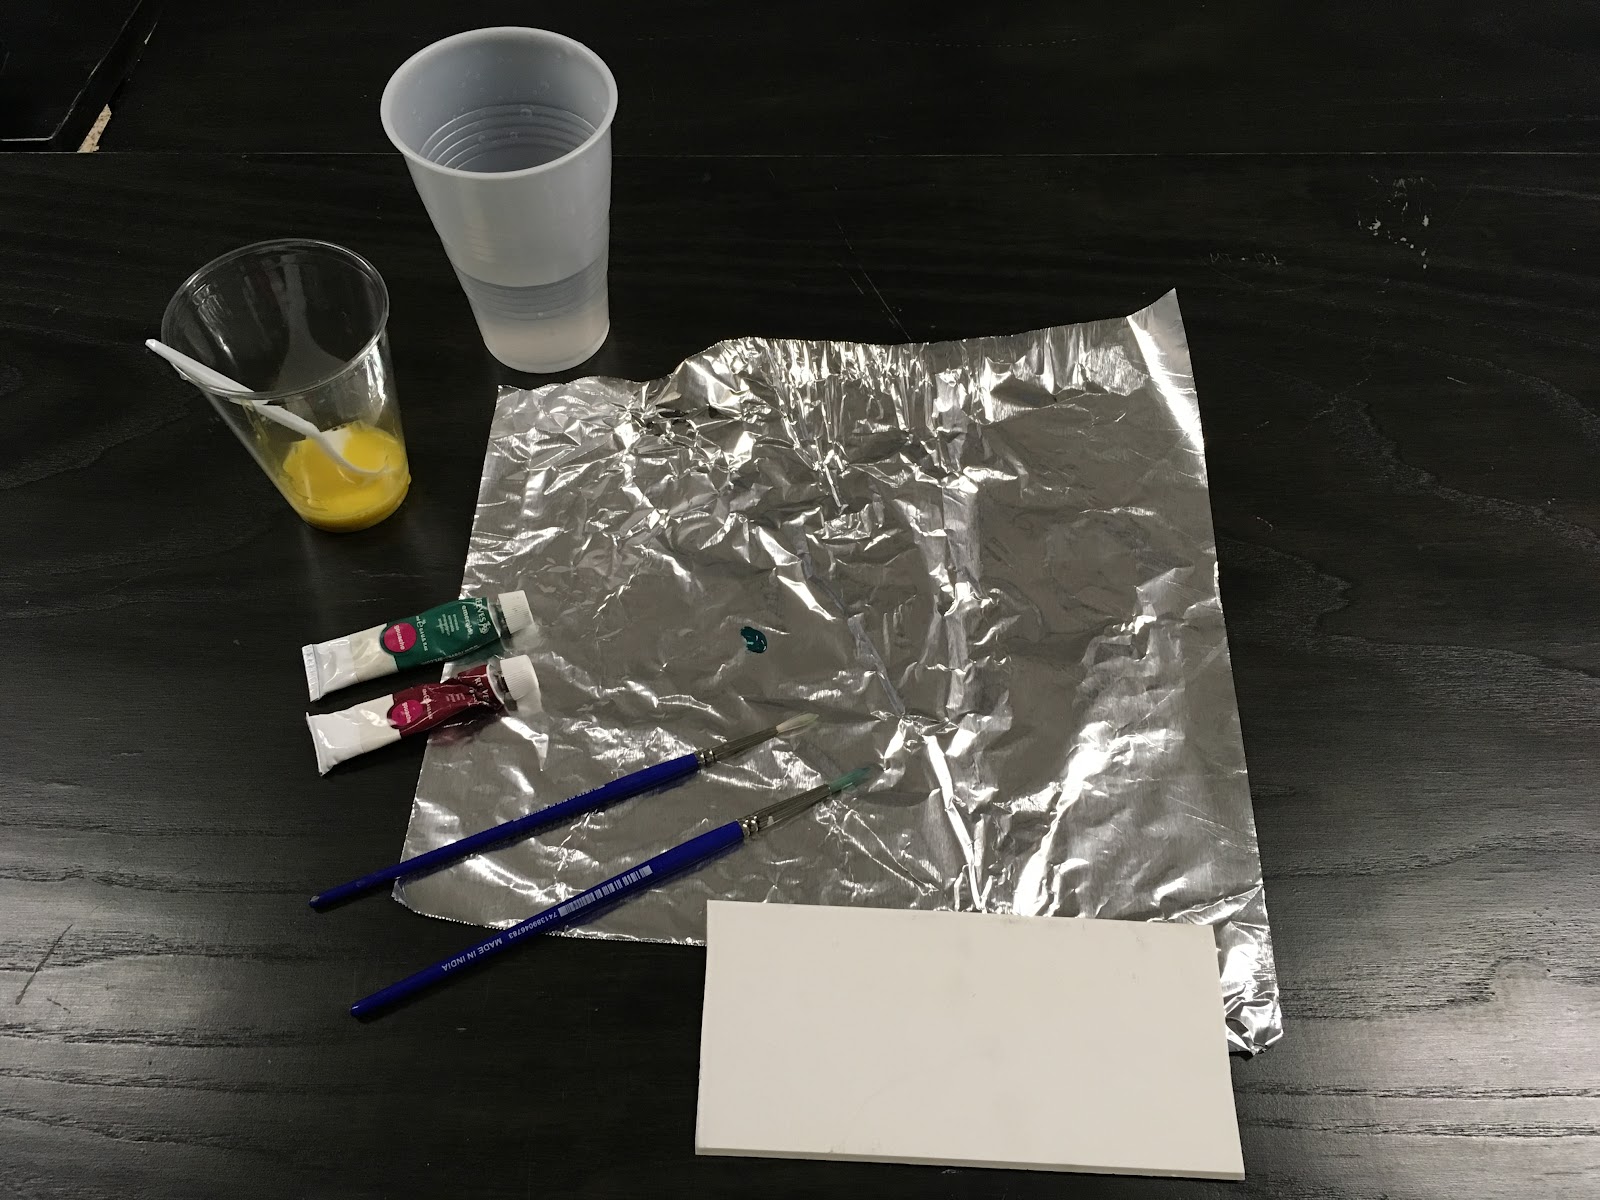
Materials:
-acrylic sheet (plexiglass) I used 12"x 24" sheets: Source
-Krylon Crystal Clear acrylic coating (optional)
-elmers's school glue (white)
-clear Elmer's glue
-black acrylic paint
-acrylic paint (colors that you want to paint the glass)
-exacto knives
-metal rulers (optional)
-toothpicks (optional-- I didn't find them that helpful)
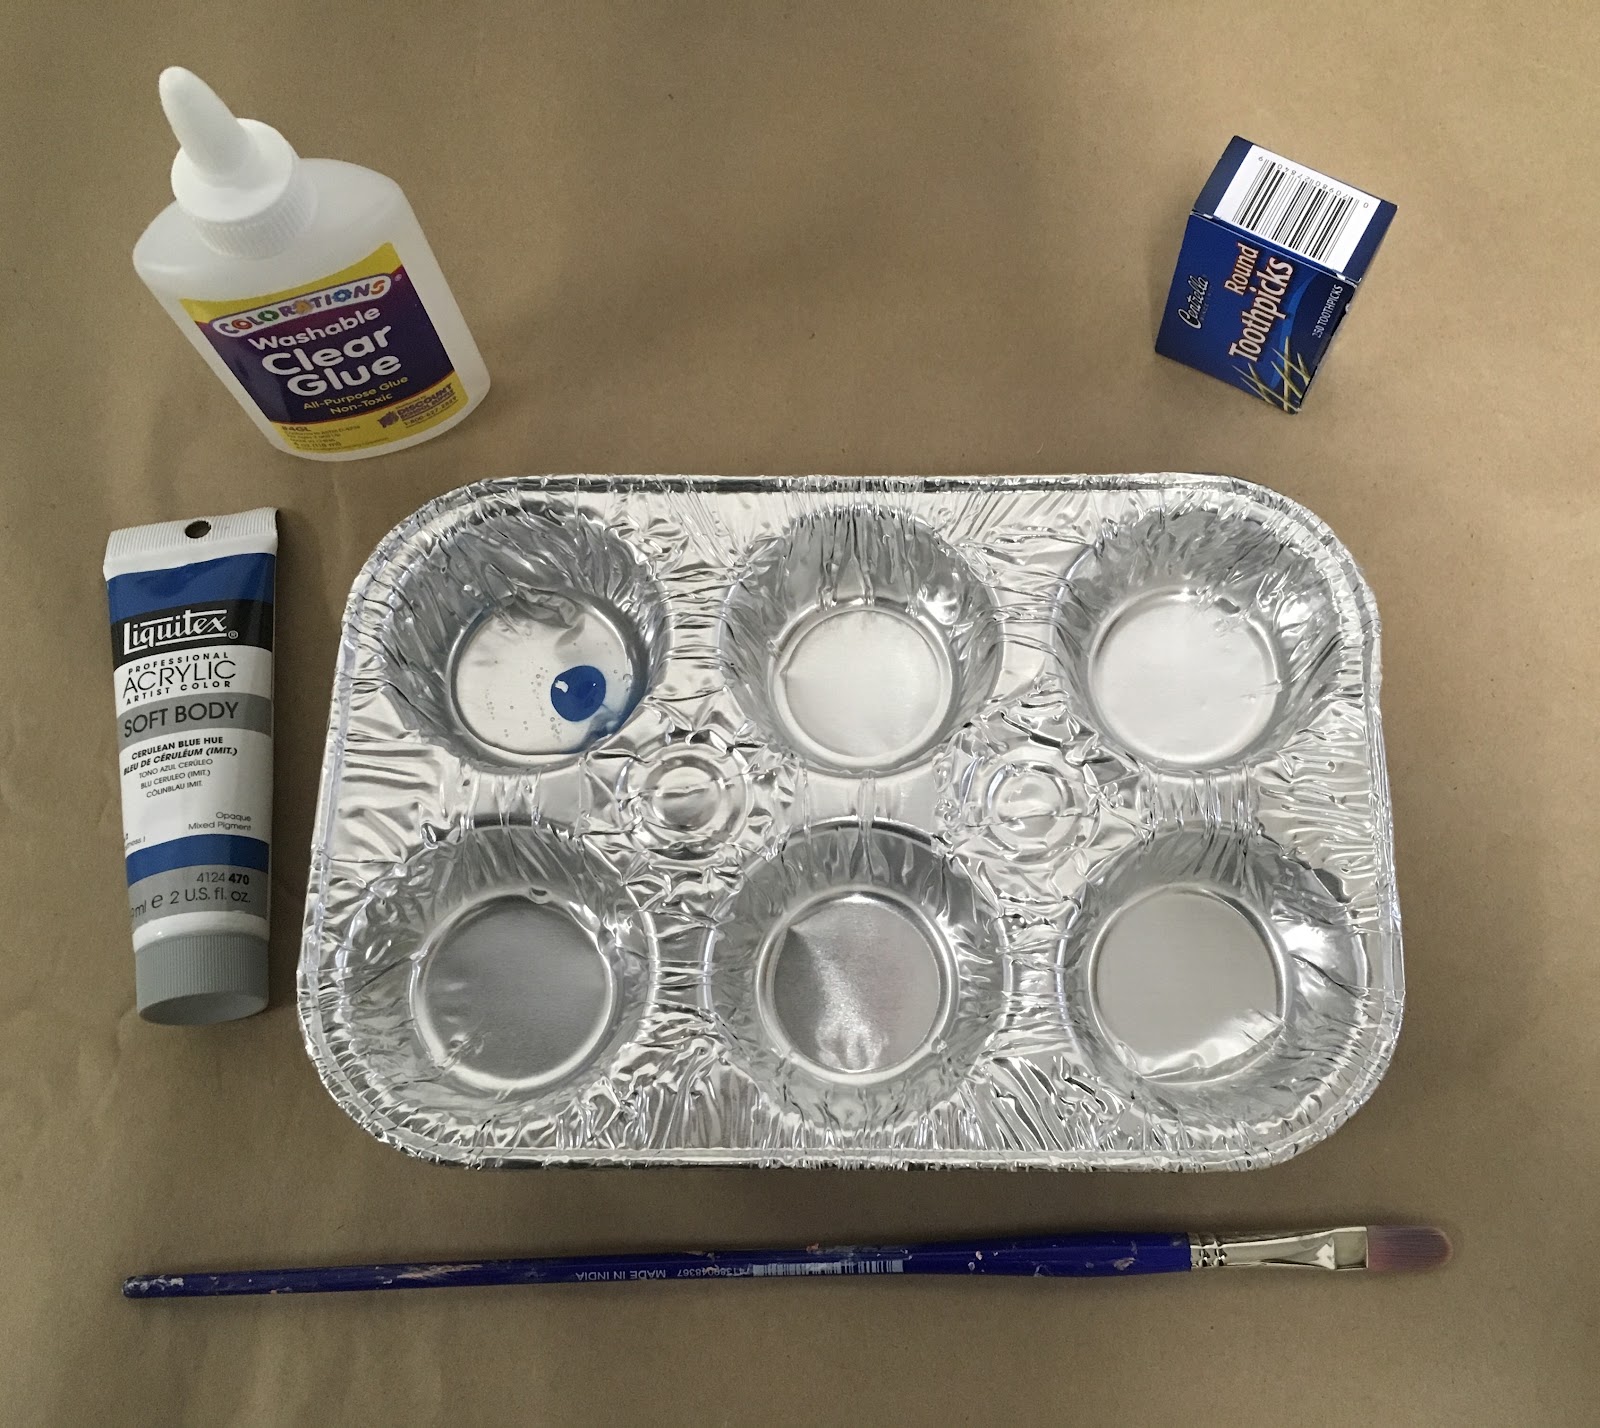
-cupcake tins for mixing paint
-acrylic sheet (plexiglass) I used 12"x 24" sheets: Source
-Krylon Crystal Clear acrylic coating (optional)
-elmers's school glue (white)
-clear Elmer's glue
-black acrylic paint
-acrylic paint (colors that you want to paint the glass)
-exacto knives
-metal rulers (optional)
-toothpicks (optional-- I didn't find them that helpful)
-cupcake tins for mixing paint
Process:
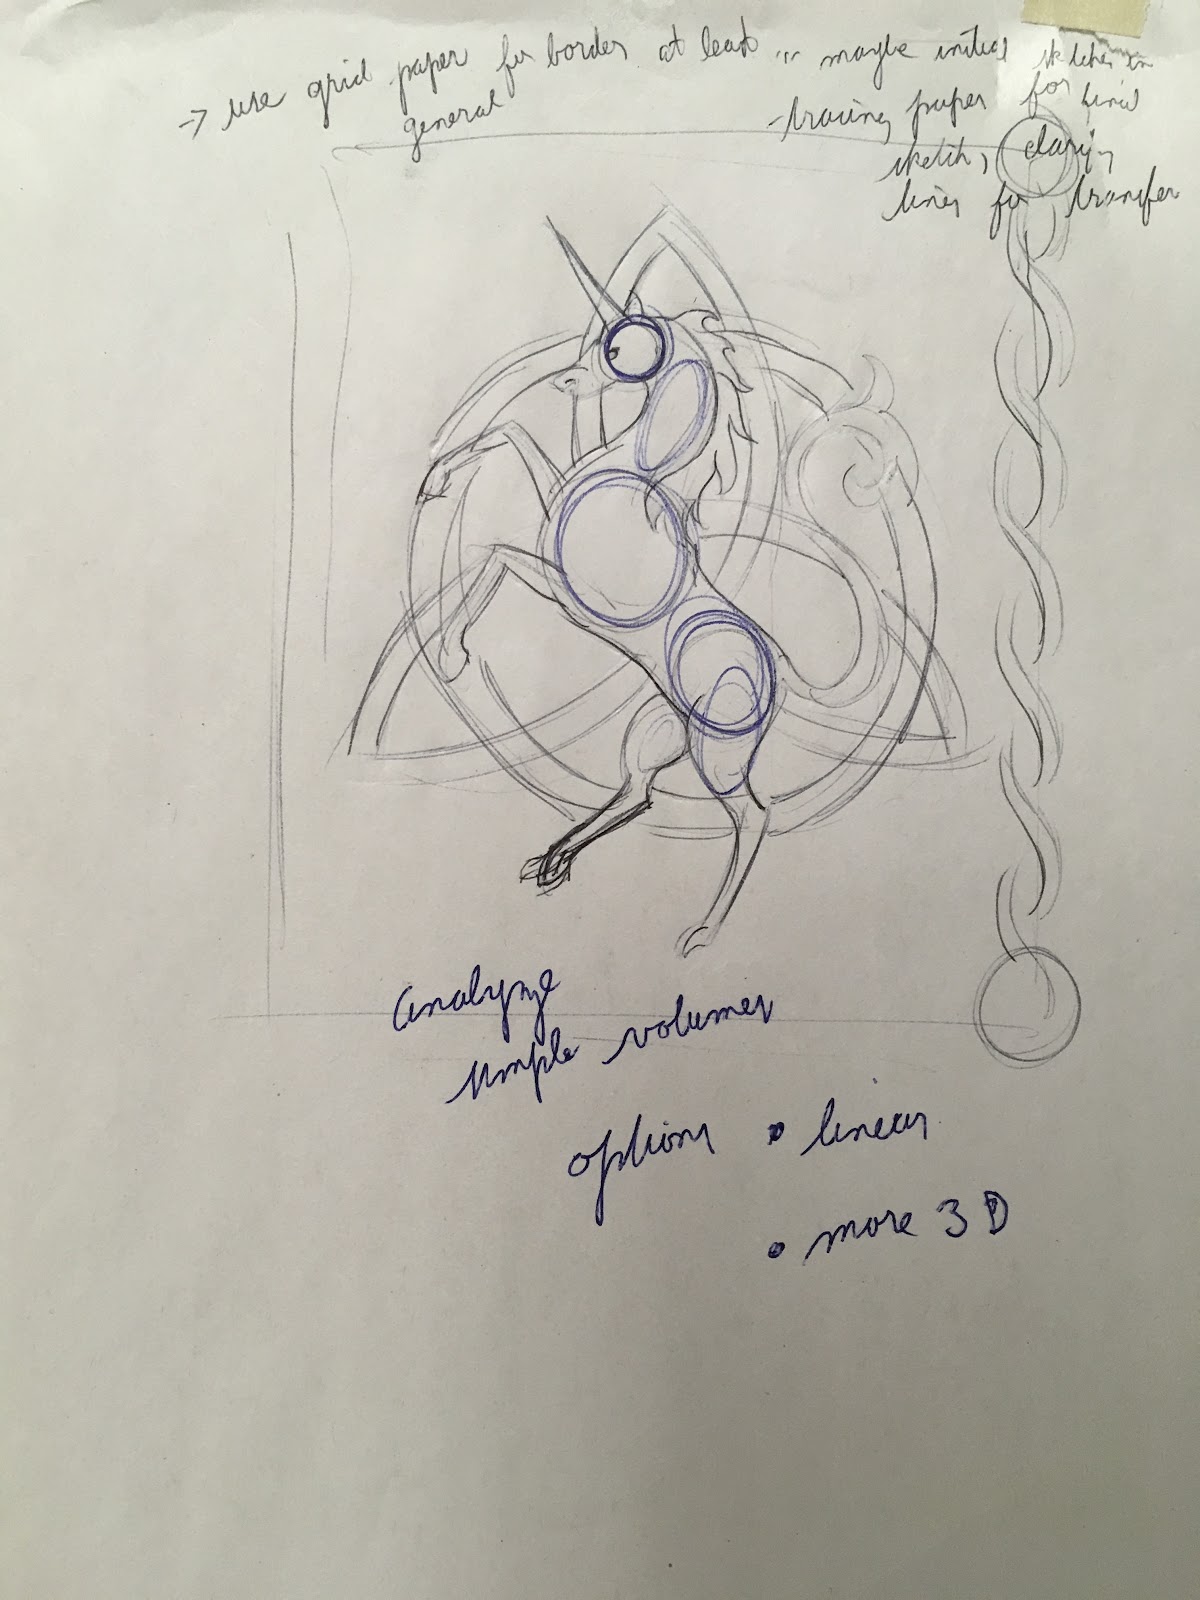
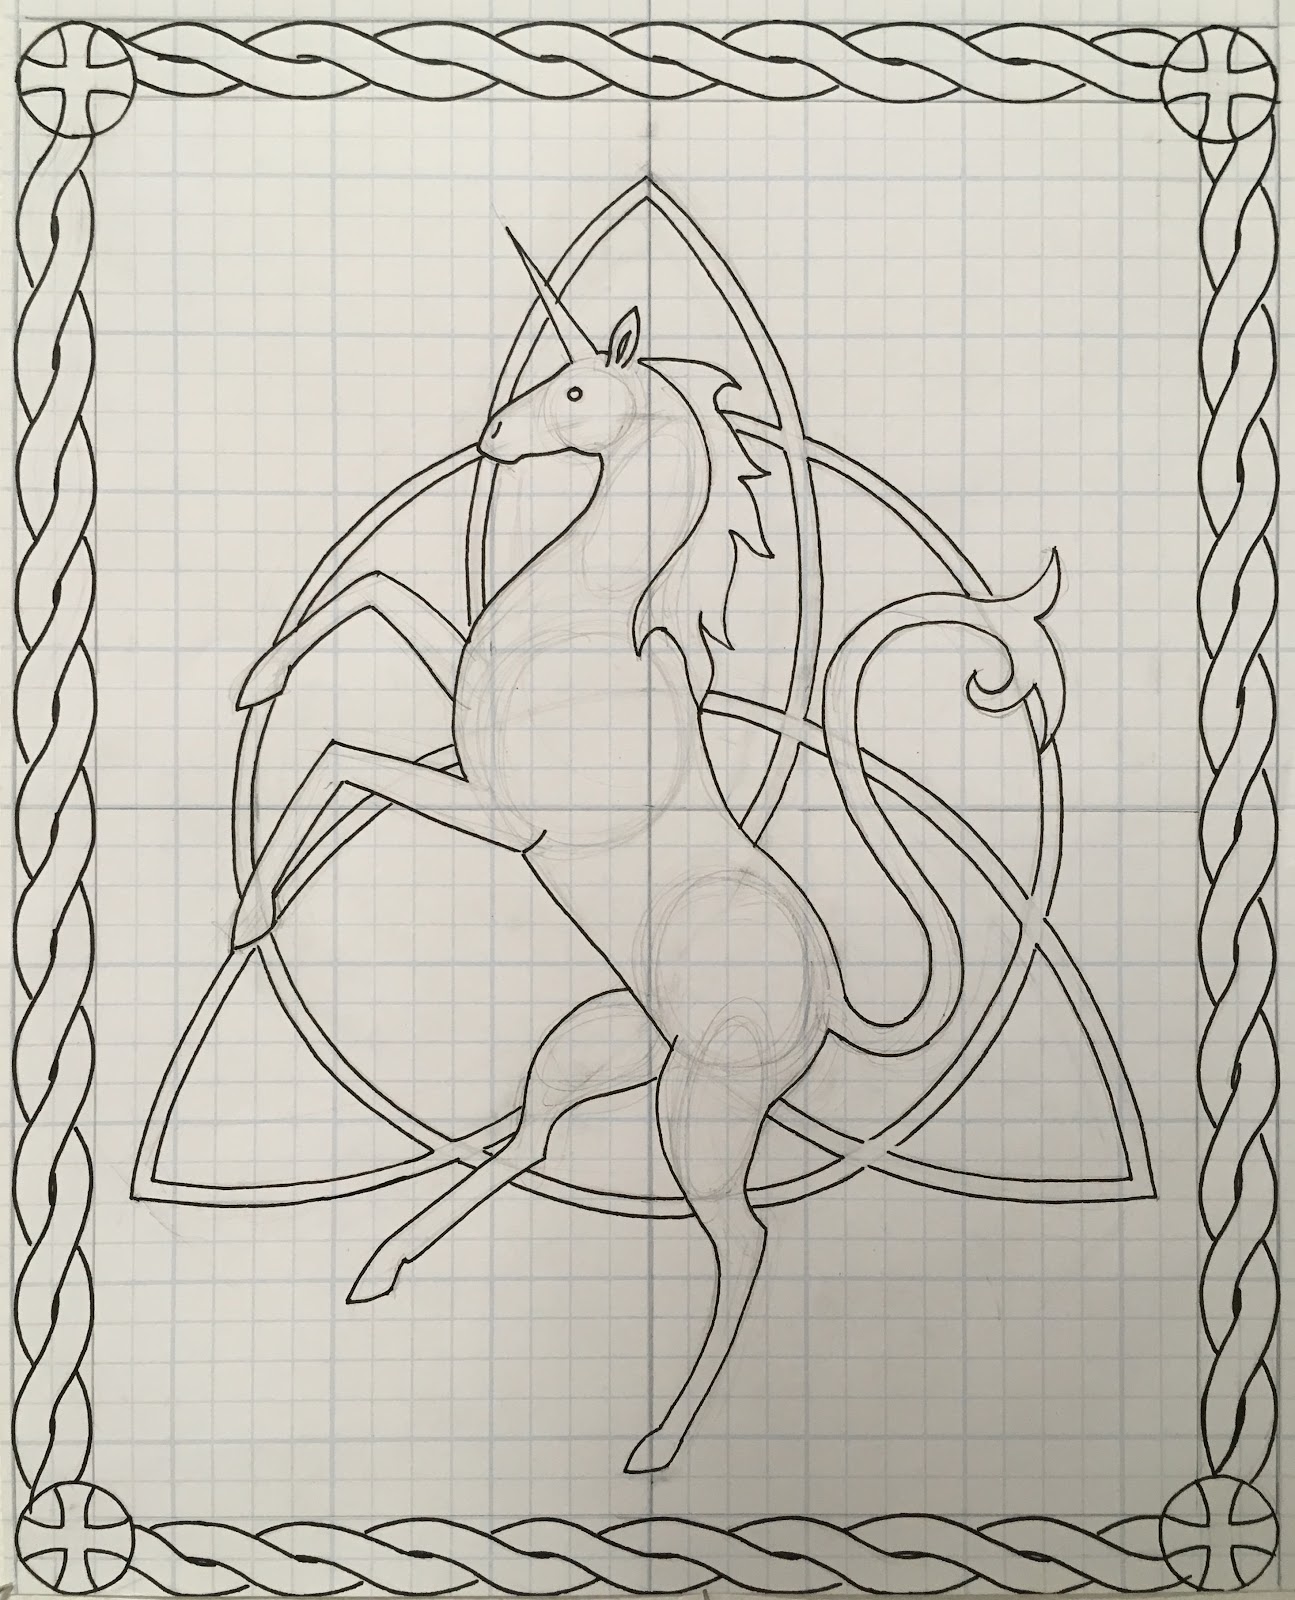
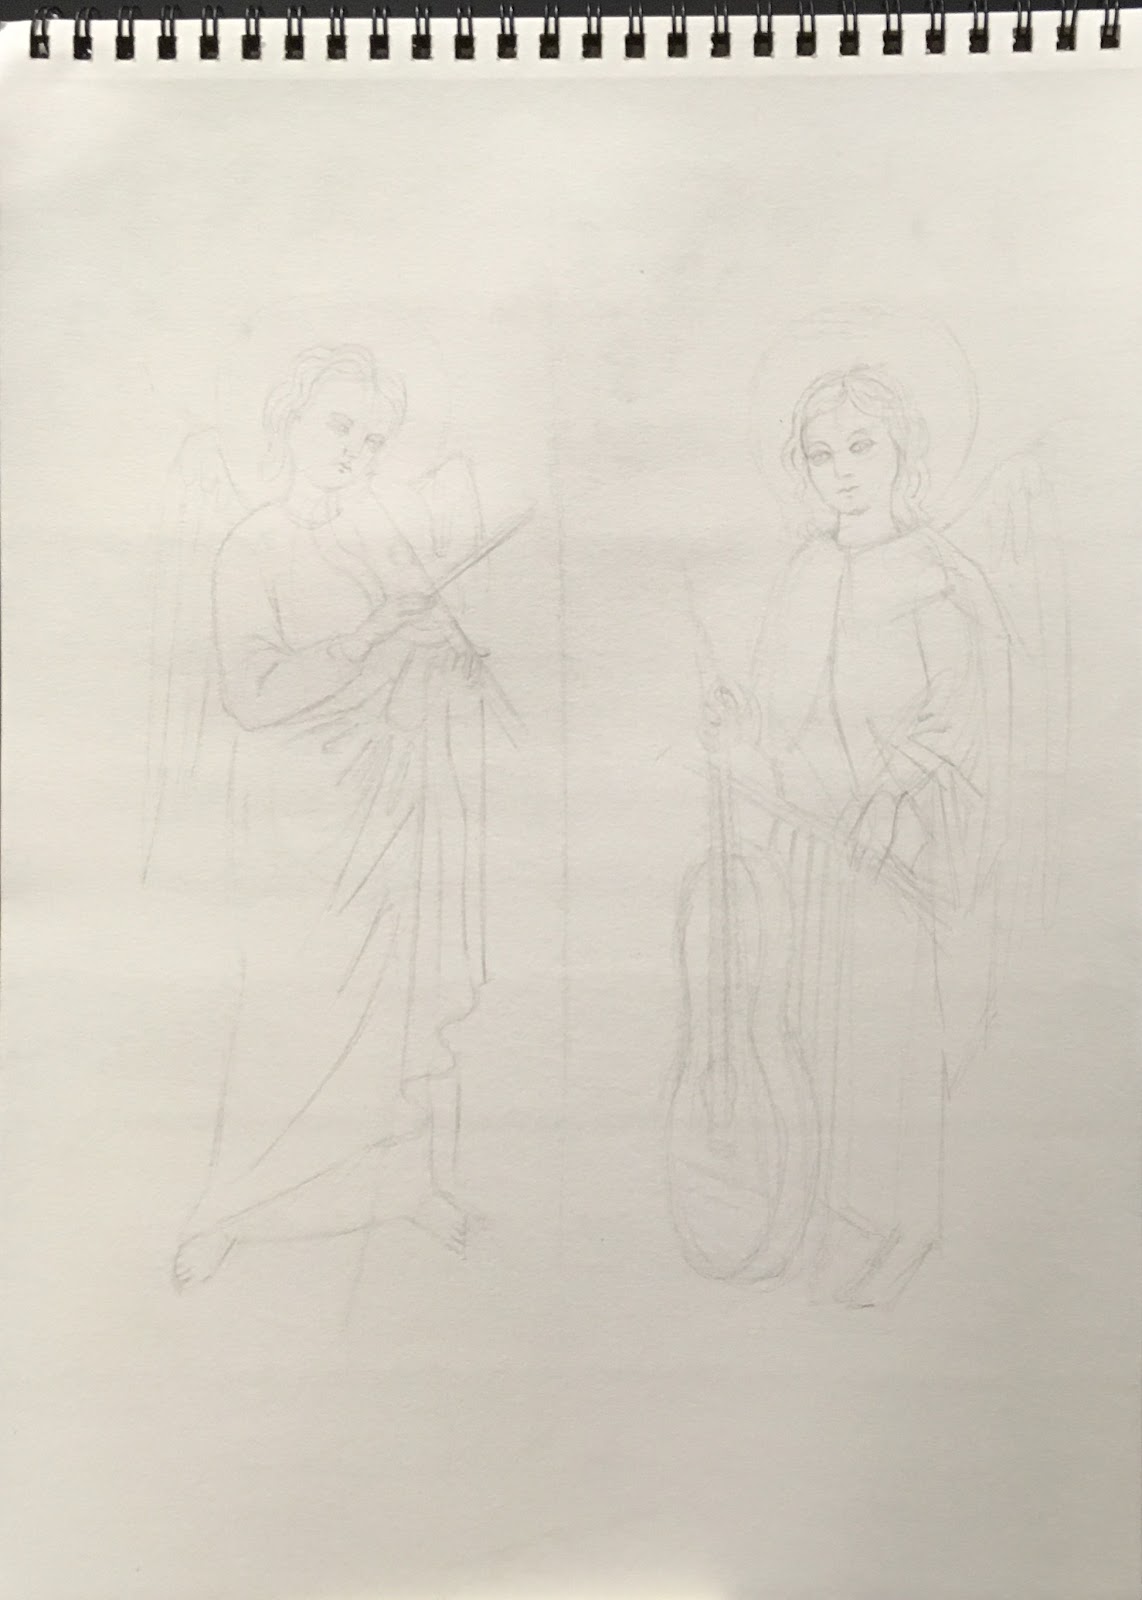
Phase I: Research/ Design
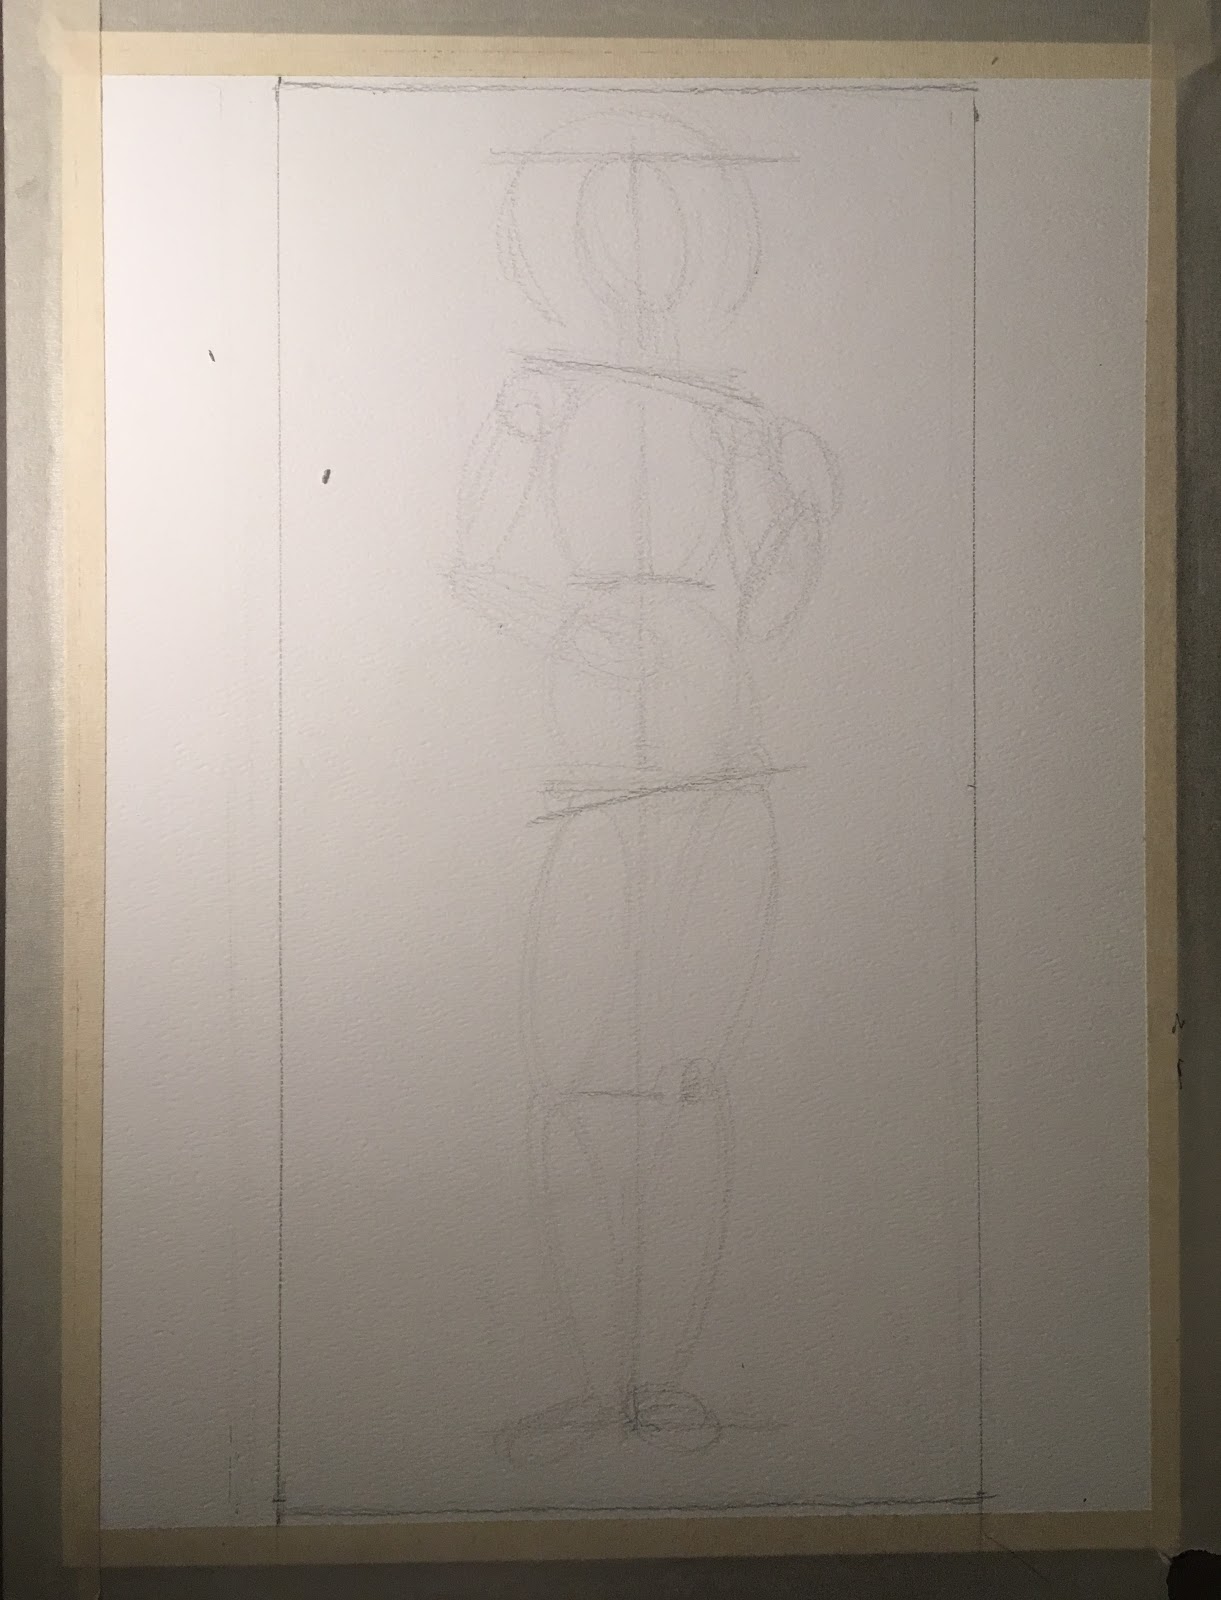
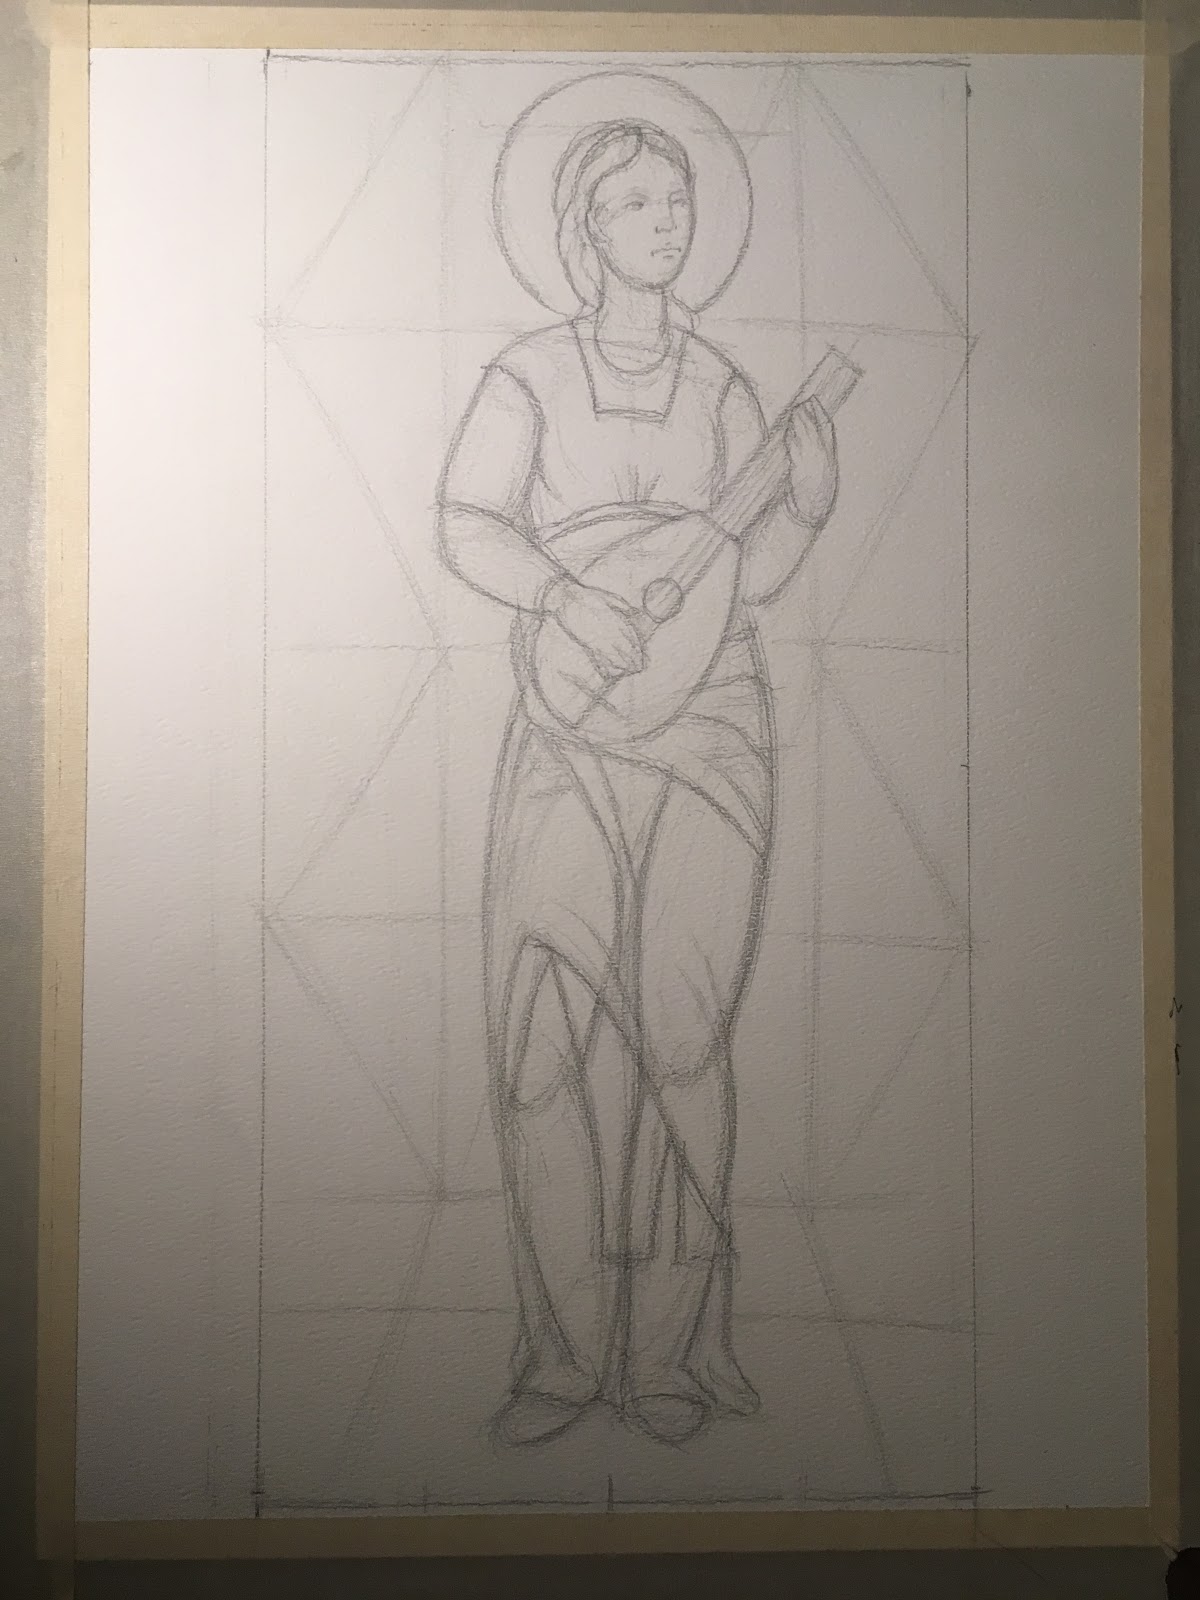
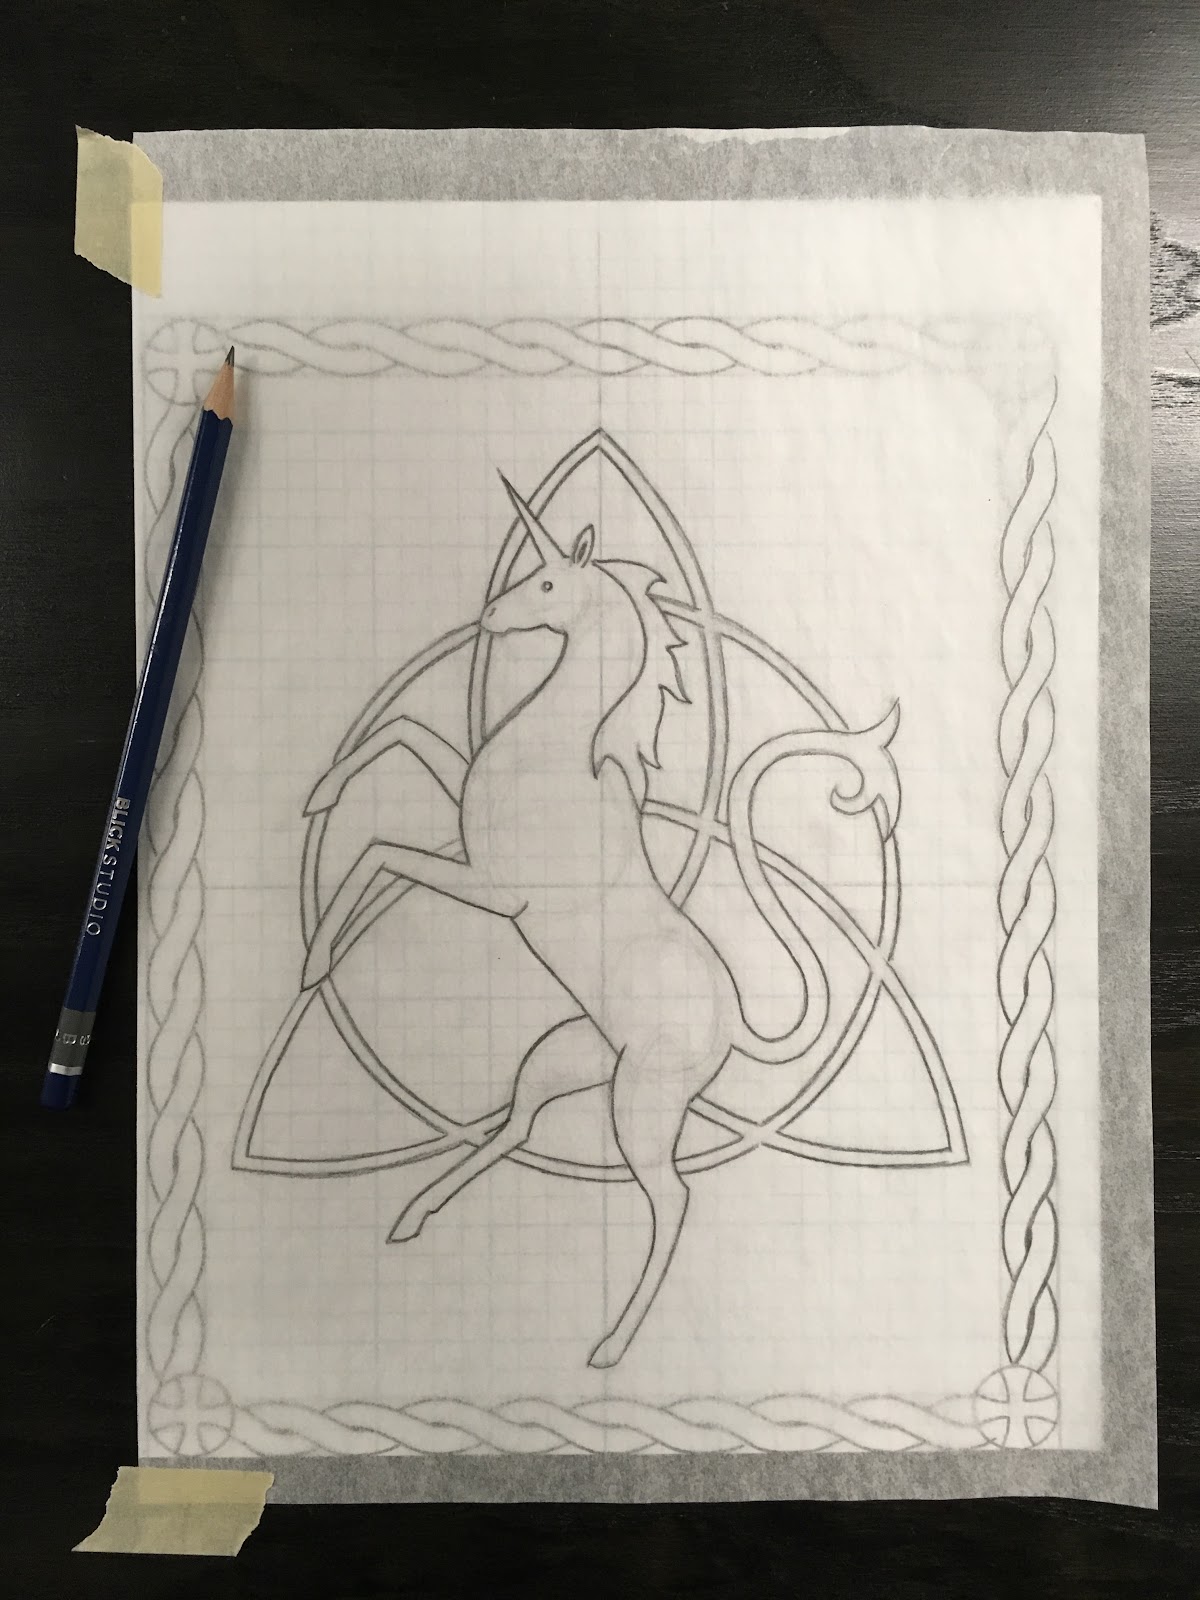
First, choose a saint and conduct some research on how they are depicted in art.
Some helpful websites for this:
https://en.wikipedia.org/wiki/Saint_symbolism
Phase I: Research/ Design
First, choose a saint and conduct some research on how they are depicted in art.
Some helpful websites for this:
https://en.wikipedia.org/wiki/Saint_symbolism
For expanded version open this slideshow:
Slideshow--Stained Glass Saints
For abbreviated version keep reading.


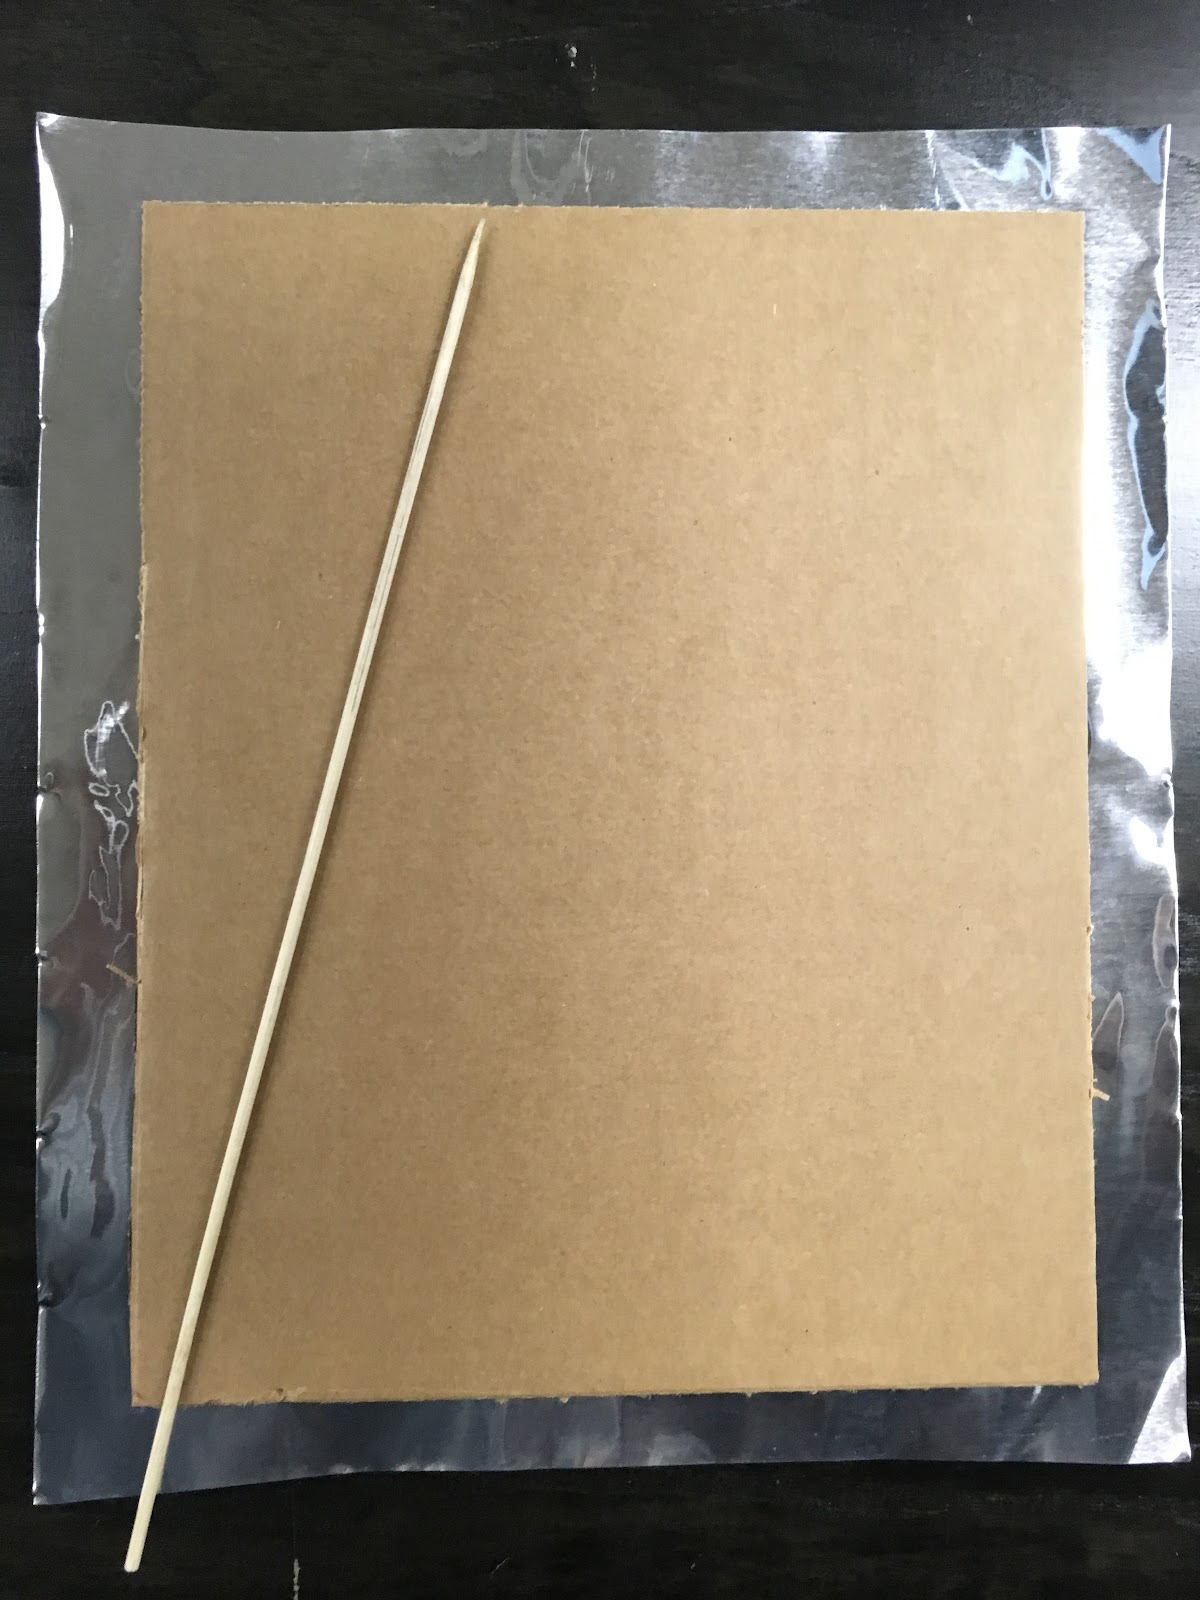
Phase II: Execution
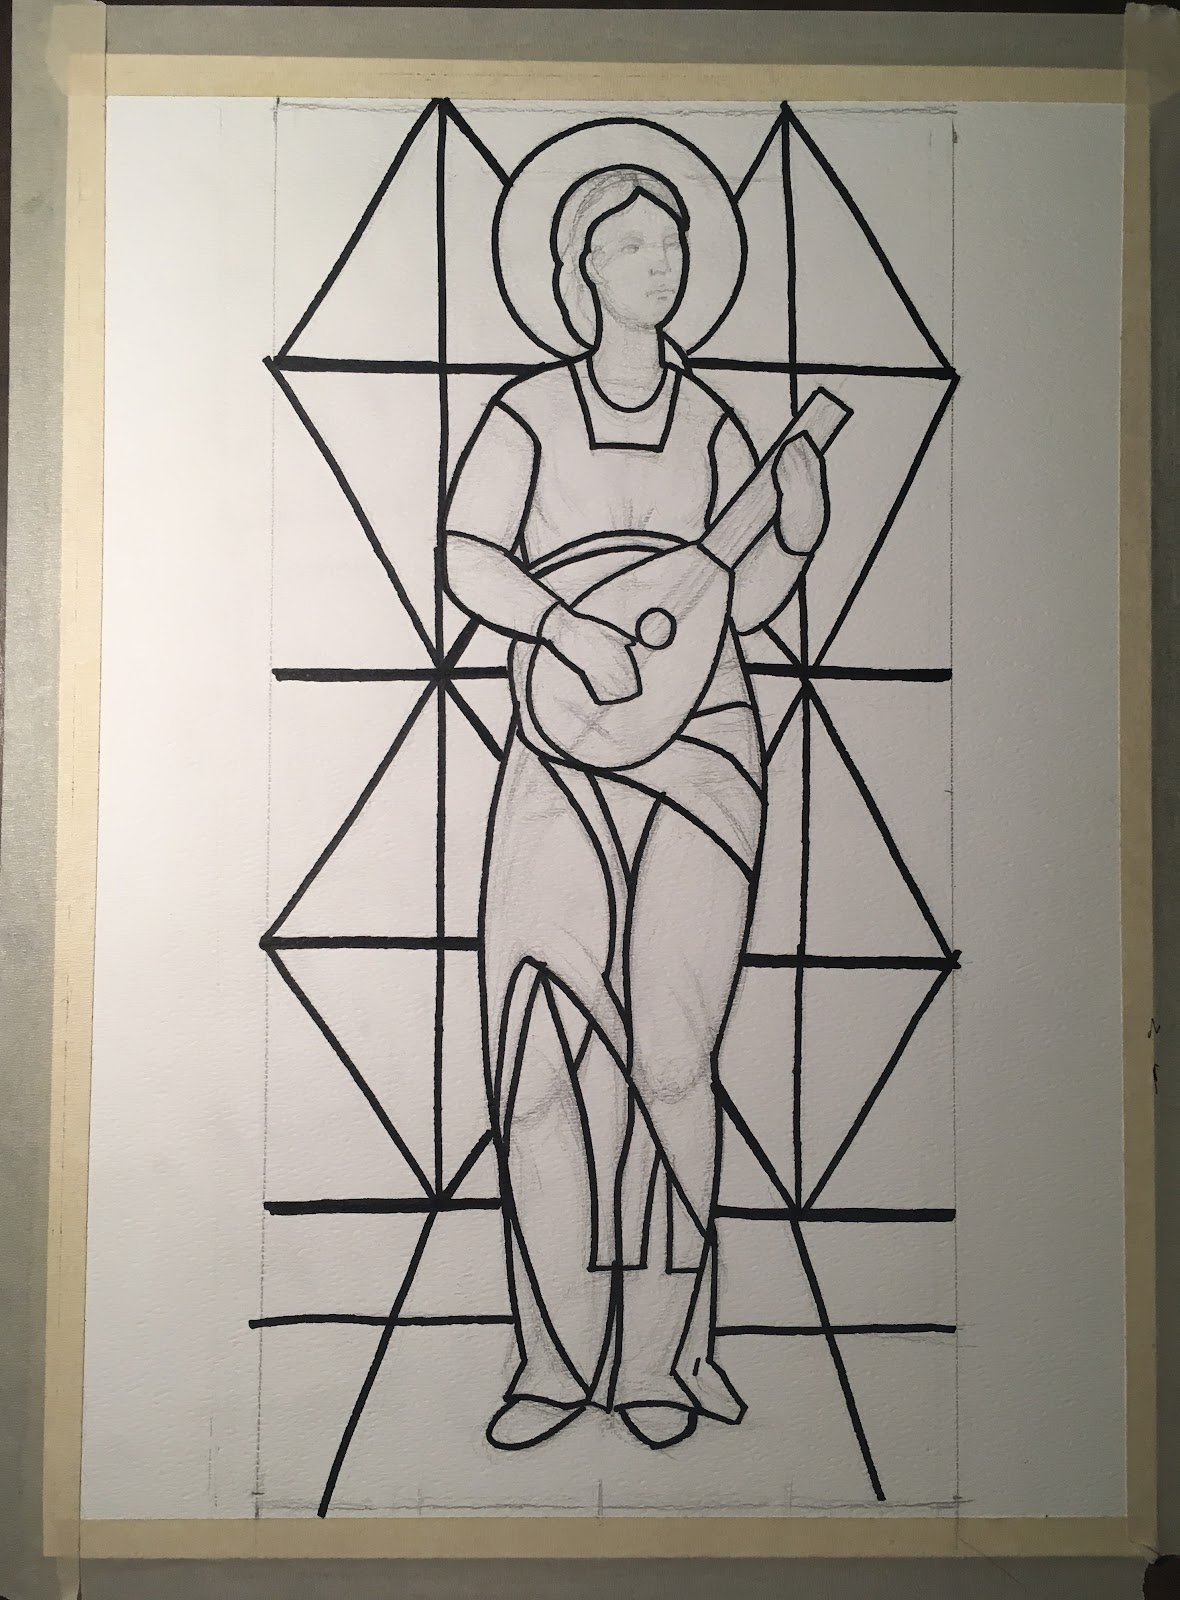
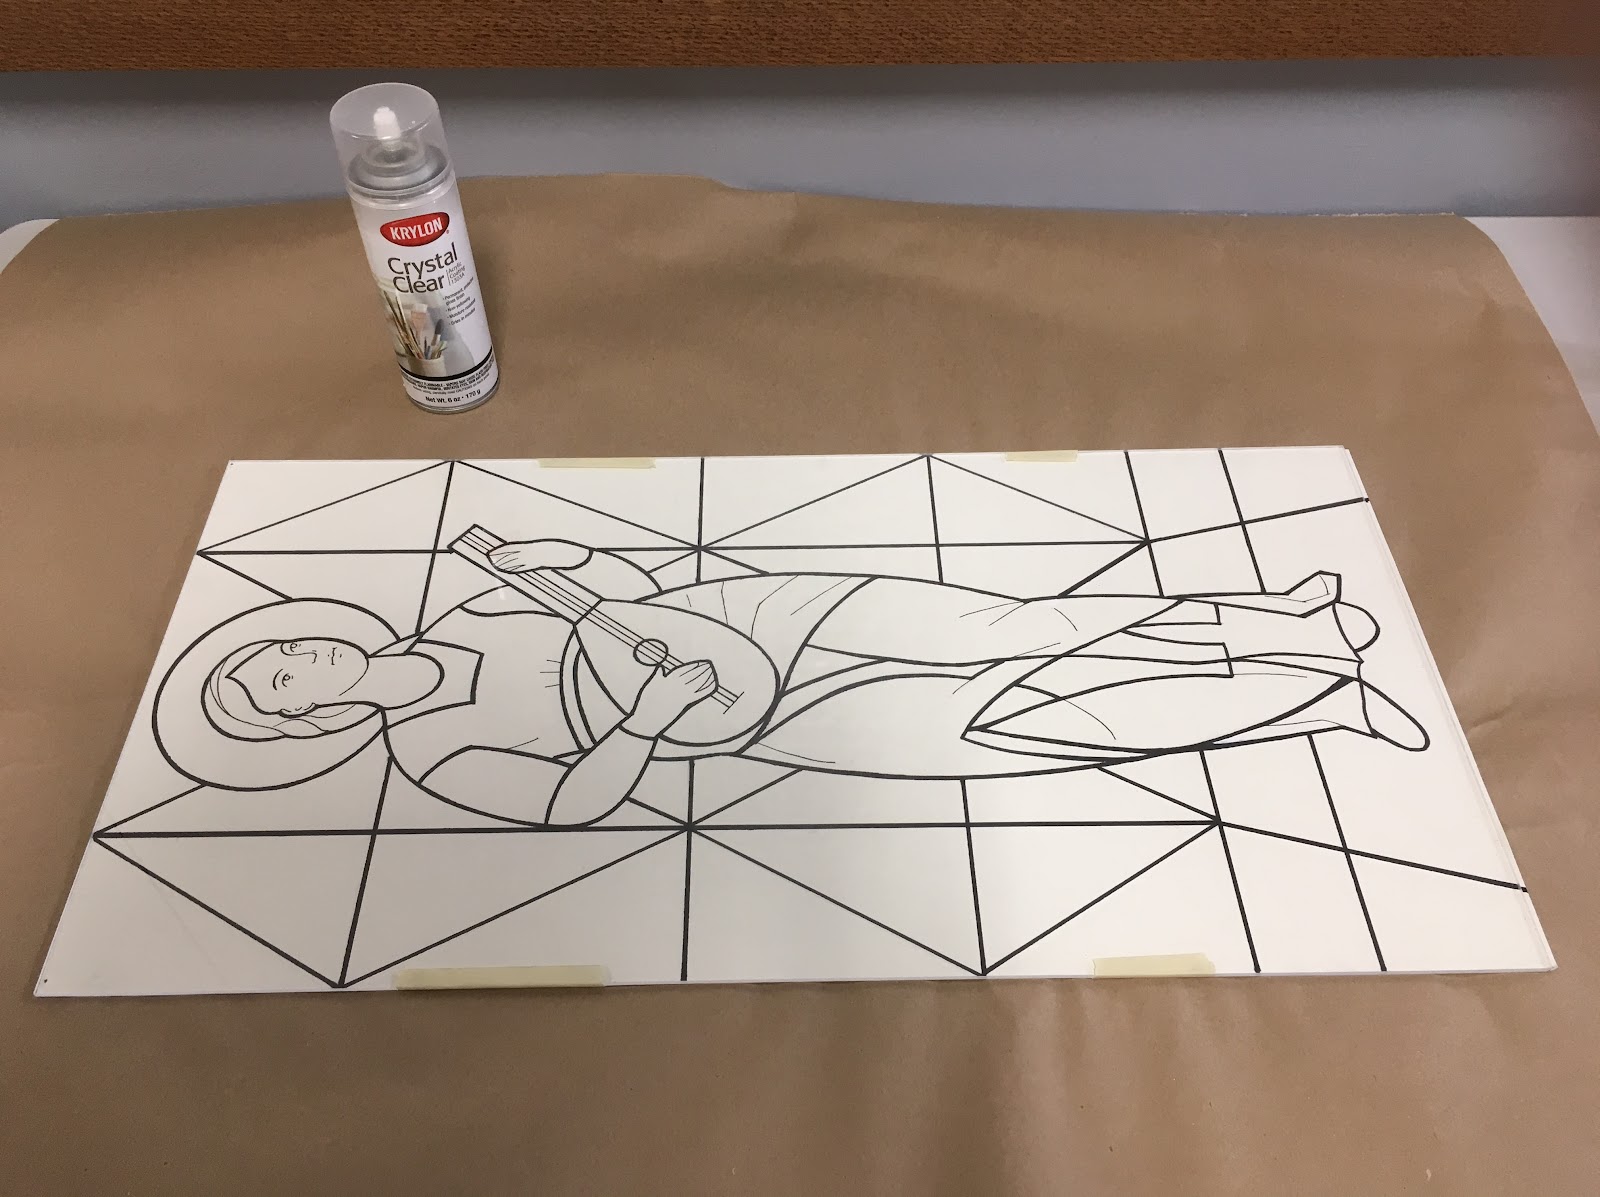
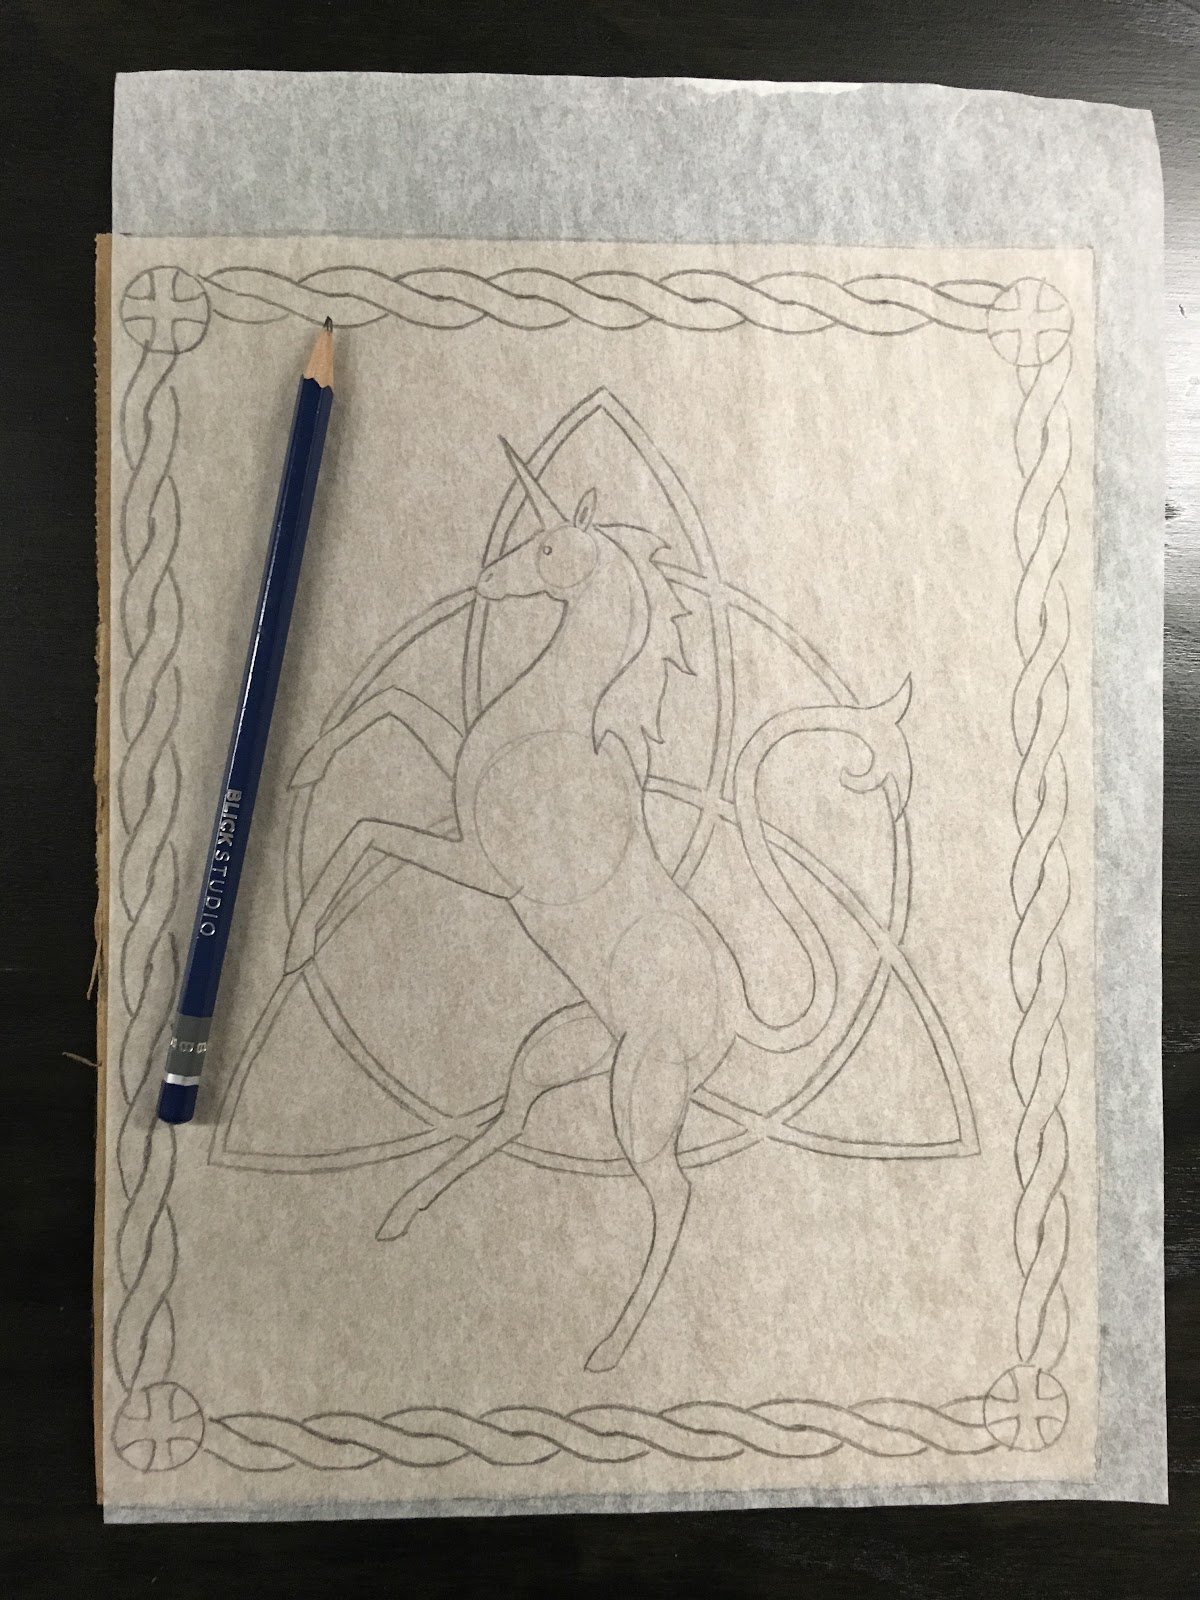
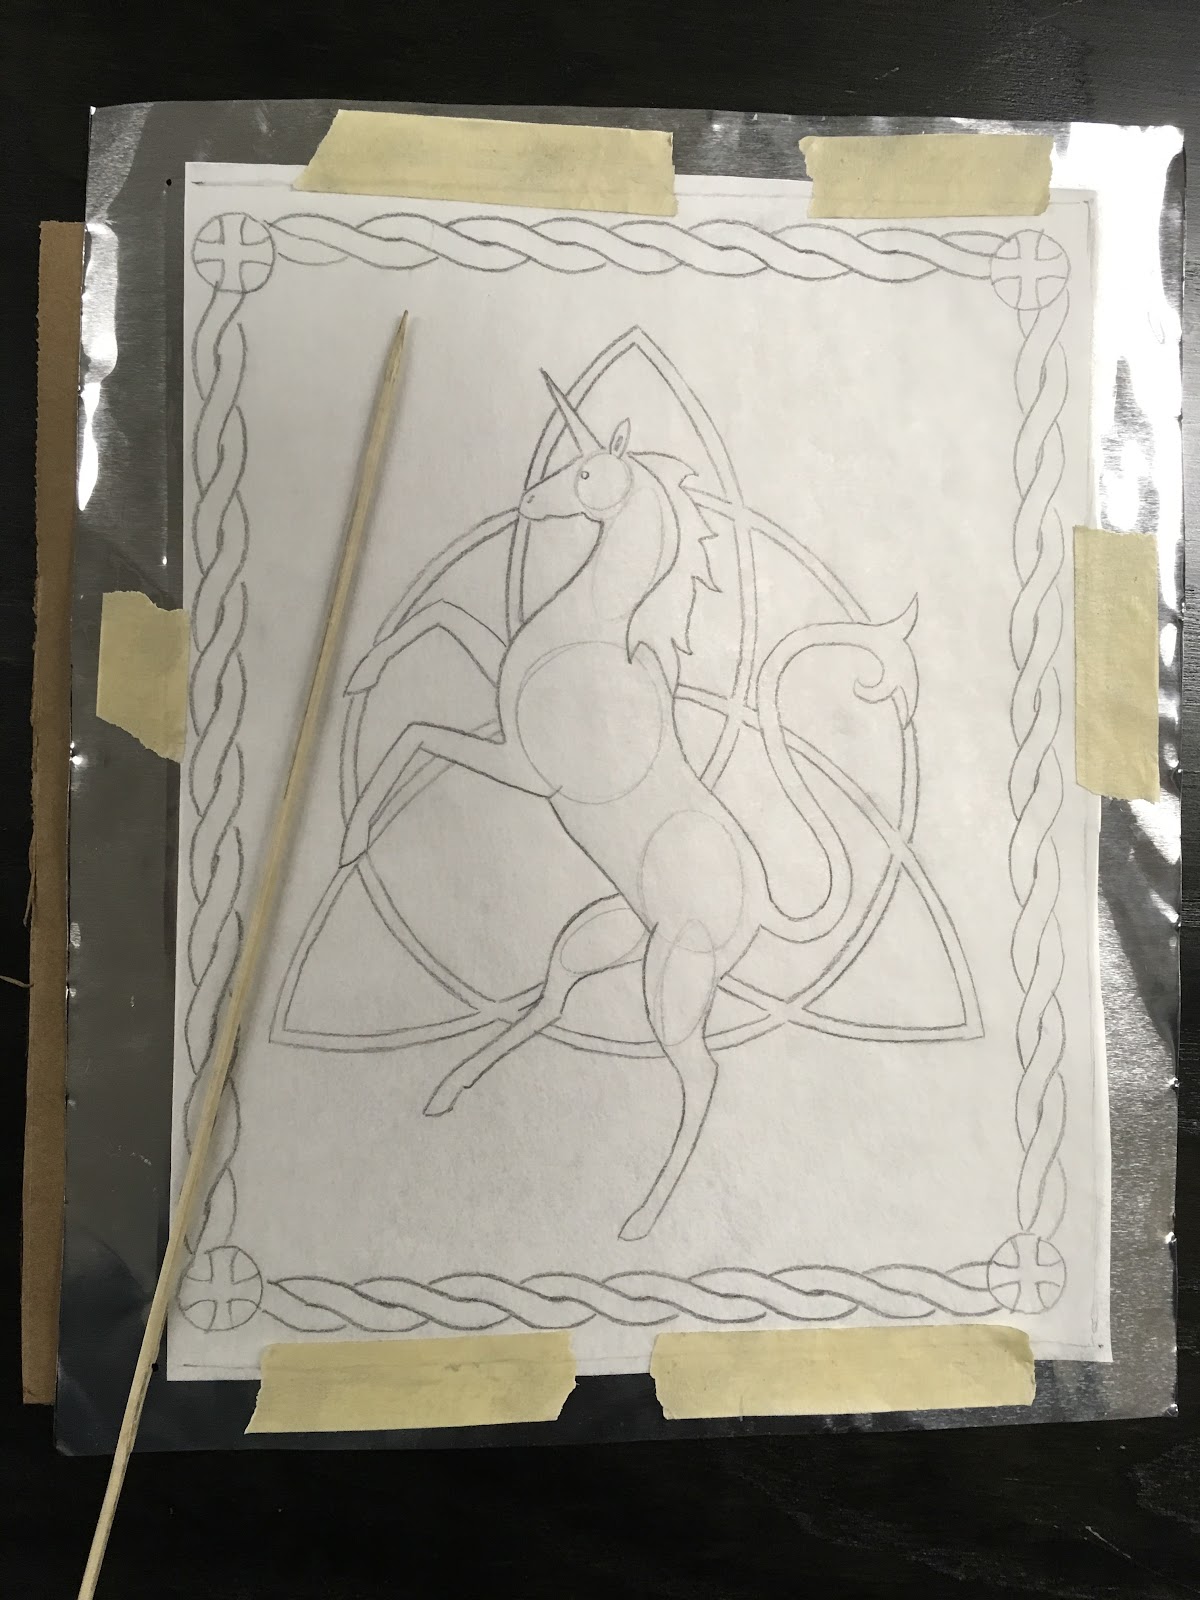
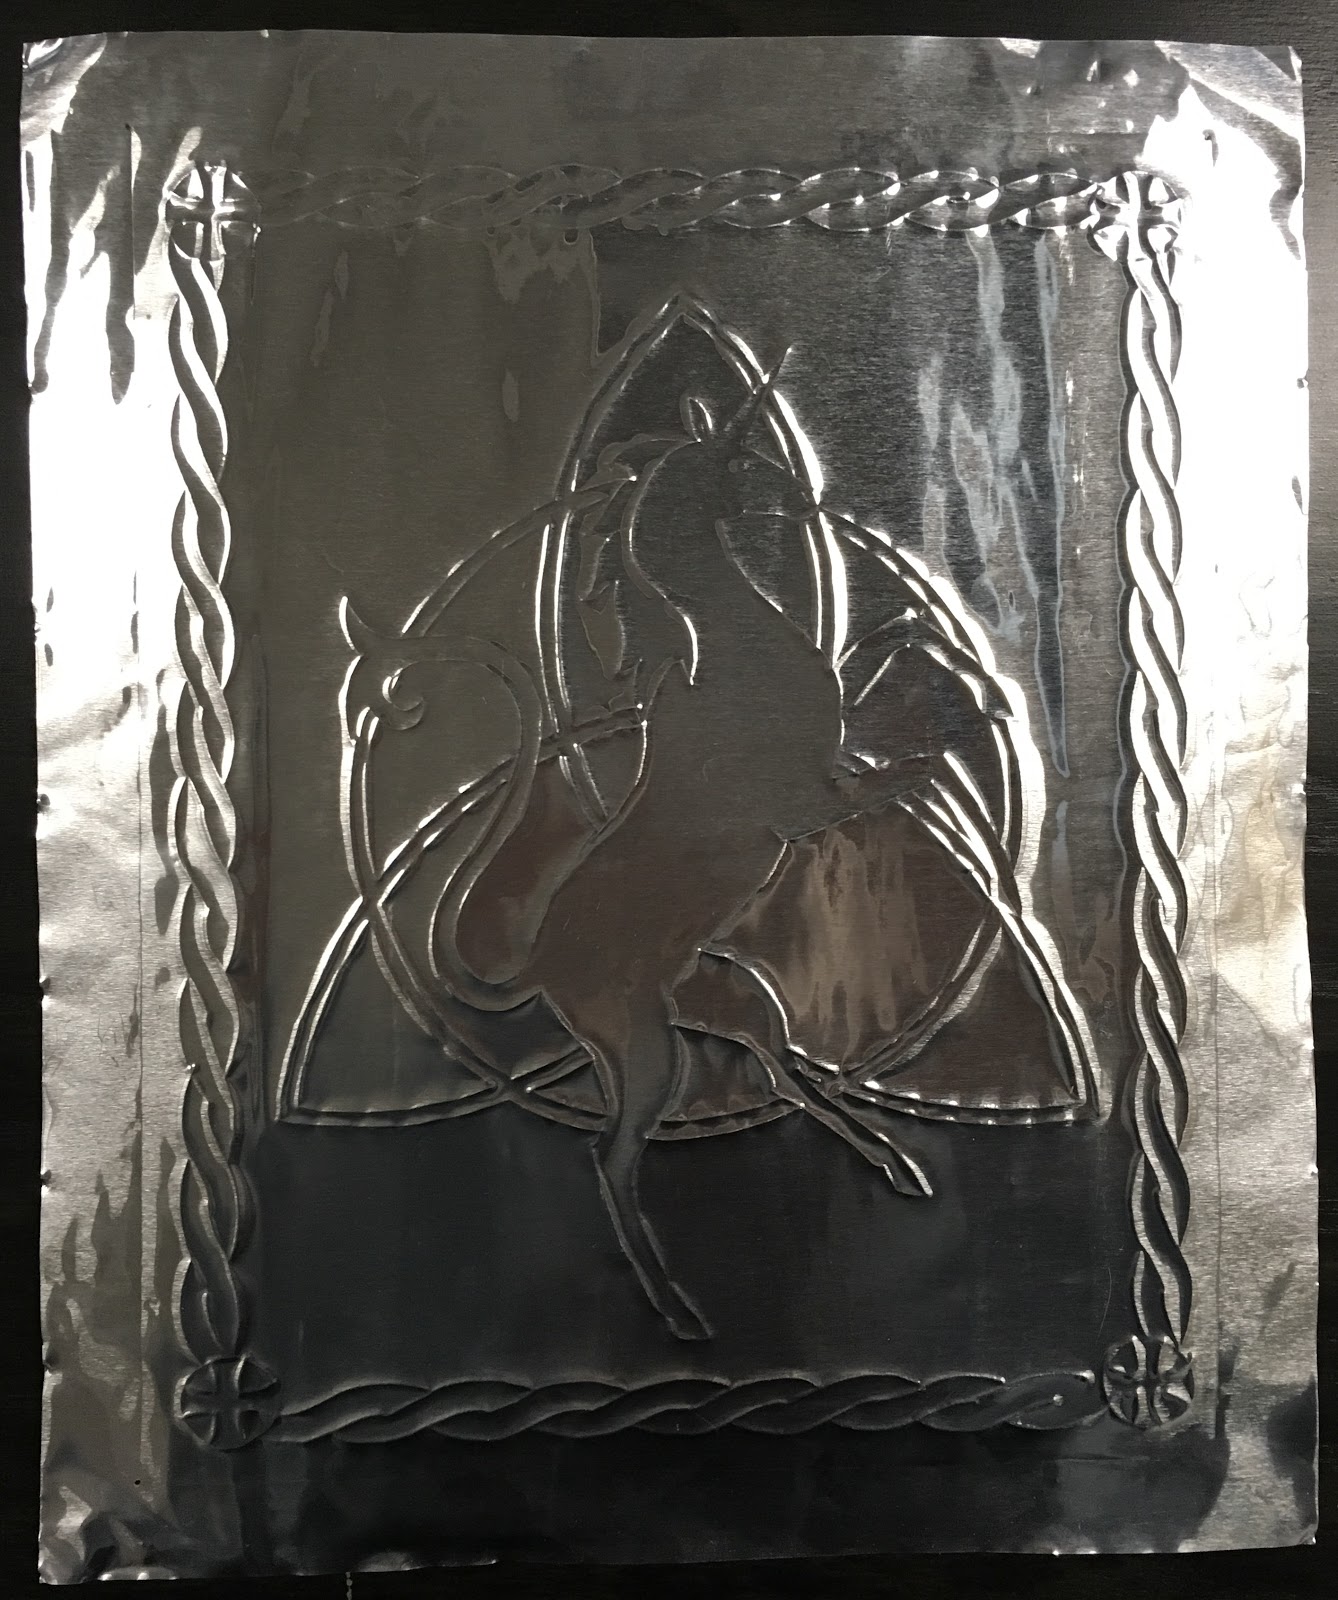
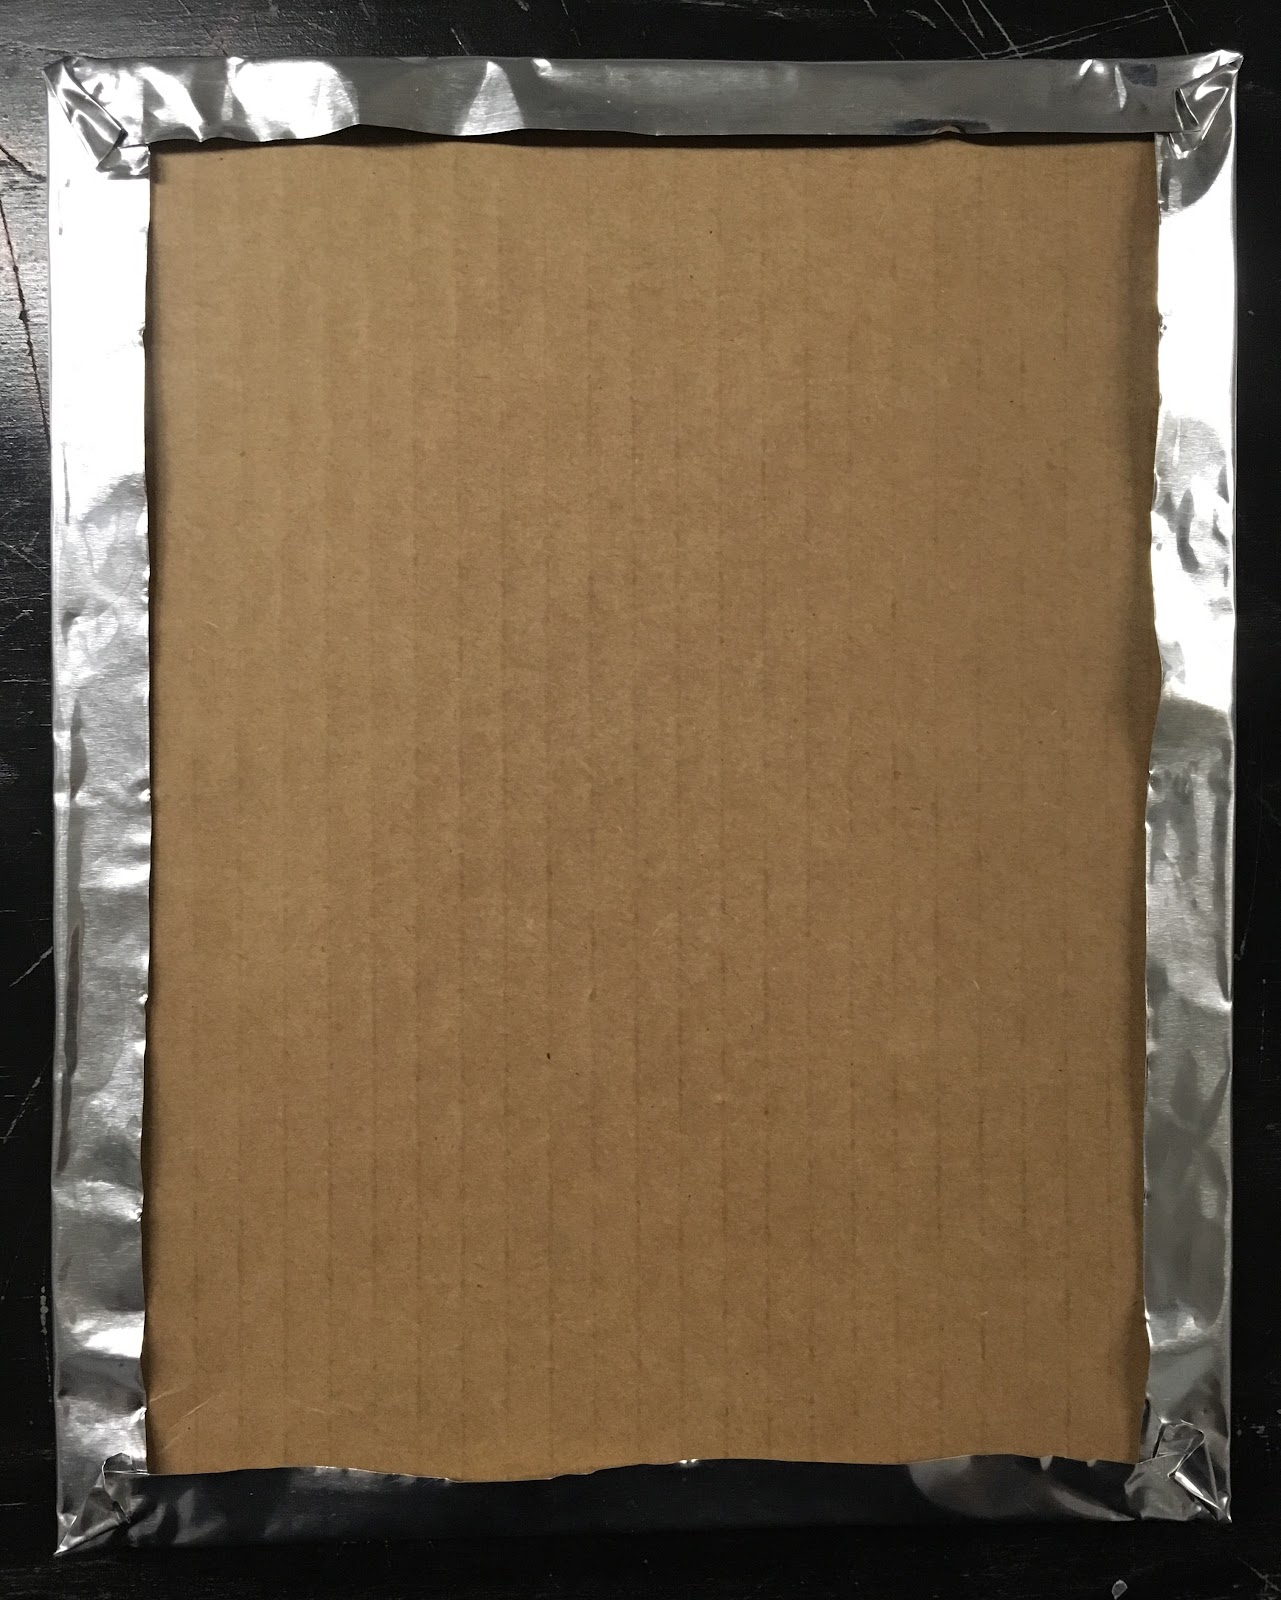
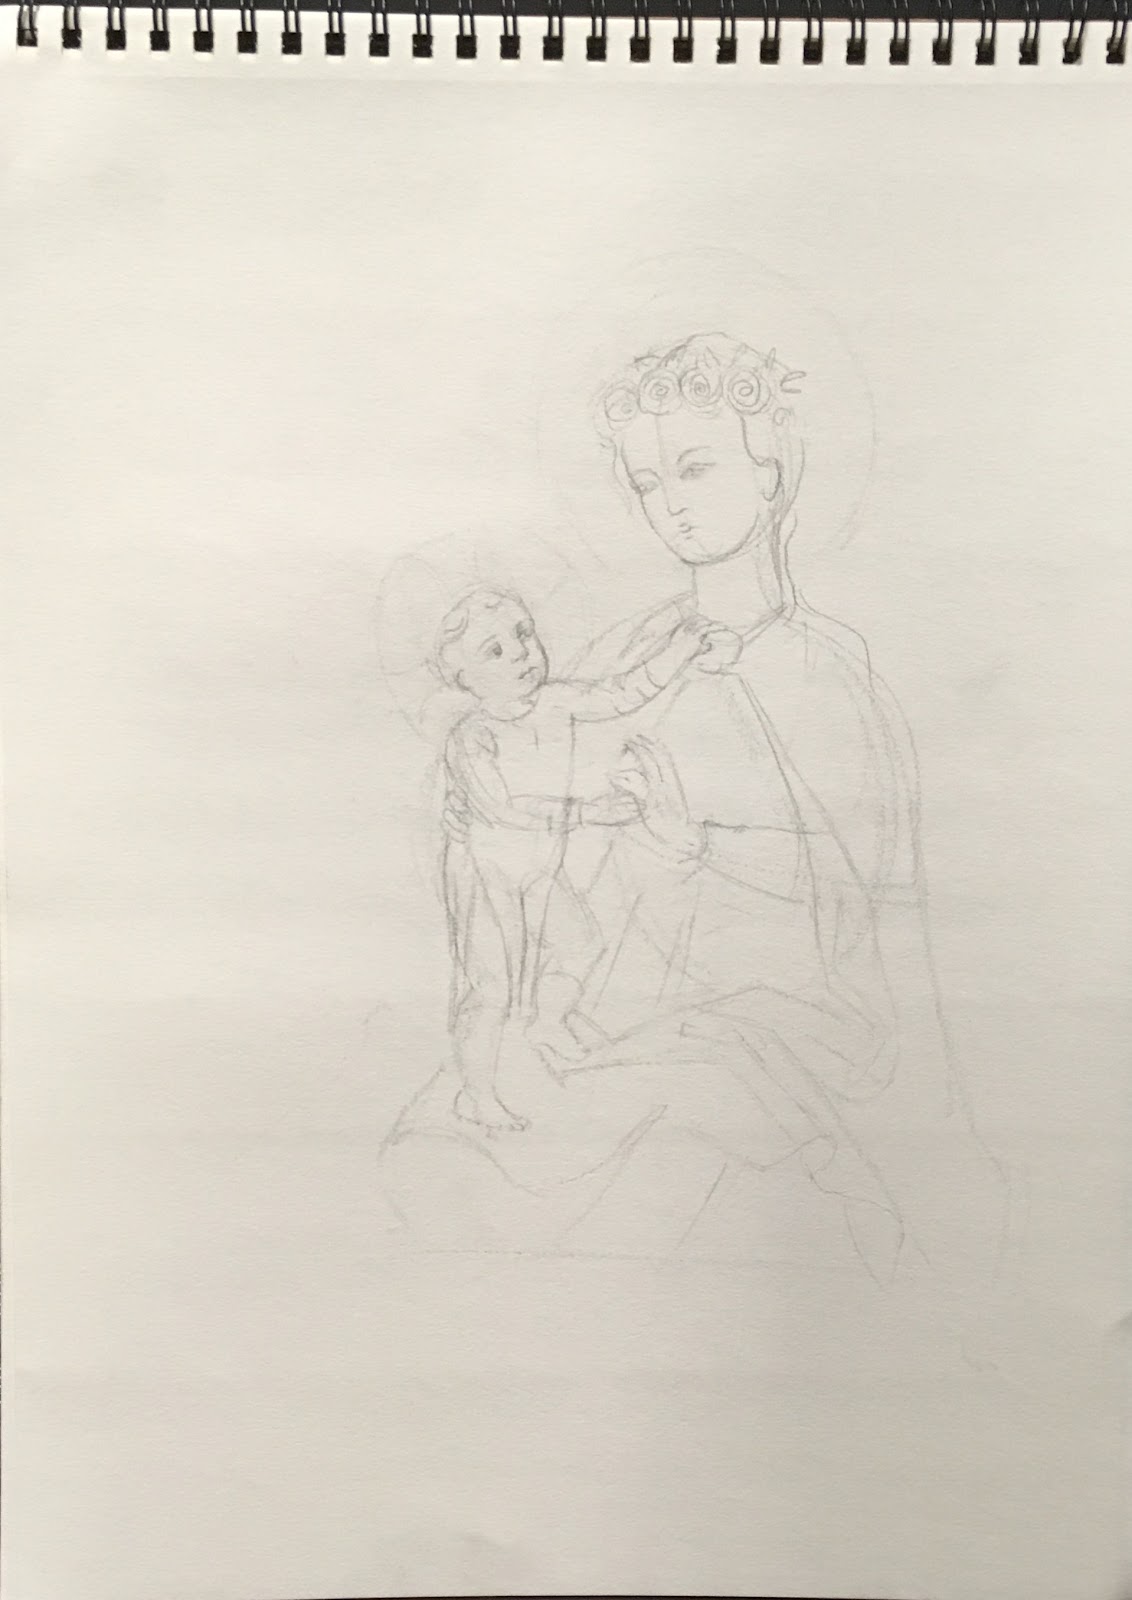
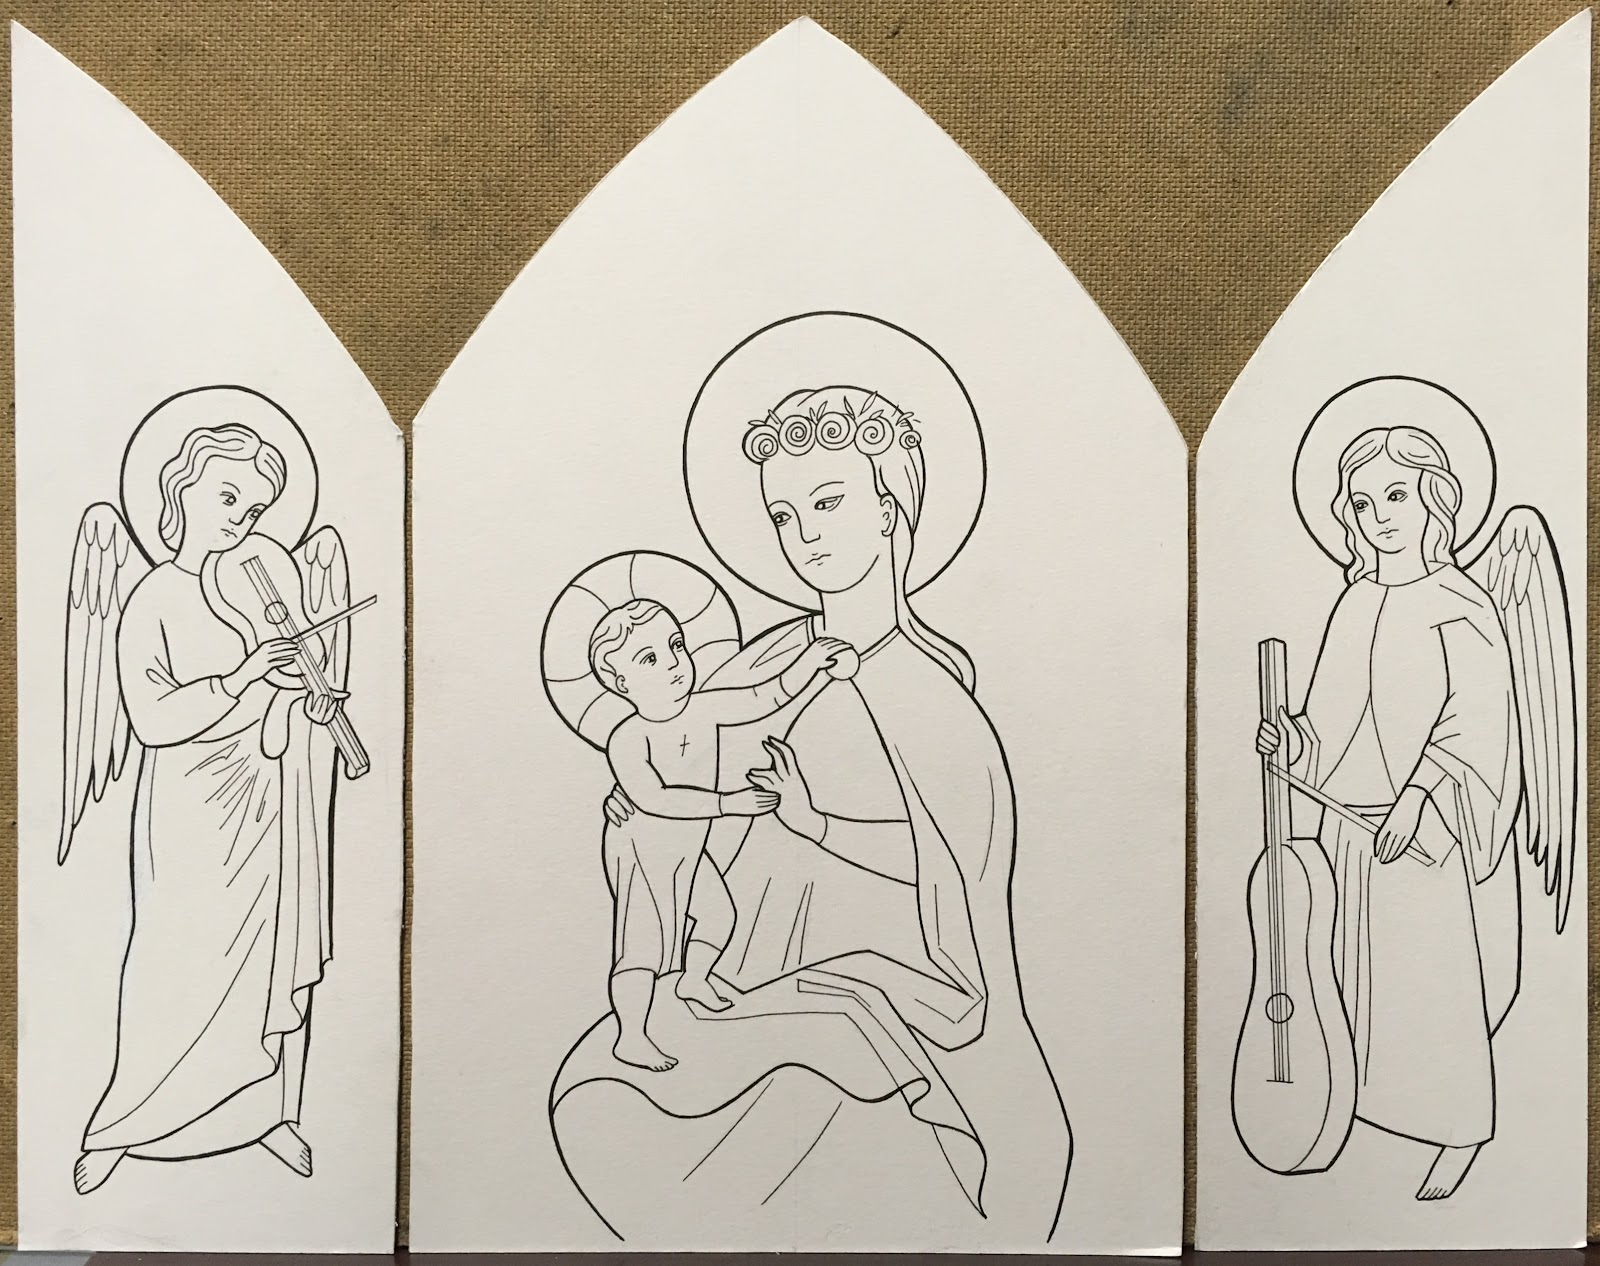
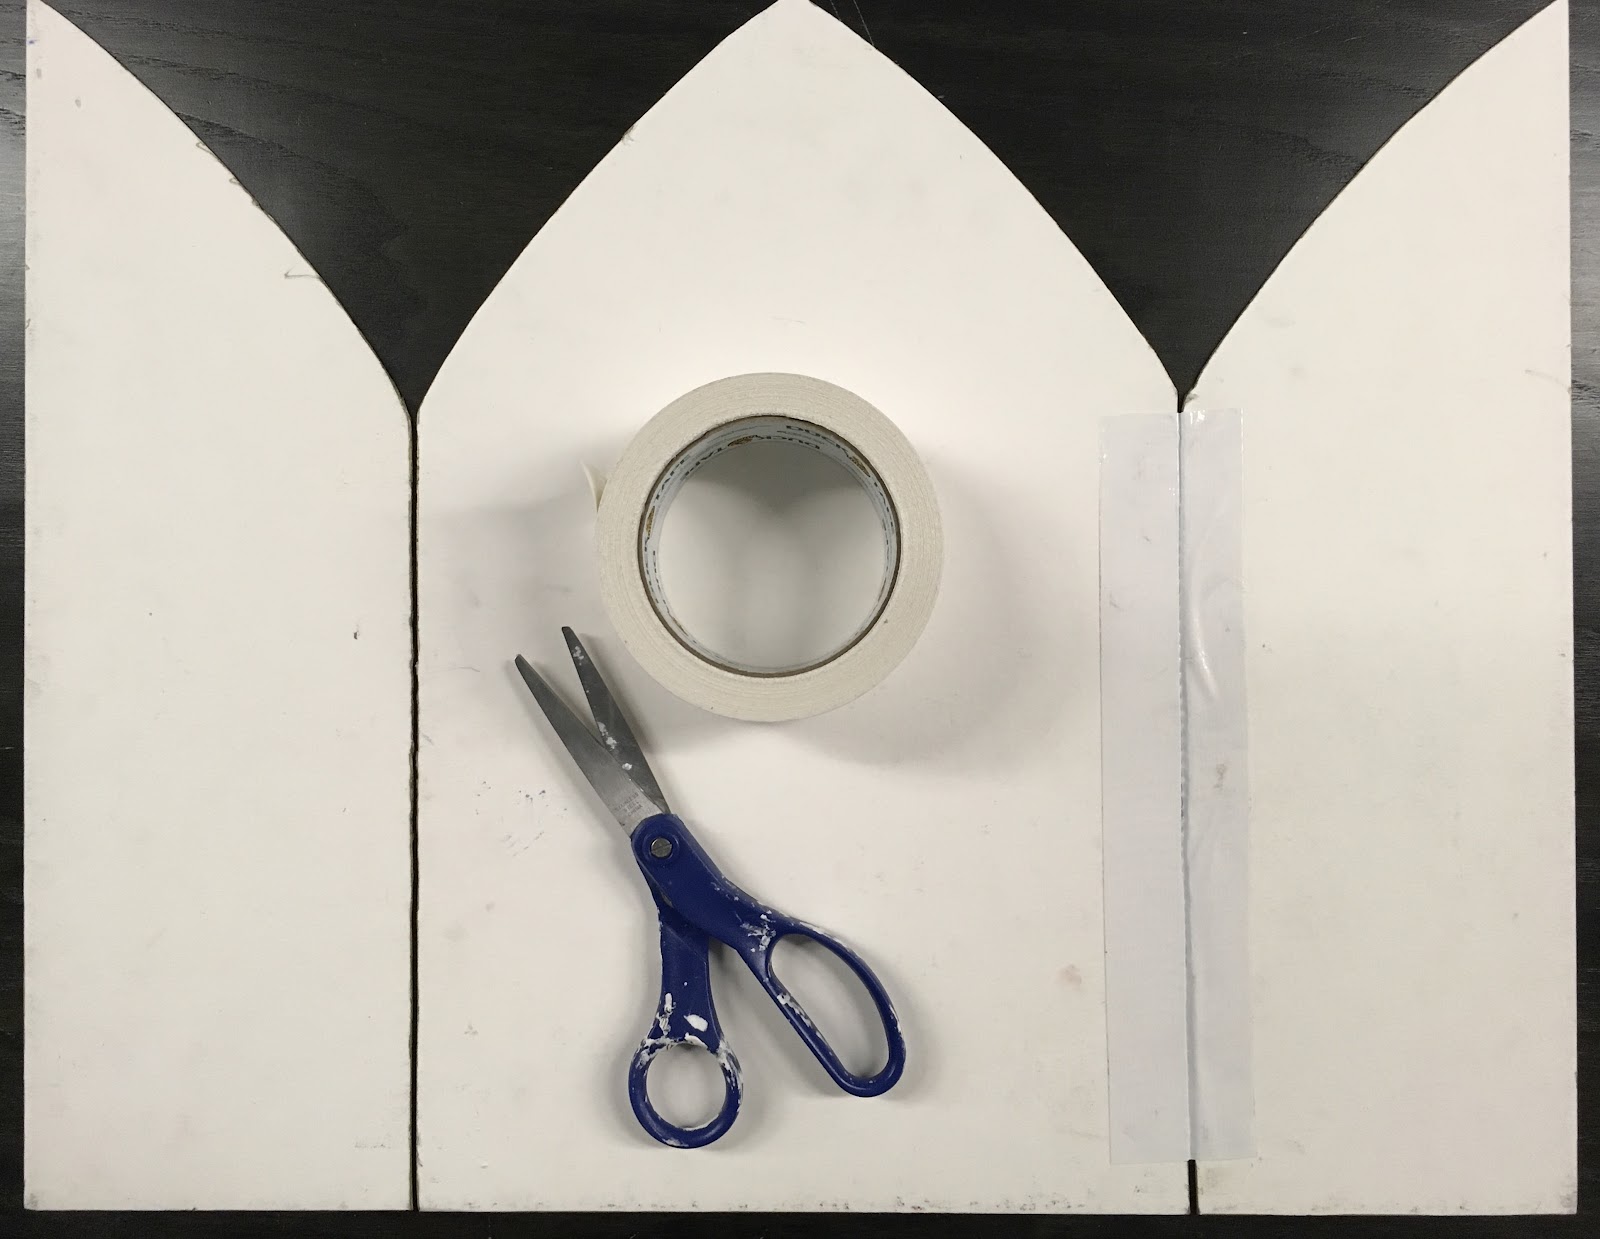
Enlarge your drawing so that it is the six of your sheet of plexiglass and tape it to the back. Optional: spray your plexiglass sheet with acrylic spray so that the glue has something more to adhere to .
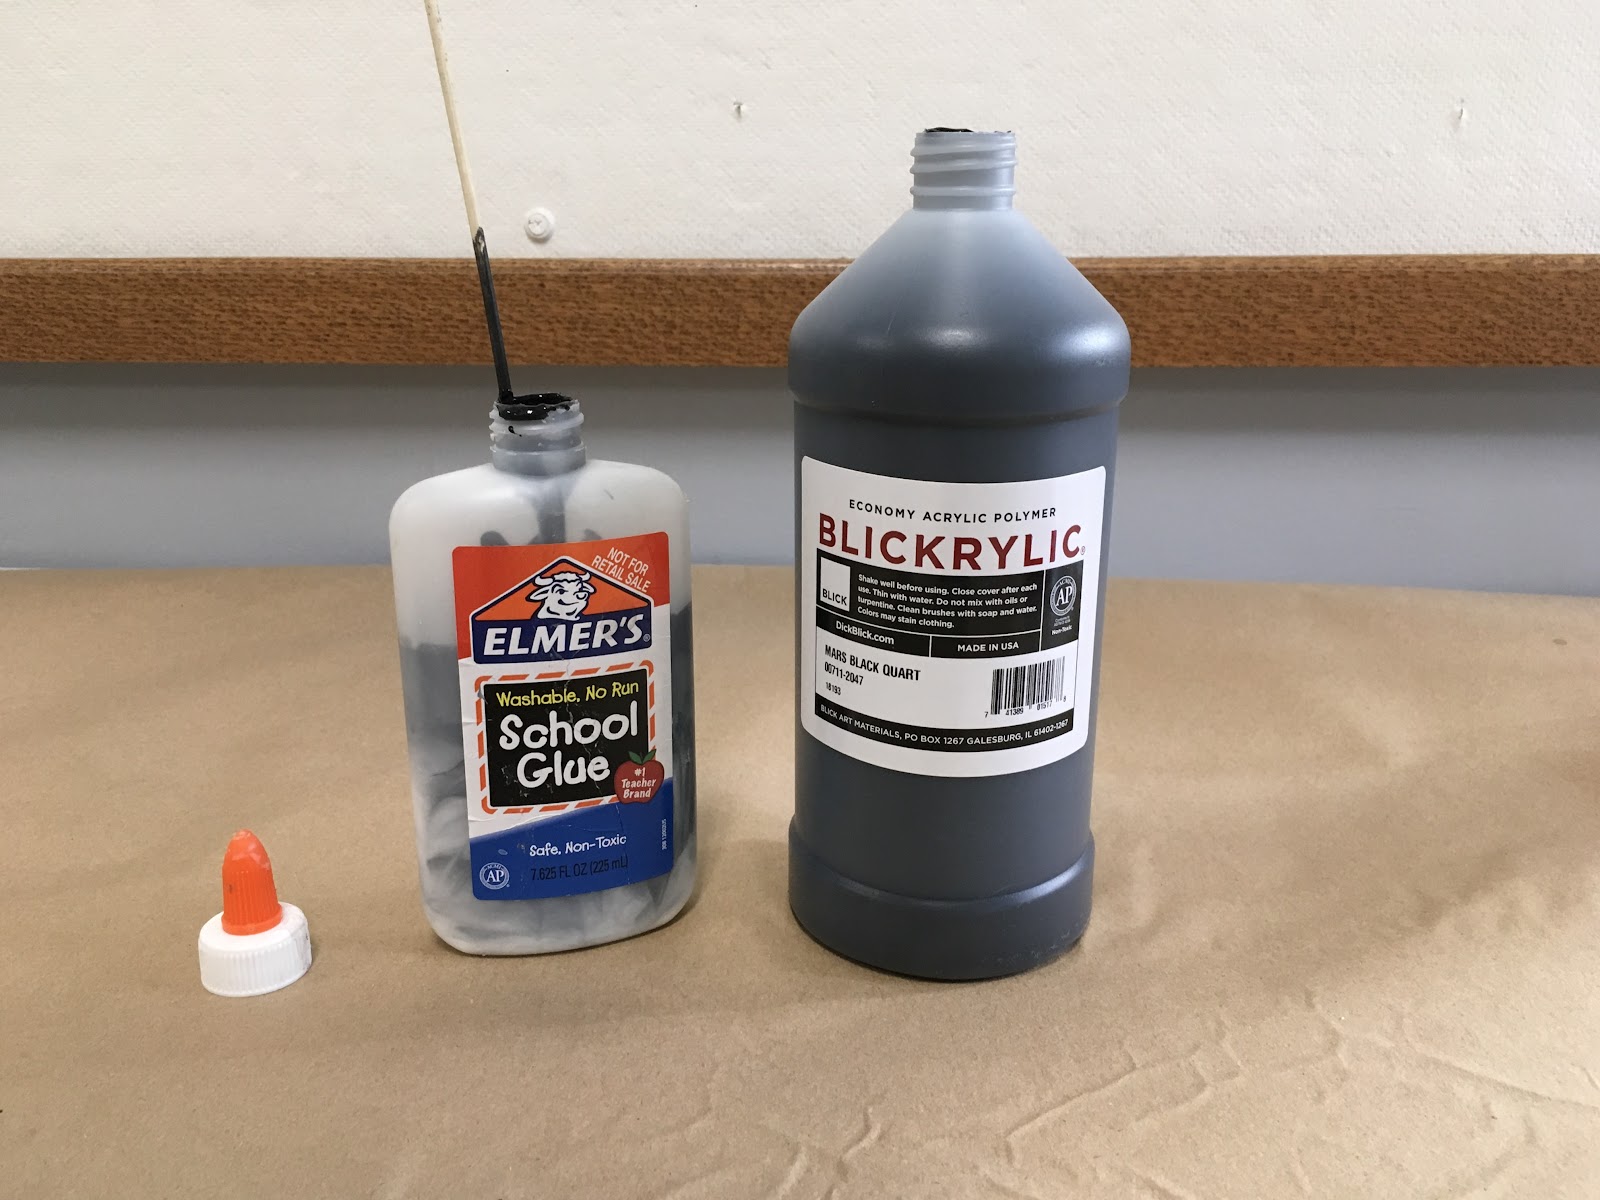
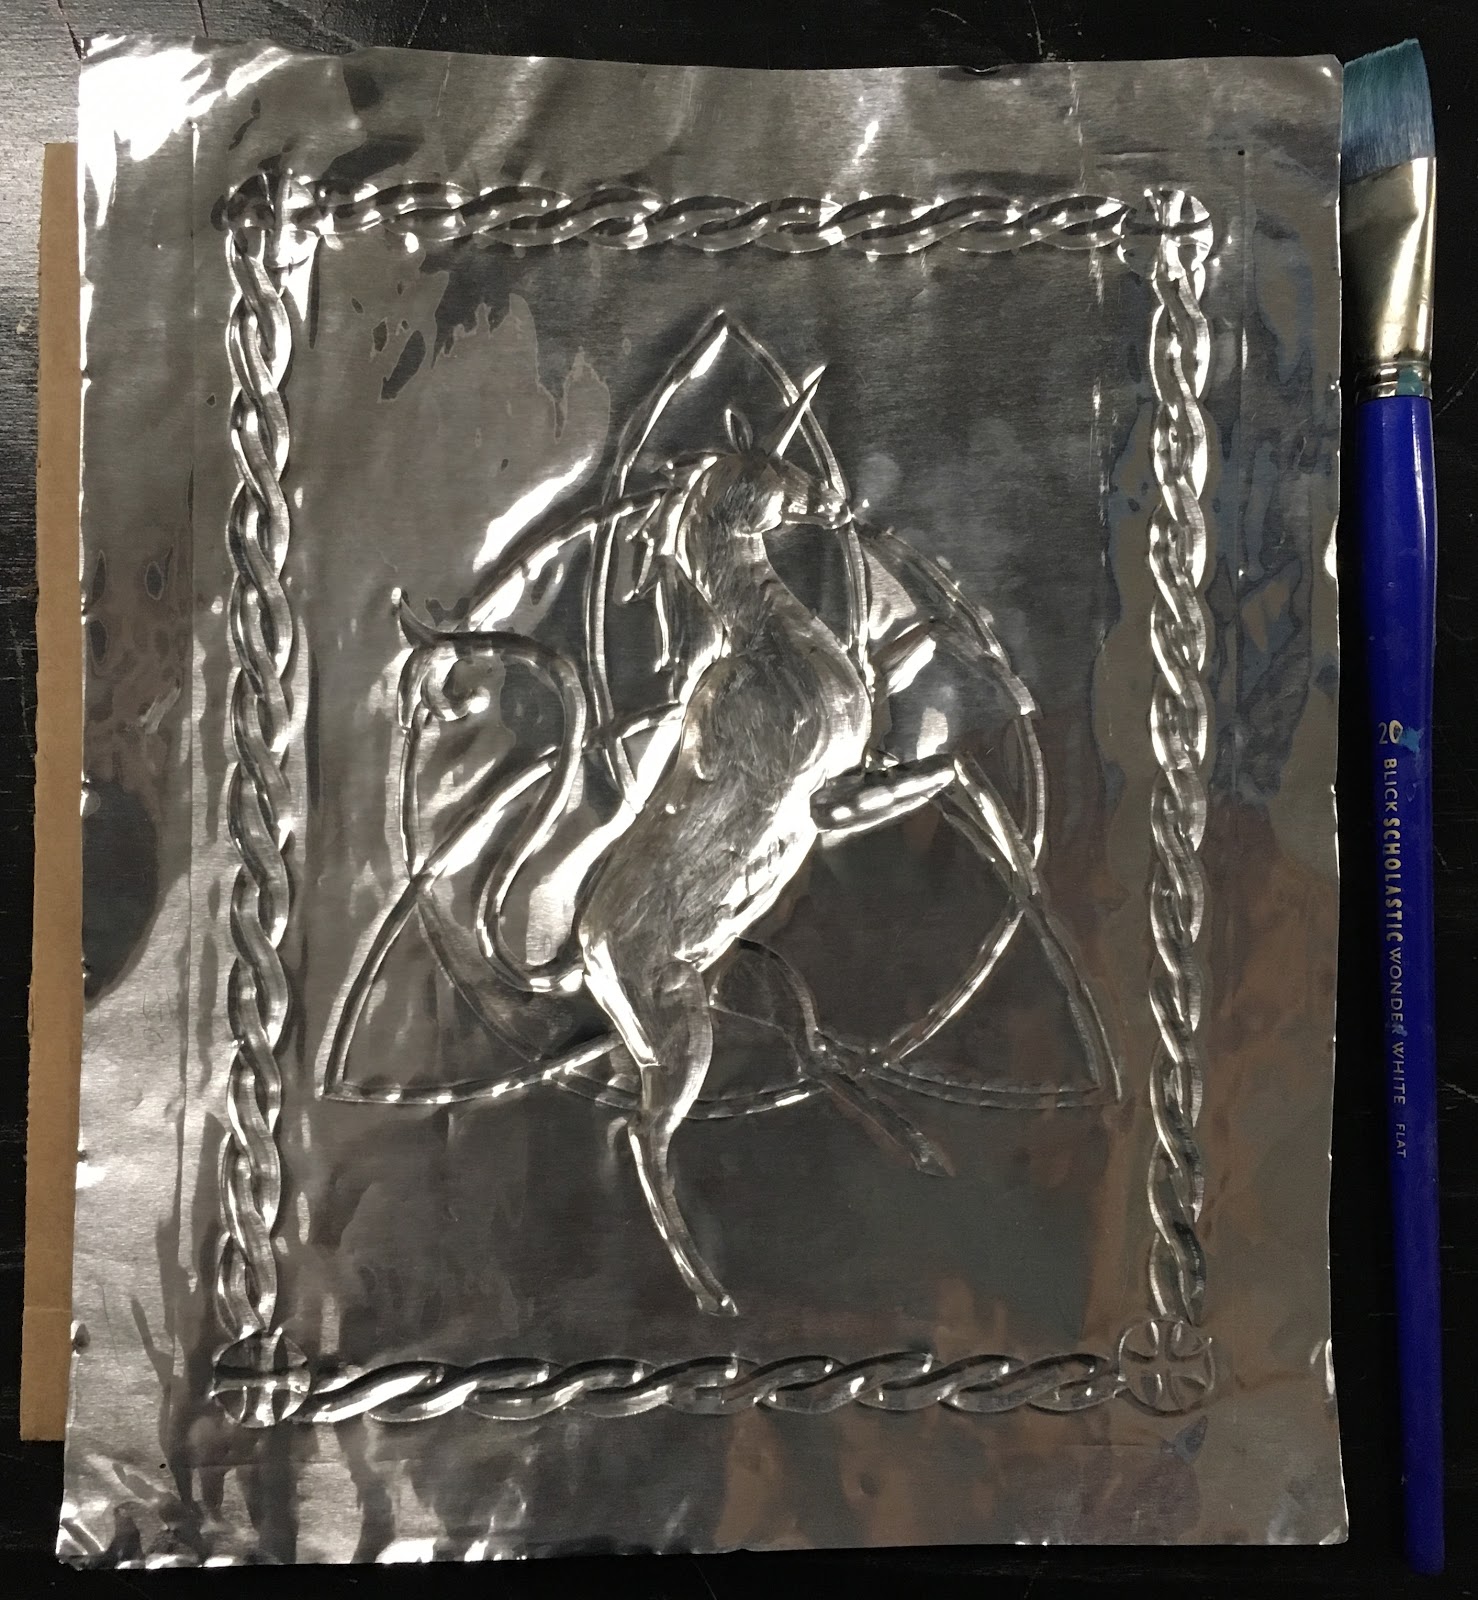
Mix black acrylic paint into the white school glue until it is a smooth black.
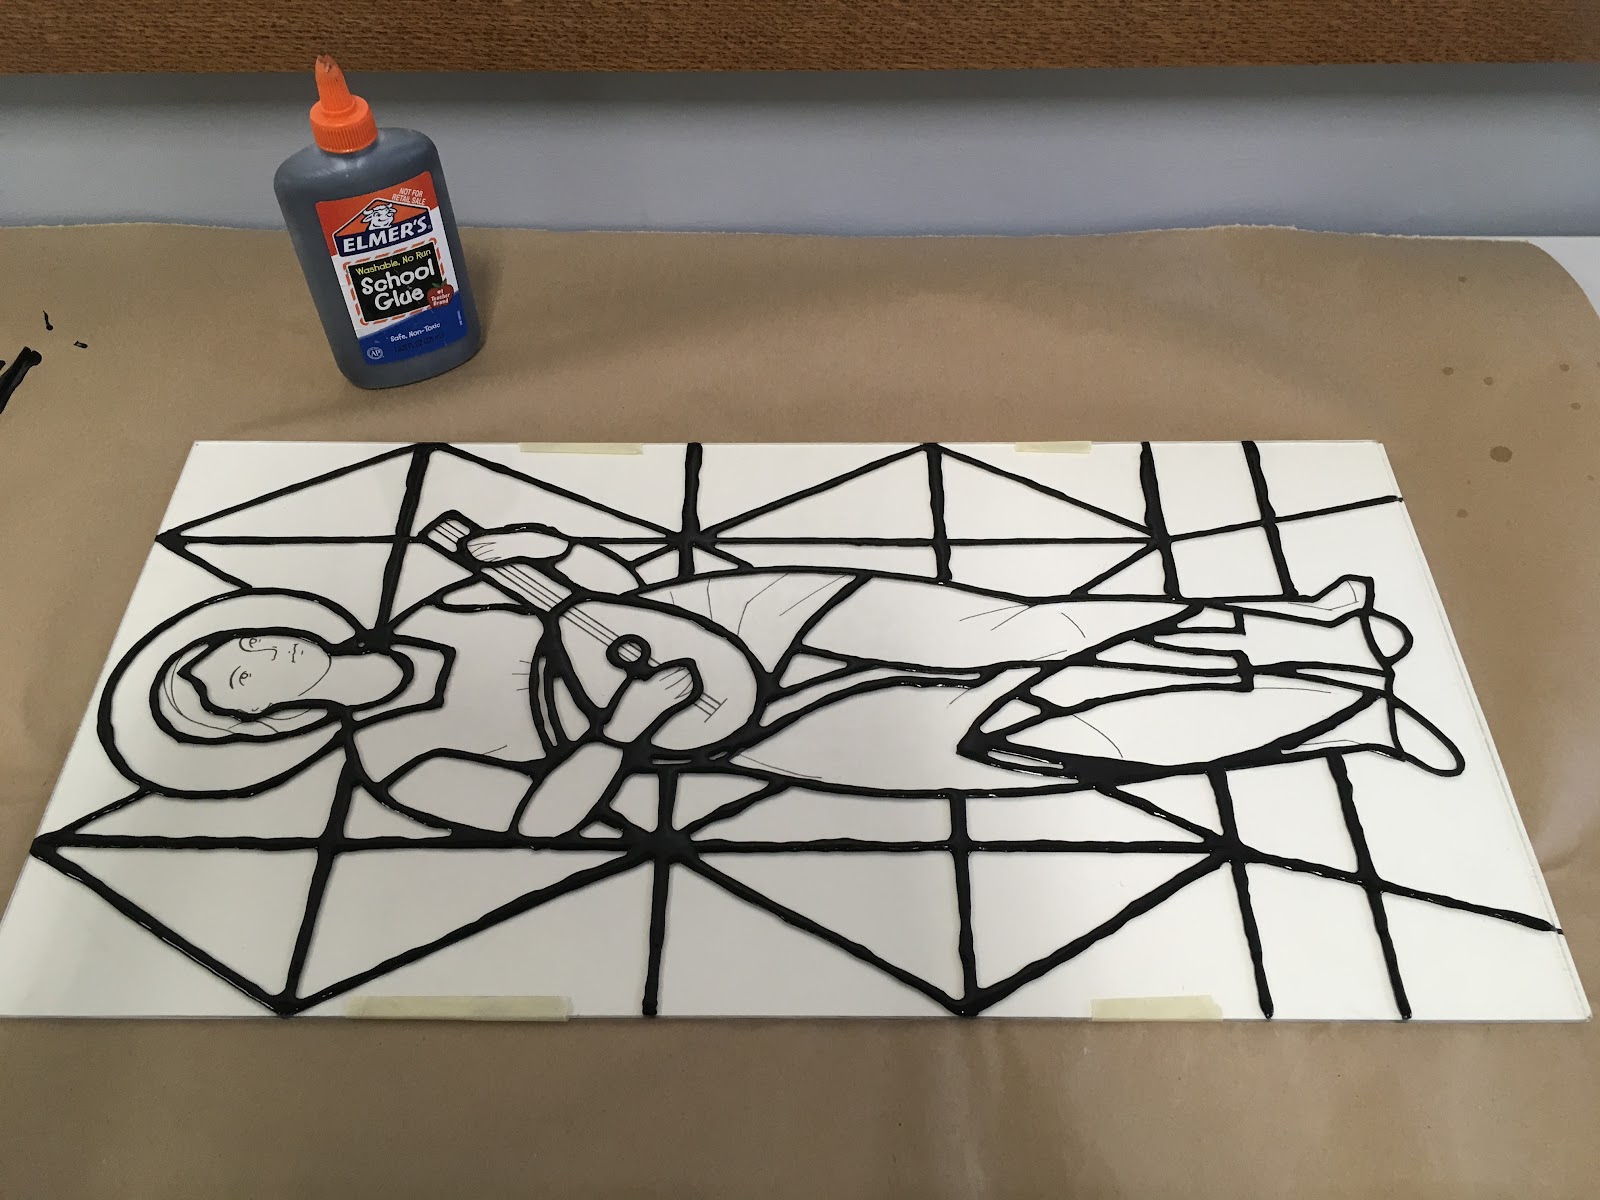
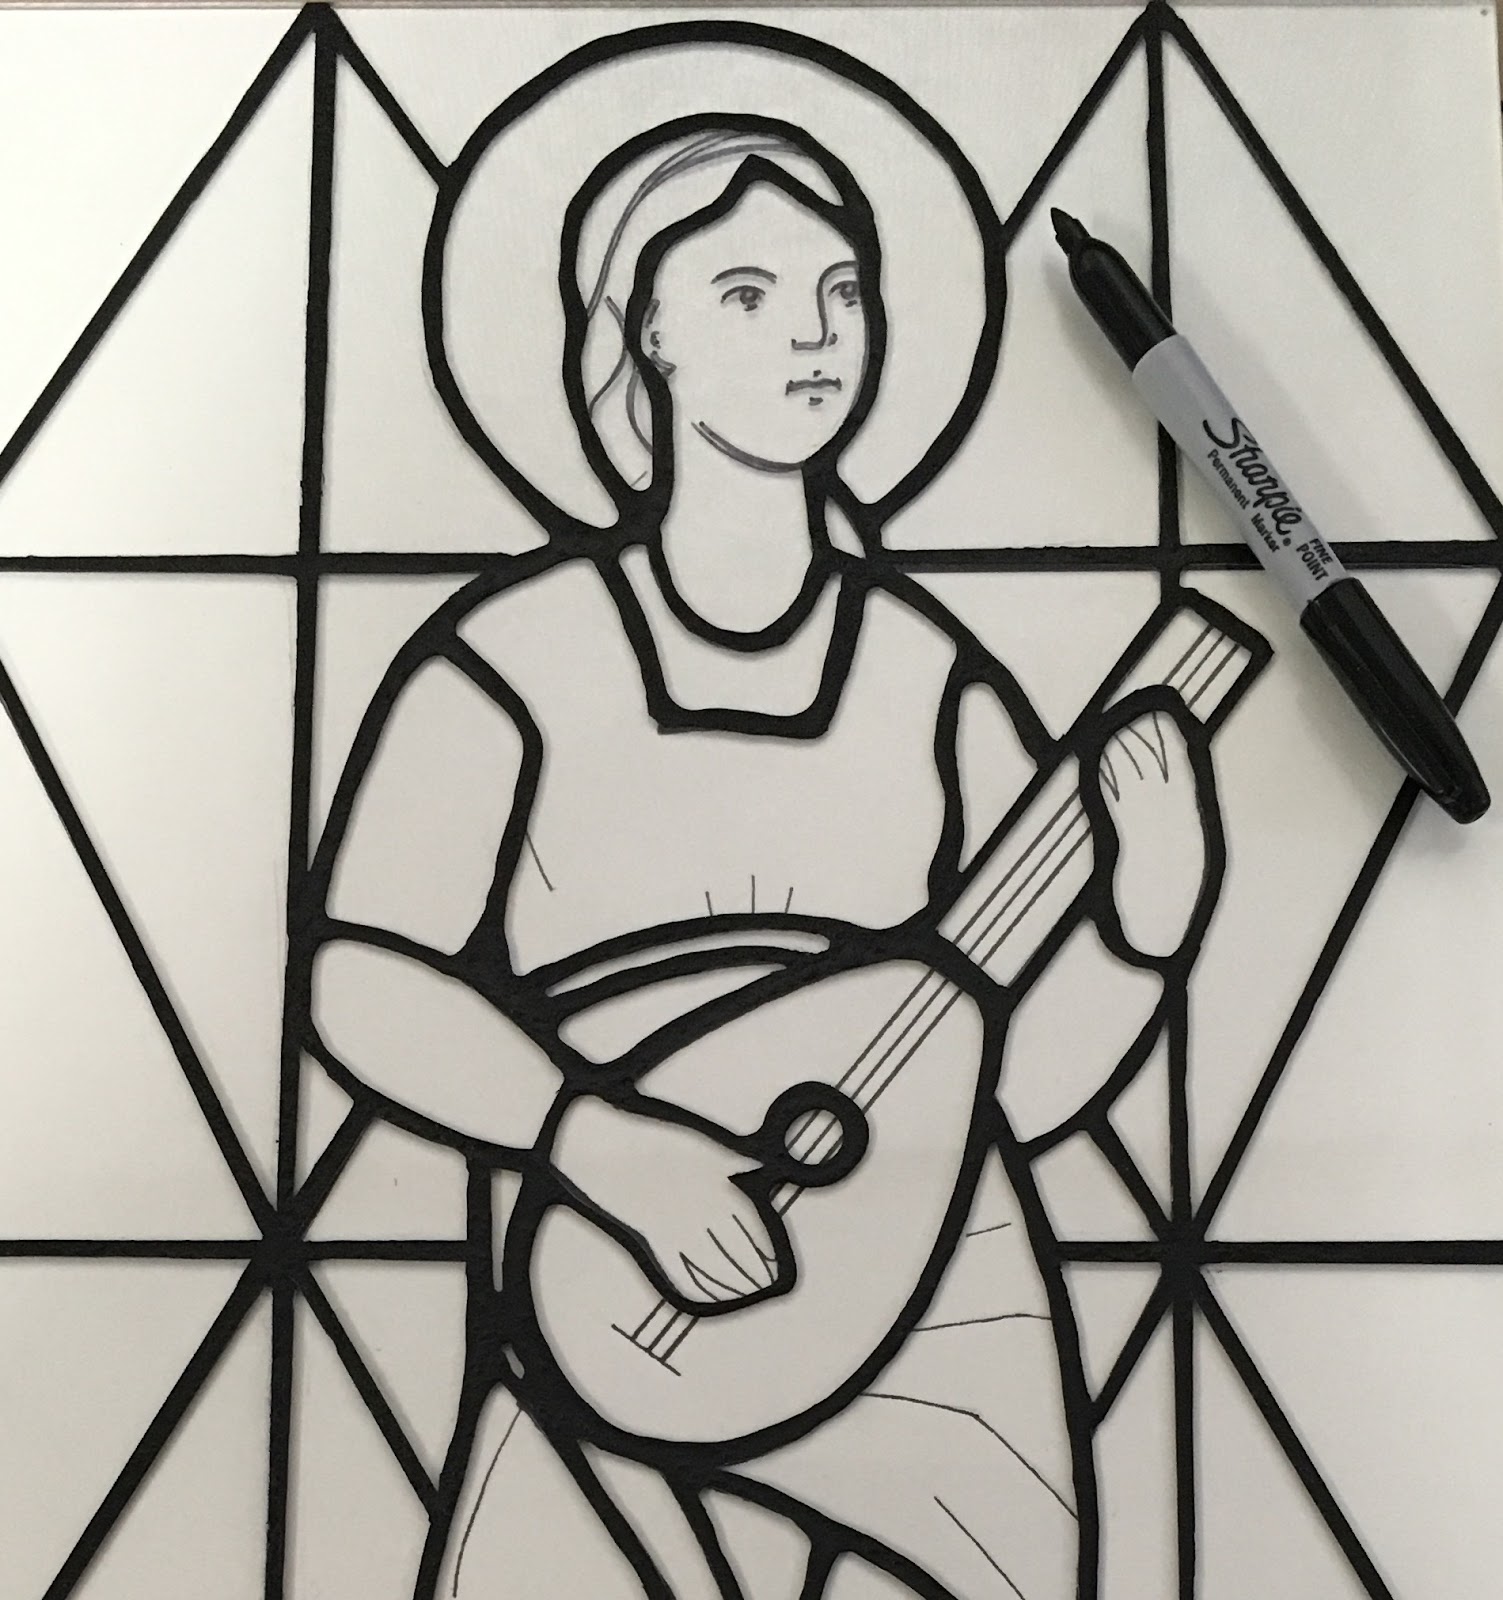
Apply the black glue "leading" to the glass, tracing your pattern.
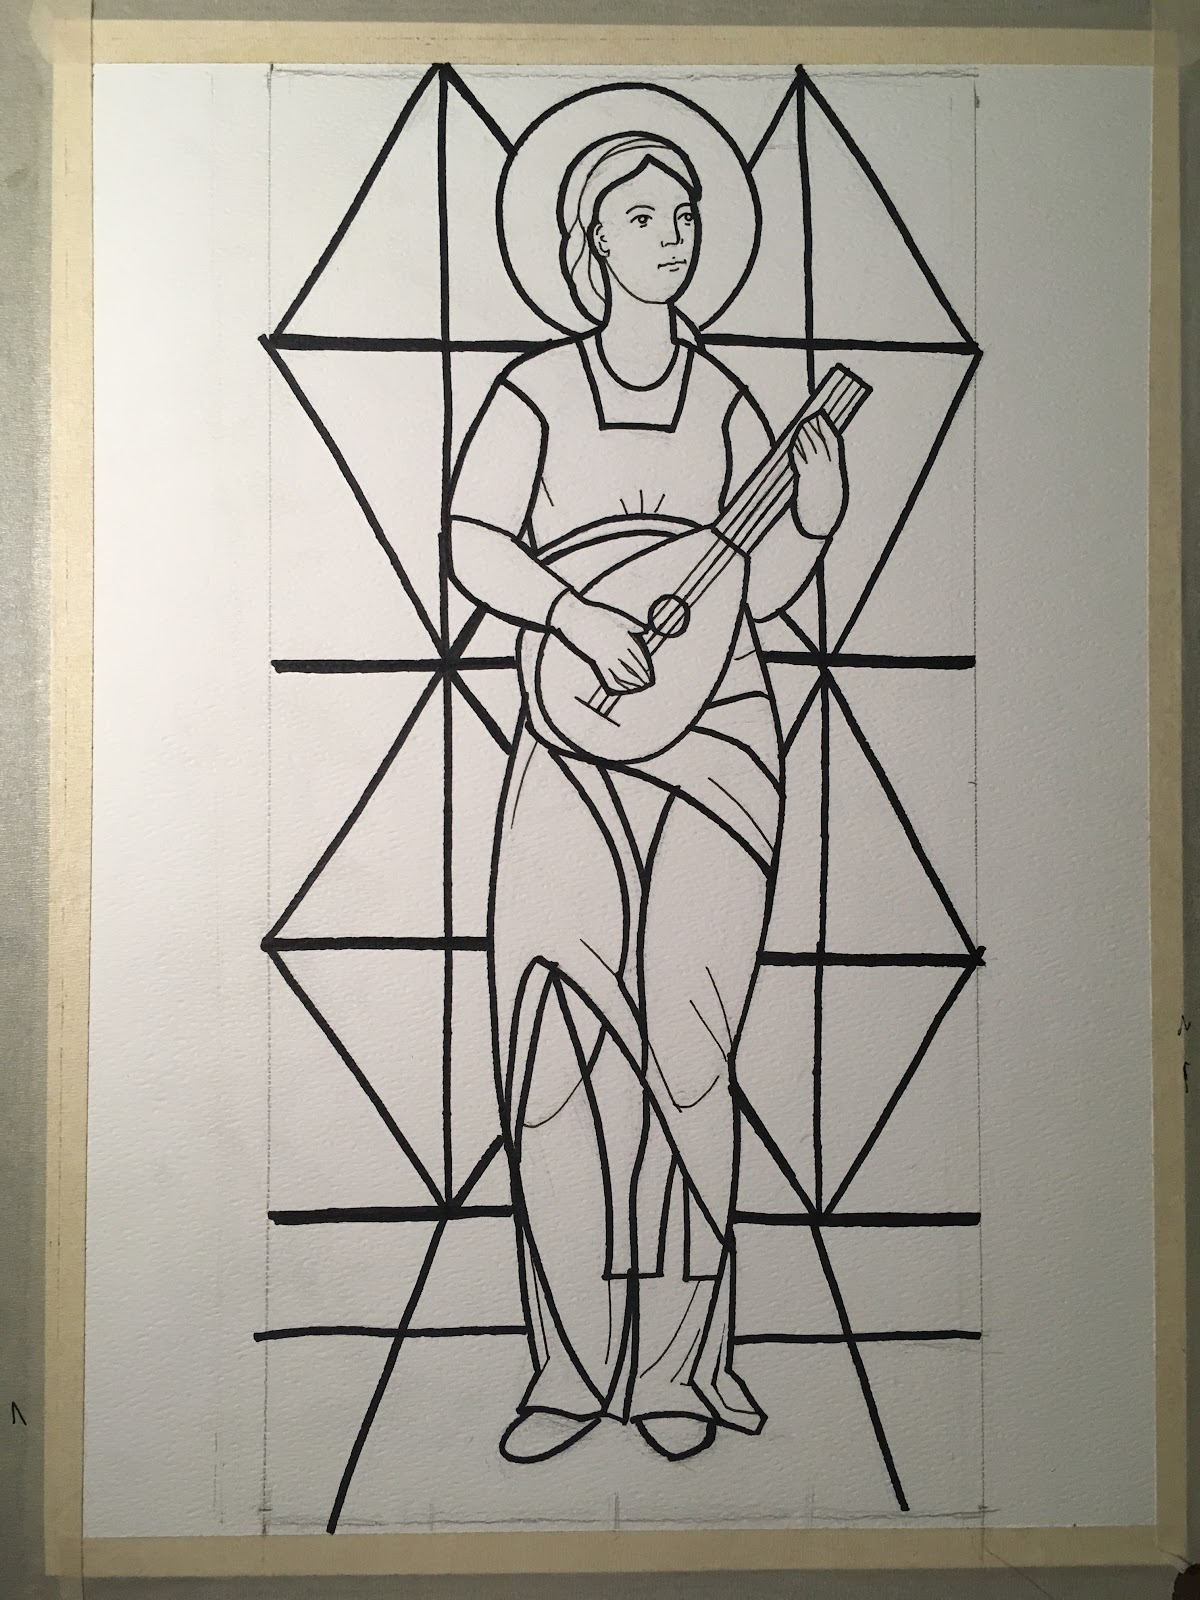
Once dried, you may trim the black glue leading with an exacto knife.
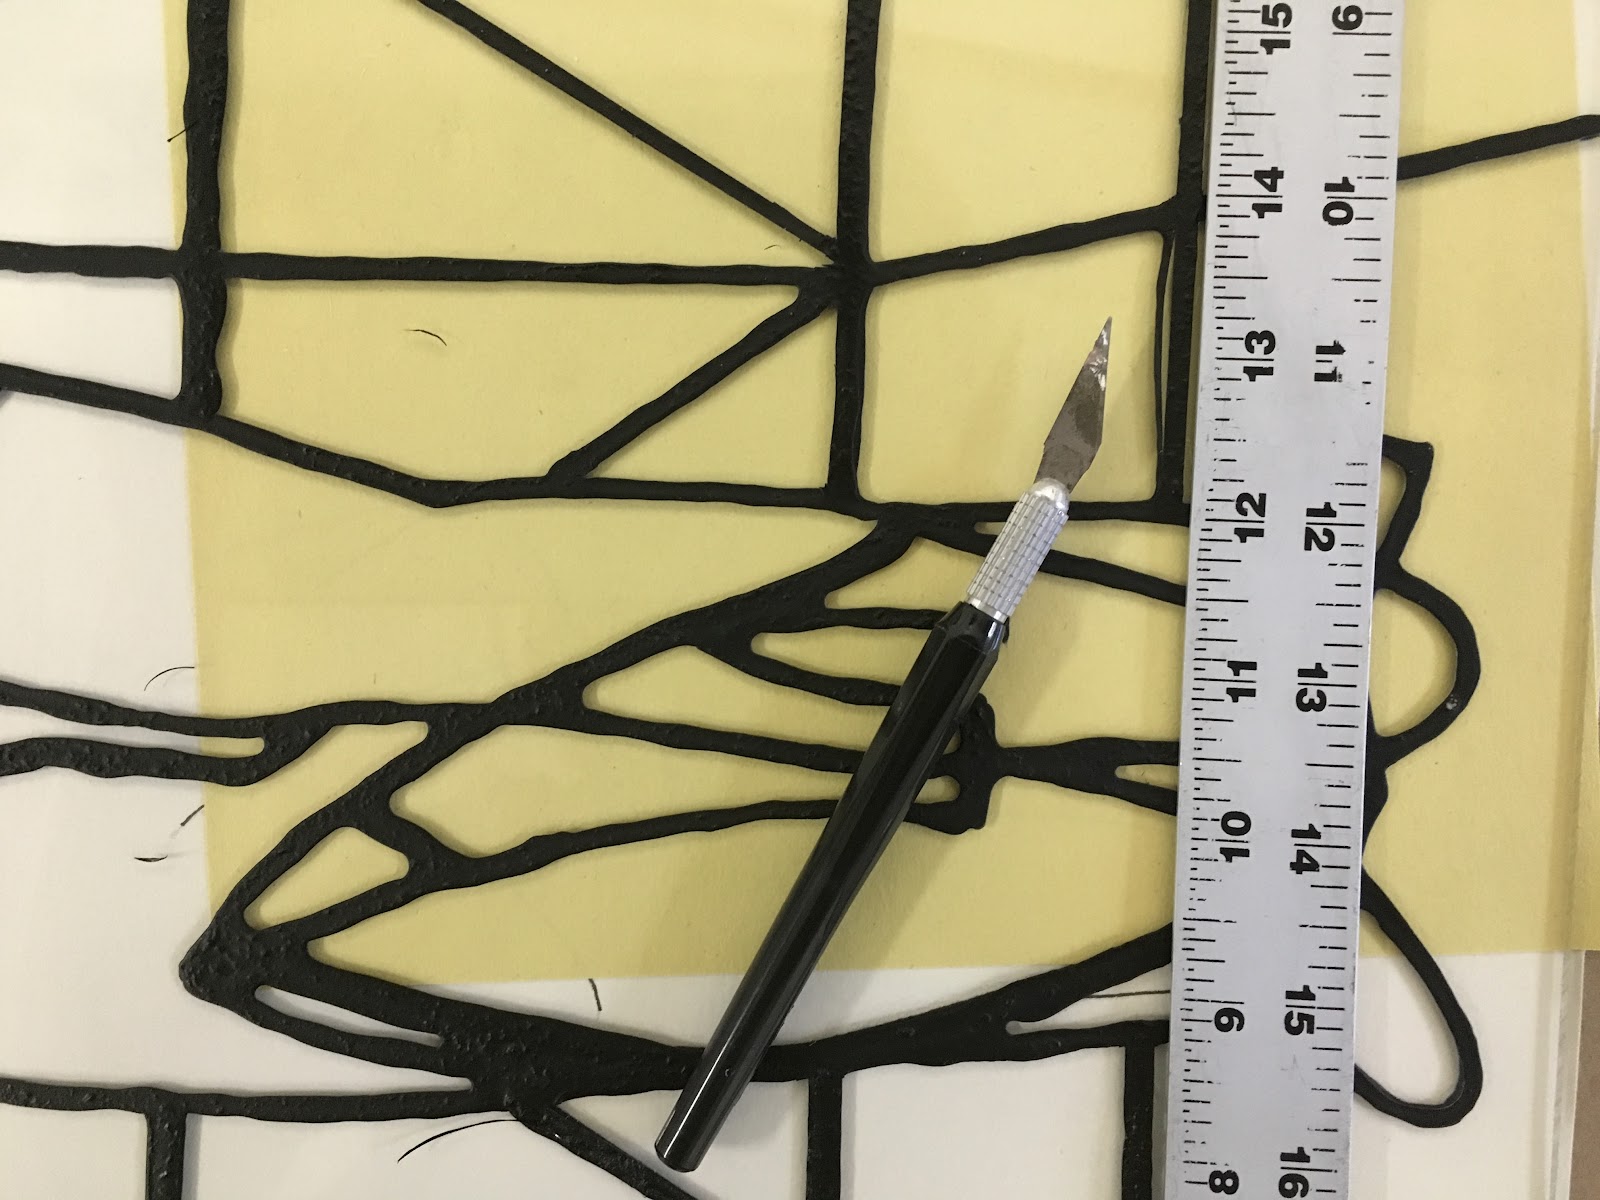
Trace over your fine details with a fine tipped permanent marker, such as a sharpie.
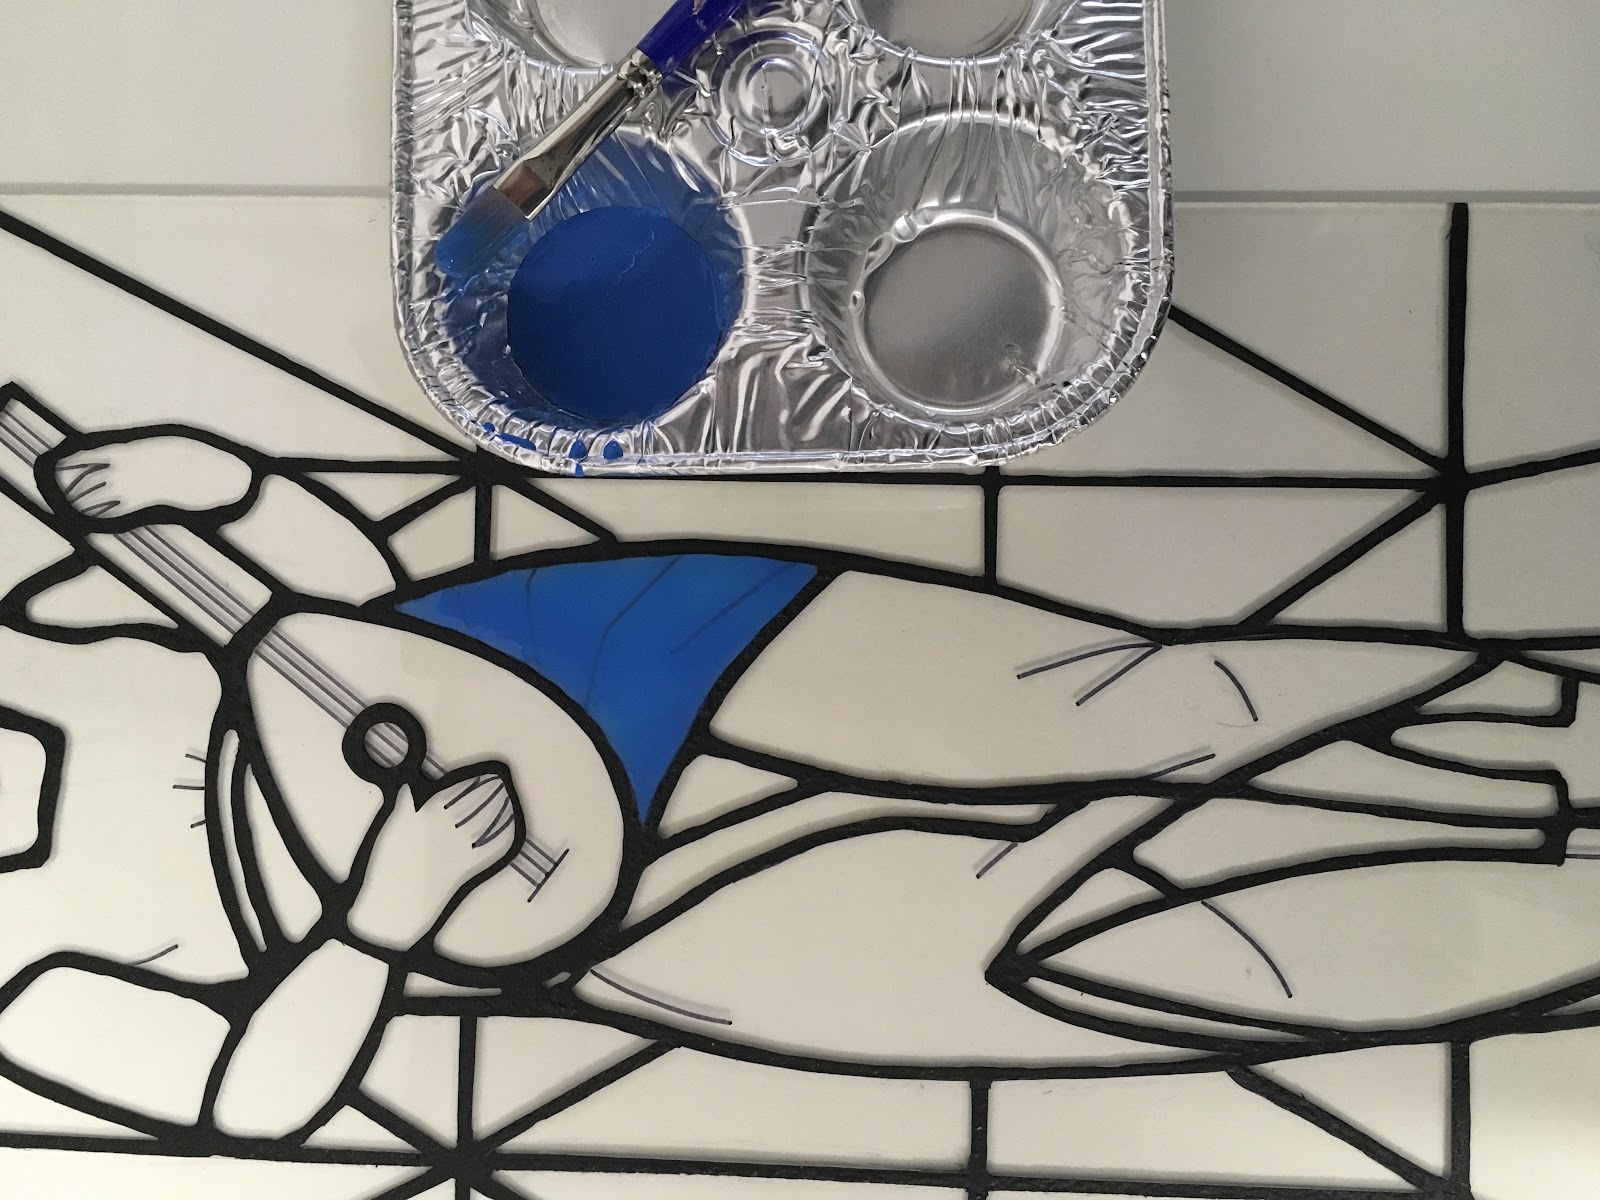
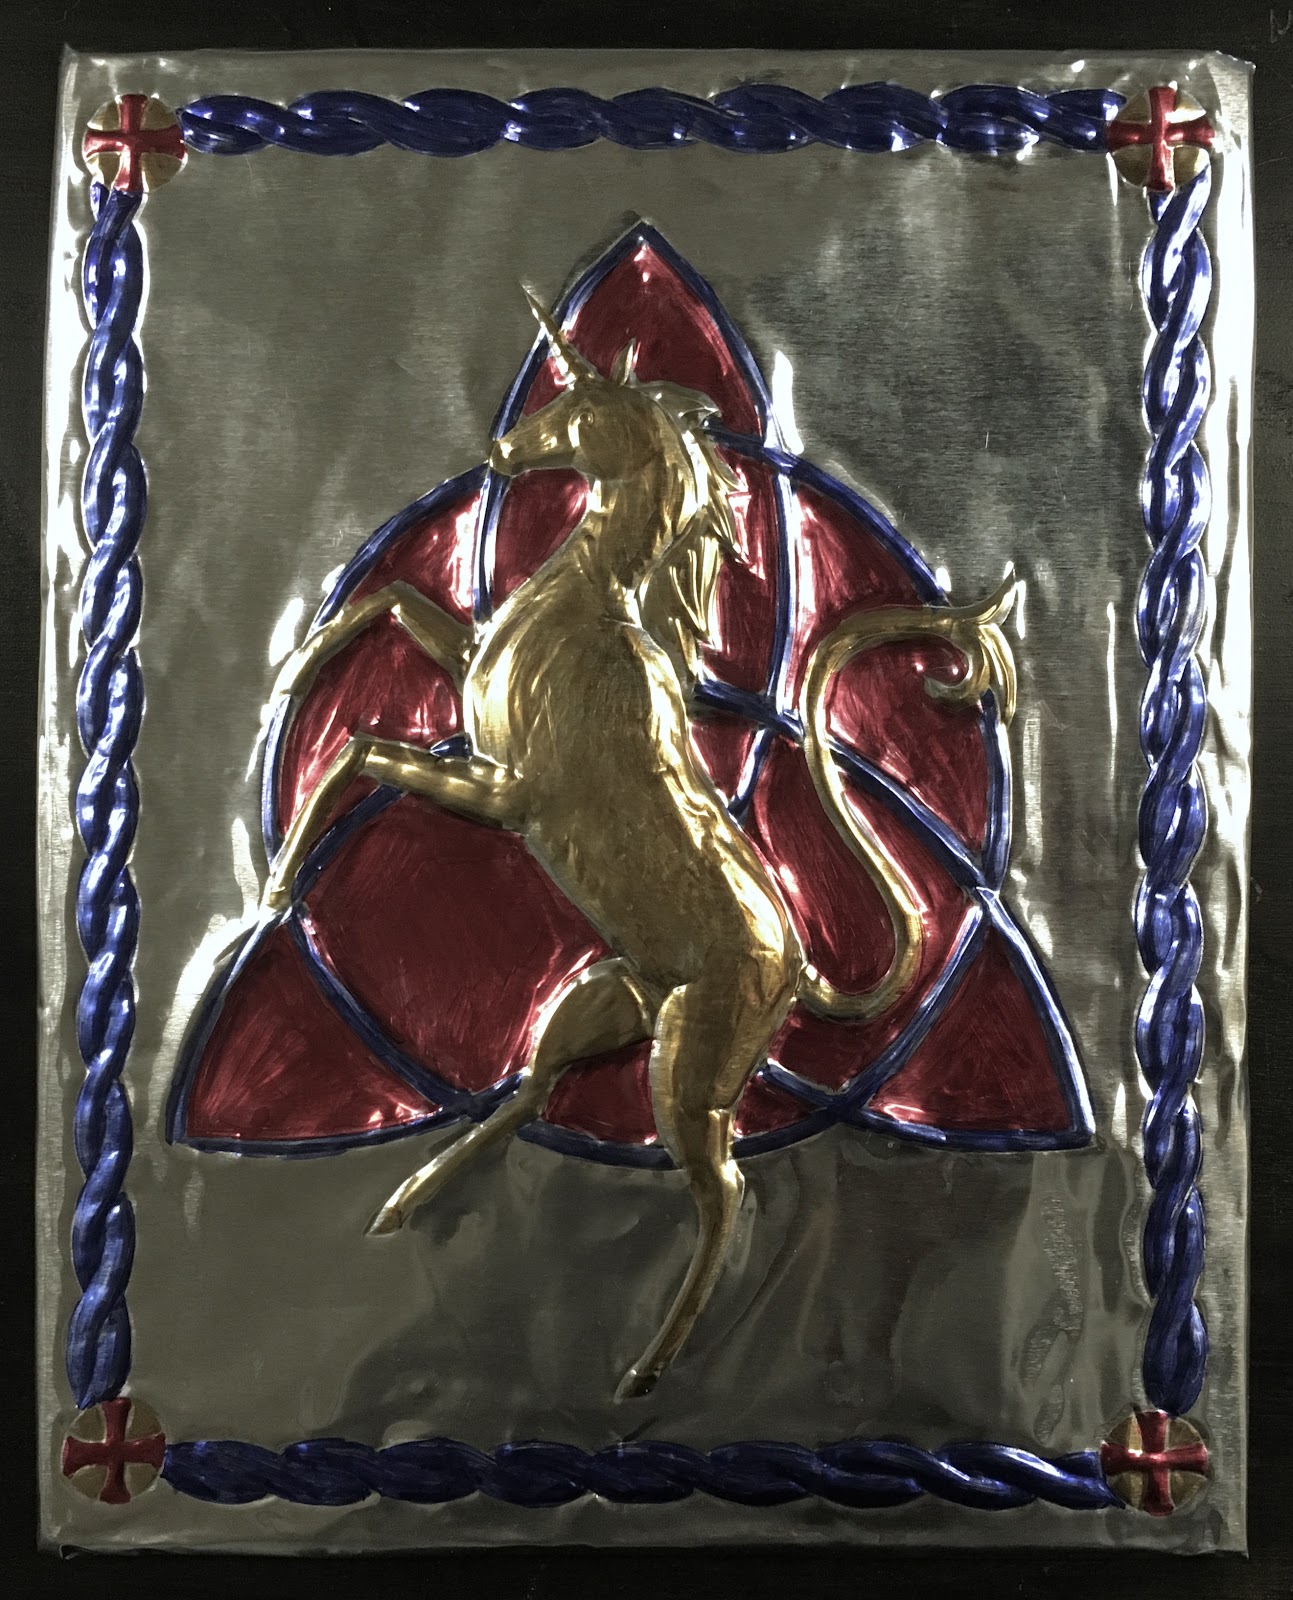
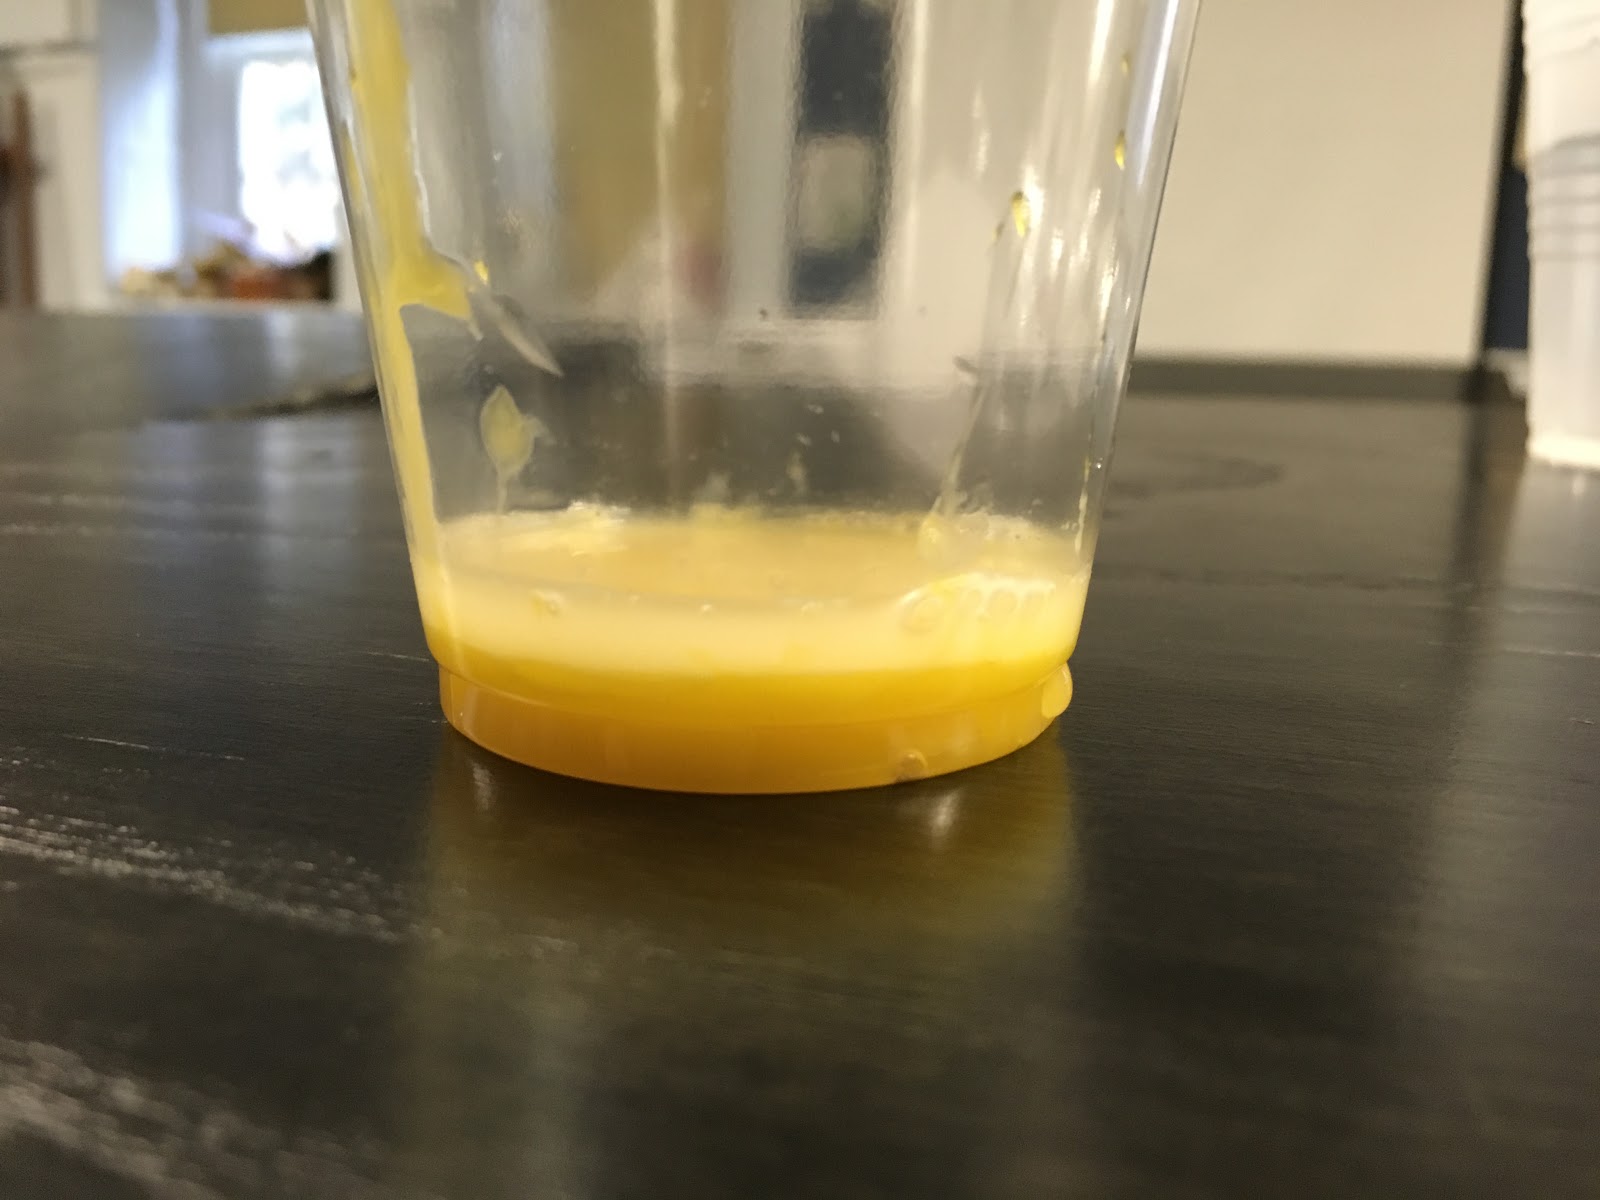
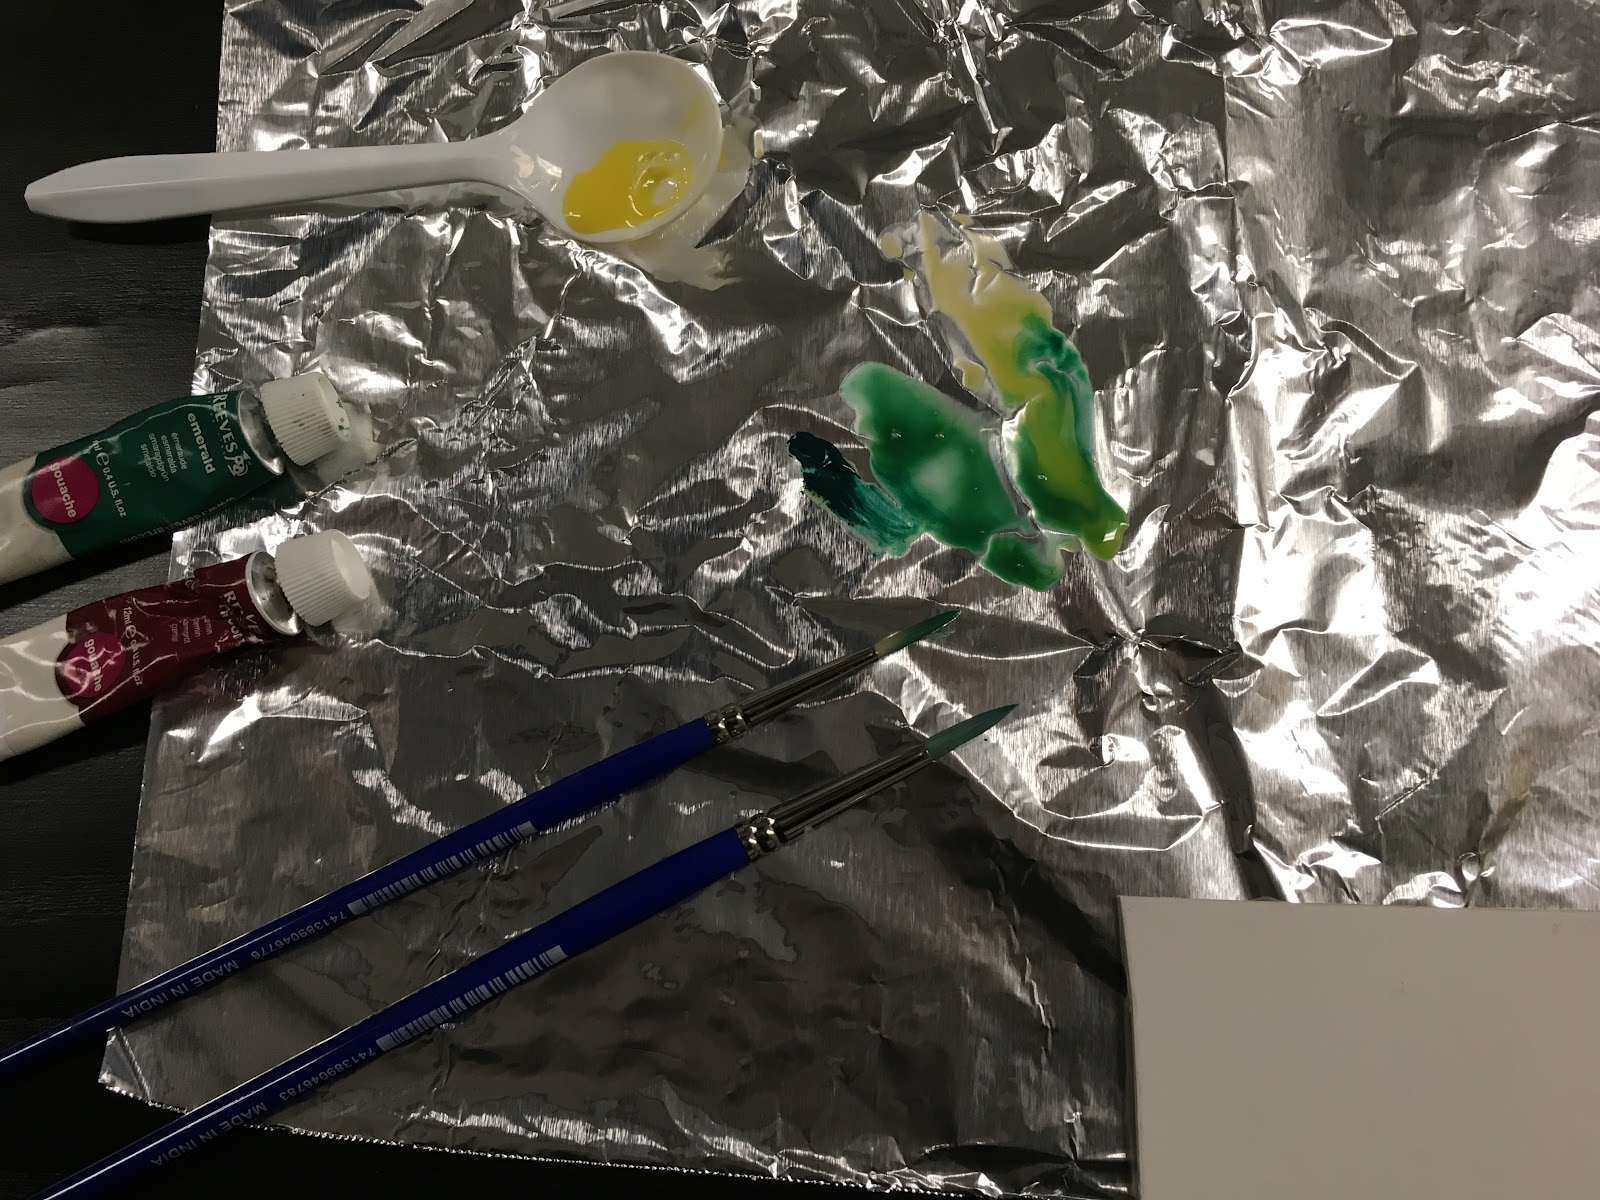
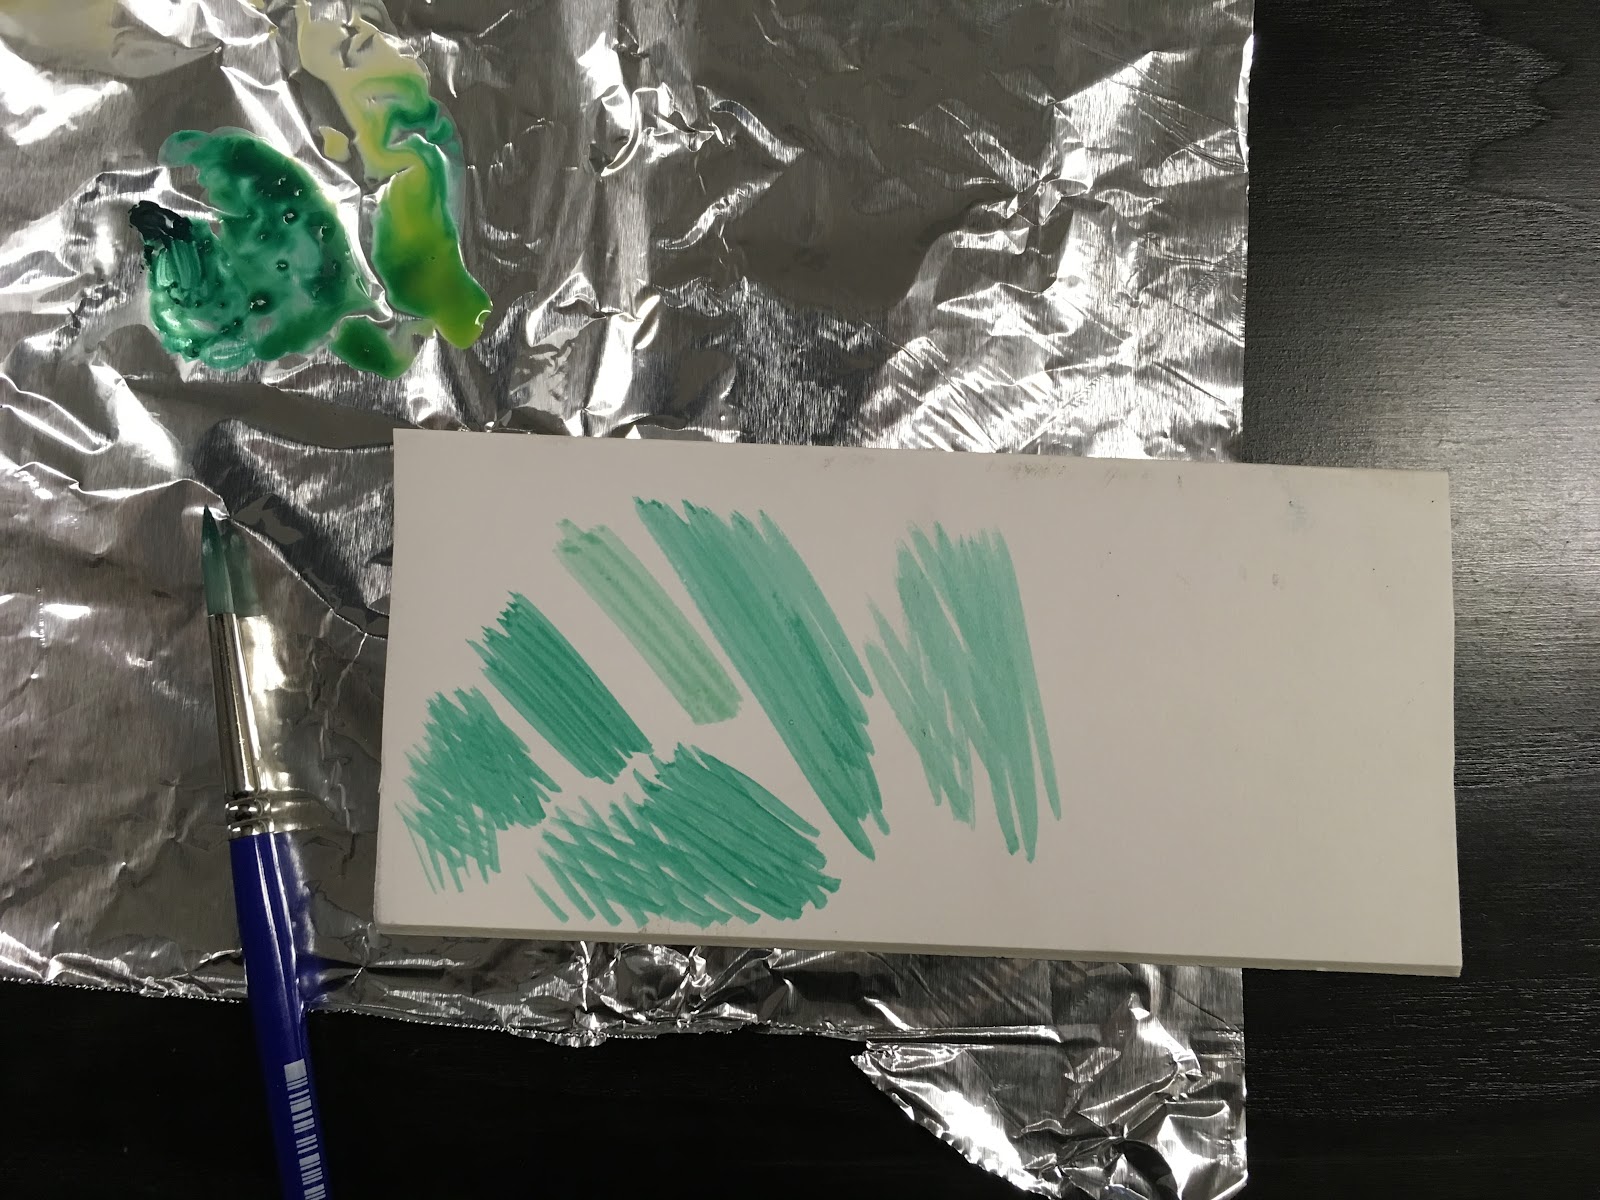
Mix just a little bit of acrylic paint with the clear glue. It doesn't take much paint to color the glue.
Mix the glue mixture and apply thickly to the plexiglass, dragging the paint to the black glue lines.
